Google Cloud service account
To grant Shipmate access to your Google Cloud account, you need to create a service account as well as a private key that Shipmate can use to impersonate this service account. Finally, you need to grant the service account the required permissions.
Creating a service account
Using the search field at the top of the Google Cloud Console, search for Service accounts and click on the first result.

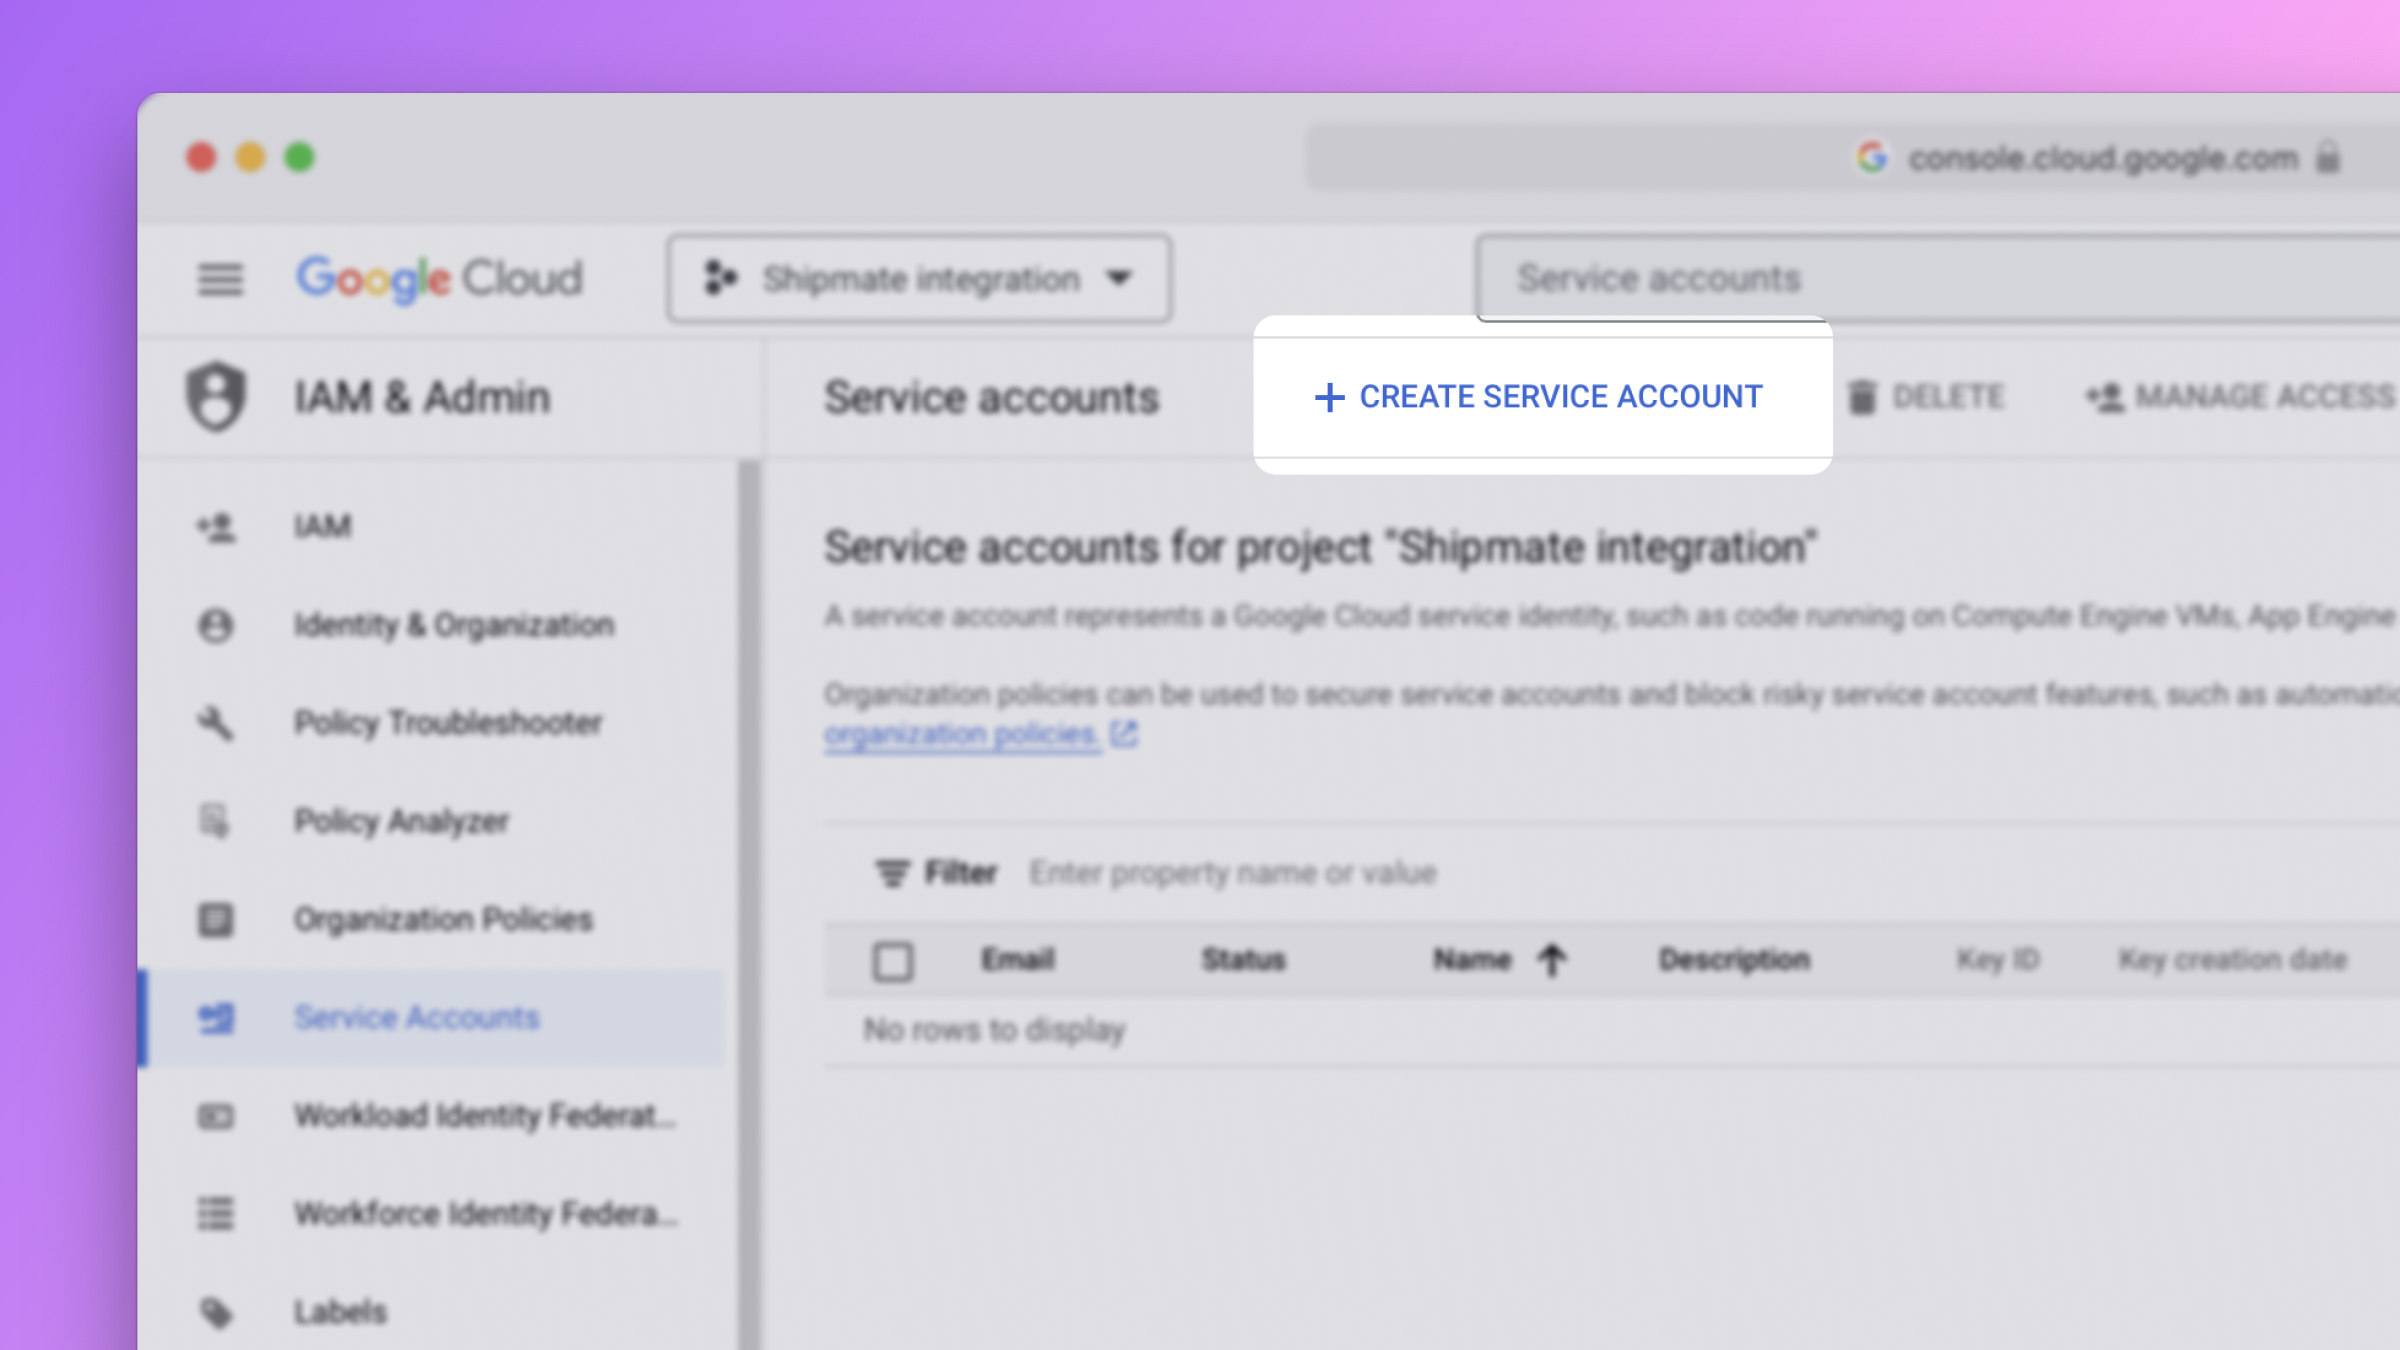
You should now see the Service accounts page of the project you just created.

Click on the button labeled Create service account at the top of the page.
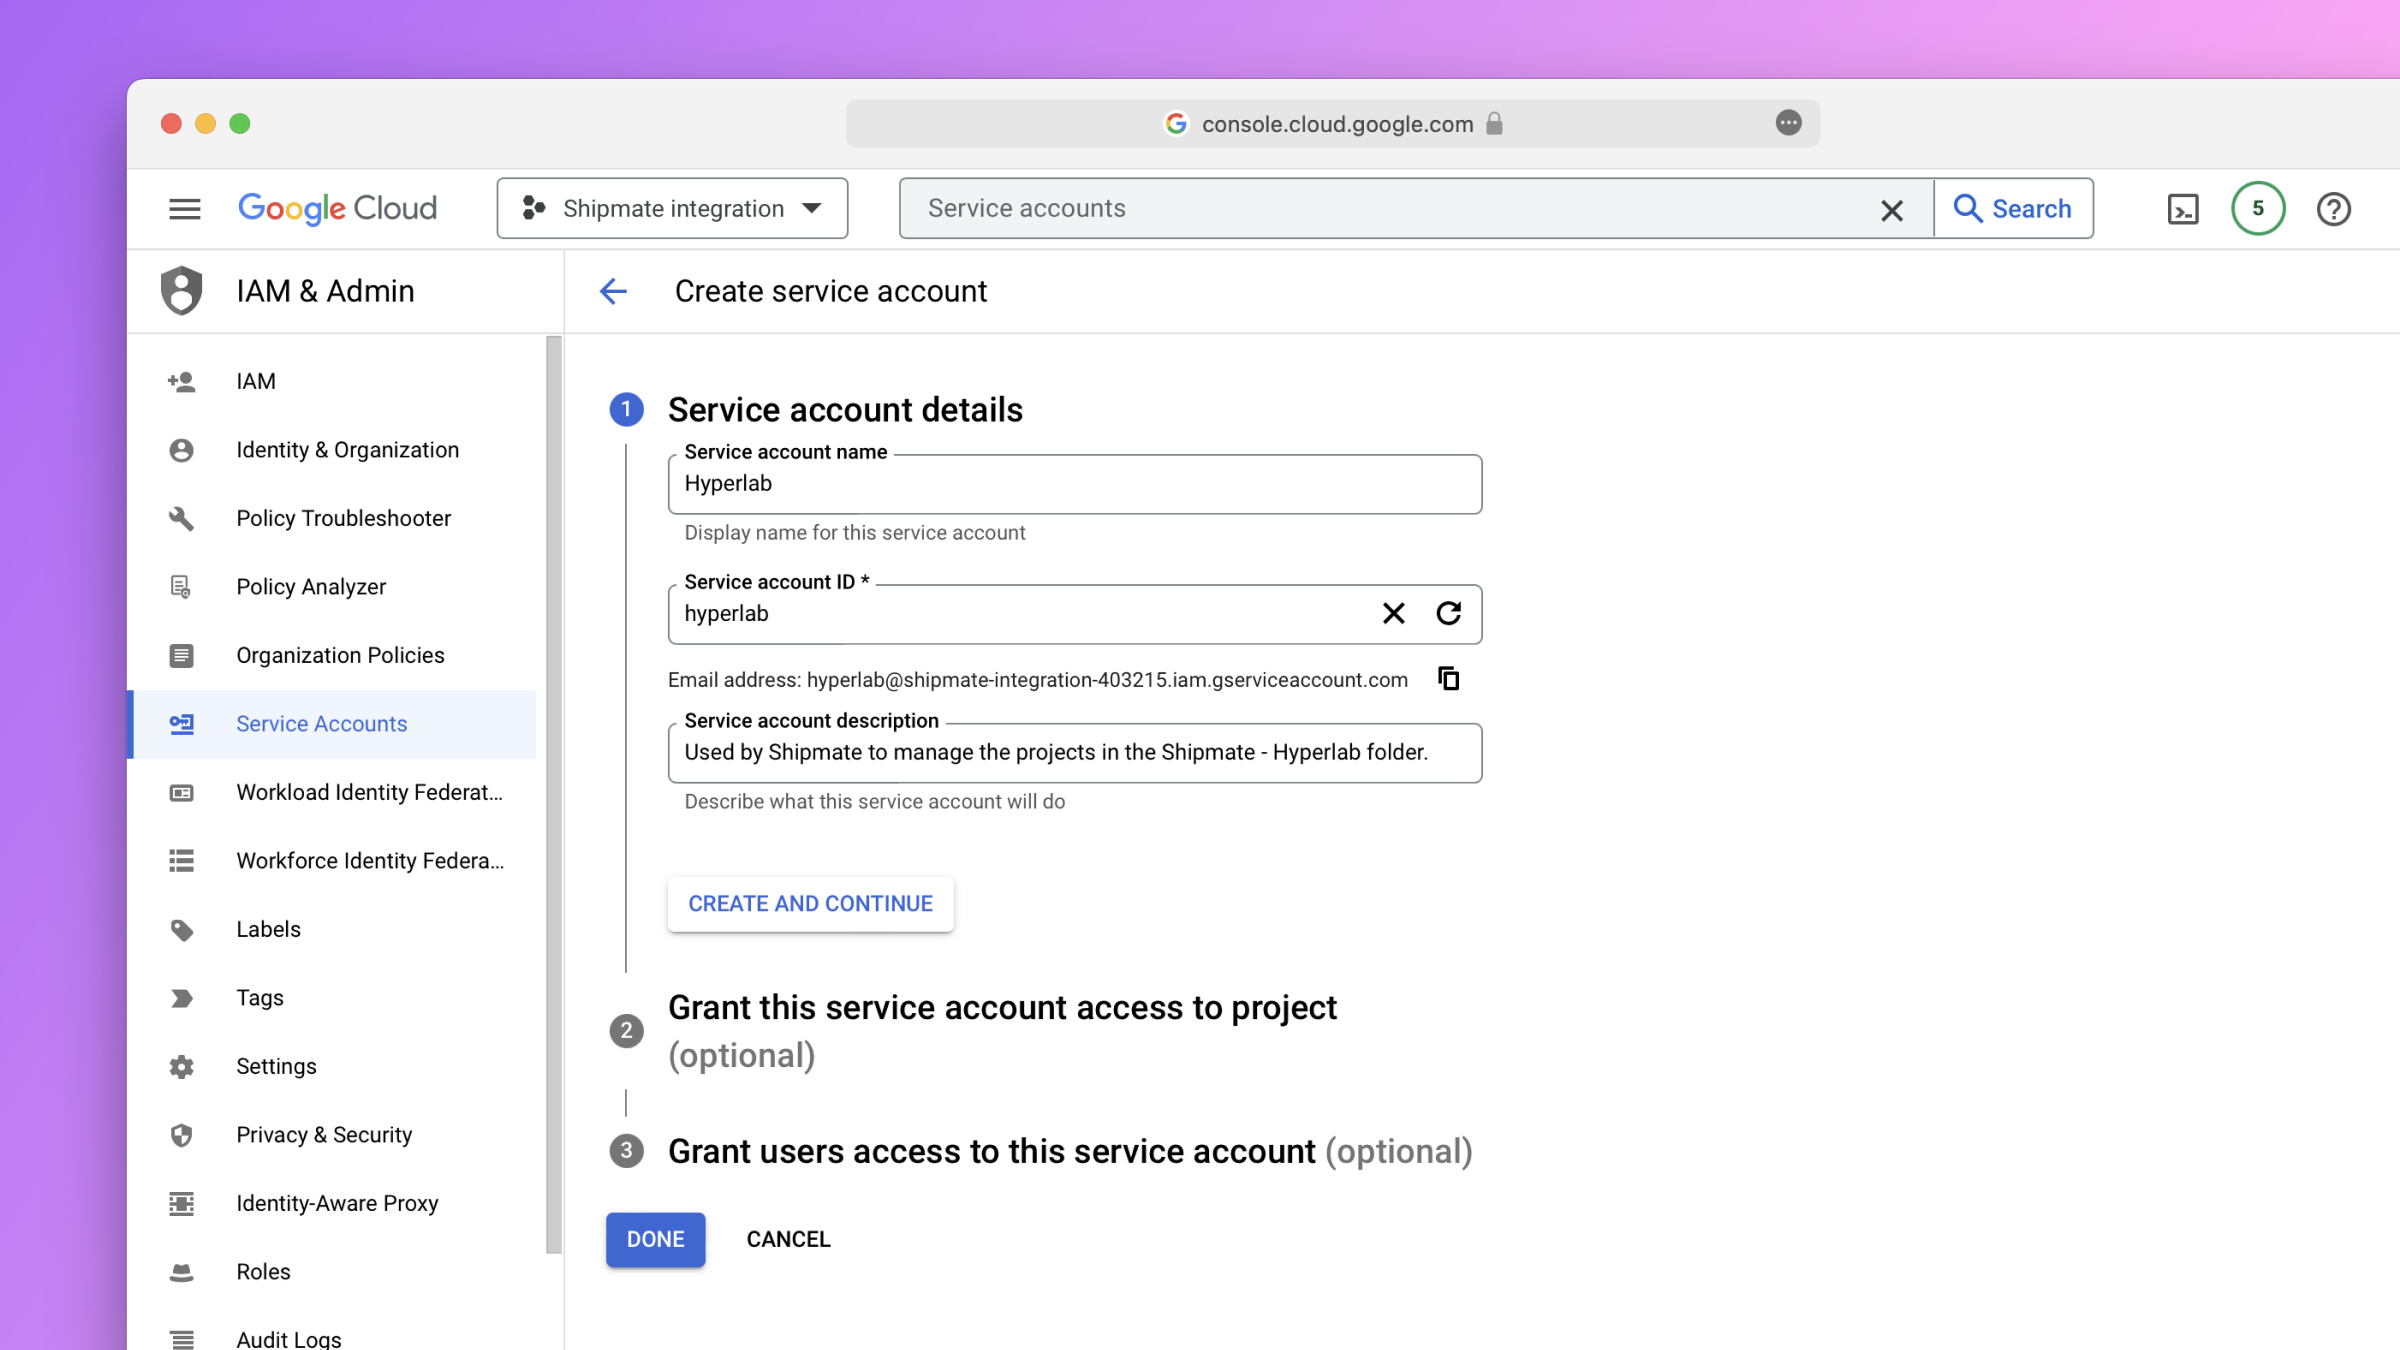
Fill out the form that appears.
- For the name of the service account, we recommend using the name of your Shipmate organization, for example, Hyperlab.
- For the description of the service account, we recommend using something like Used by Shipmate to manage the projects in the Shipmate - Hyperlab folder.
To complete the creation, click on the button labeled Done below the form.
Finally, copy the email address of the service account, as you will need it in a few minutes.

Creating a private key
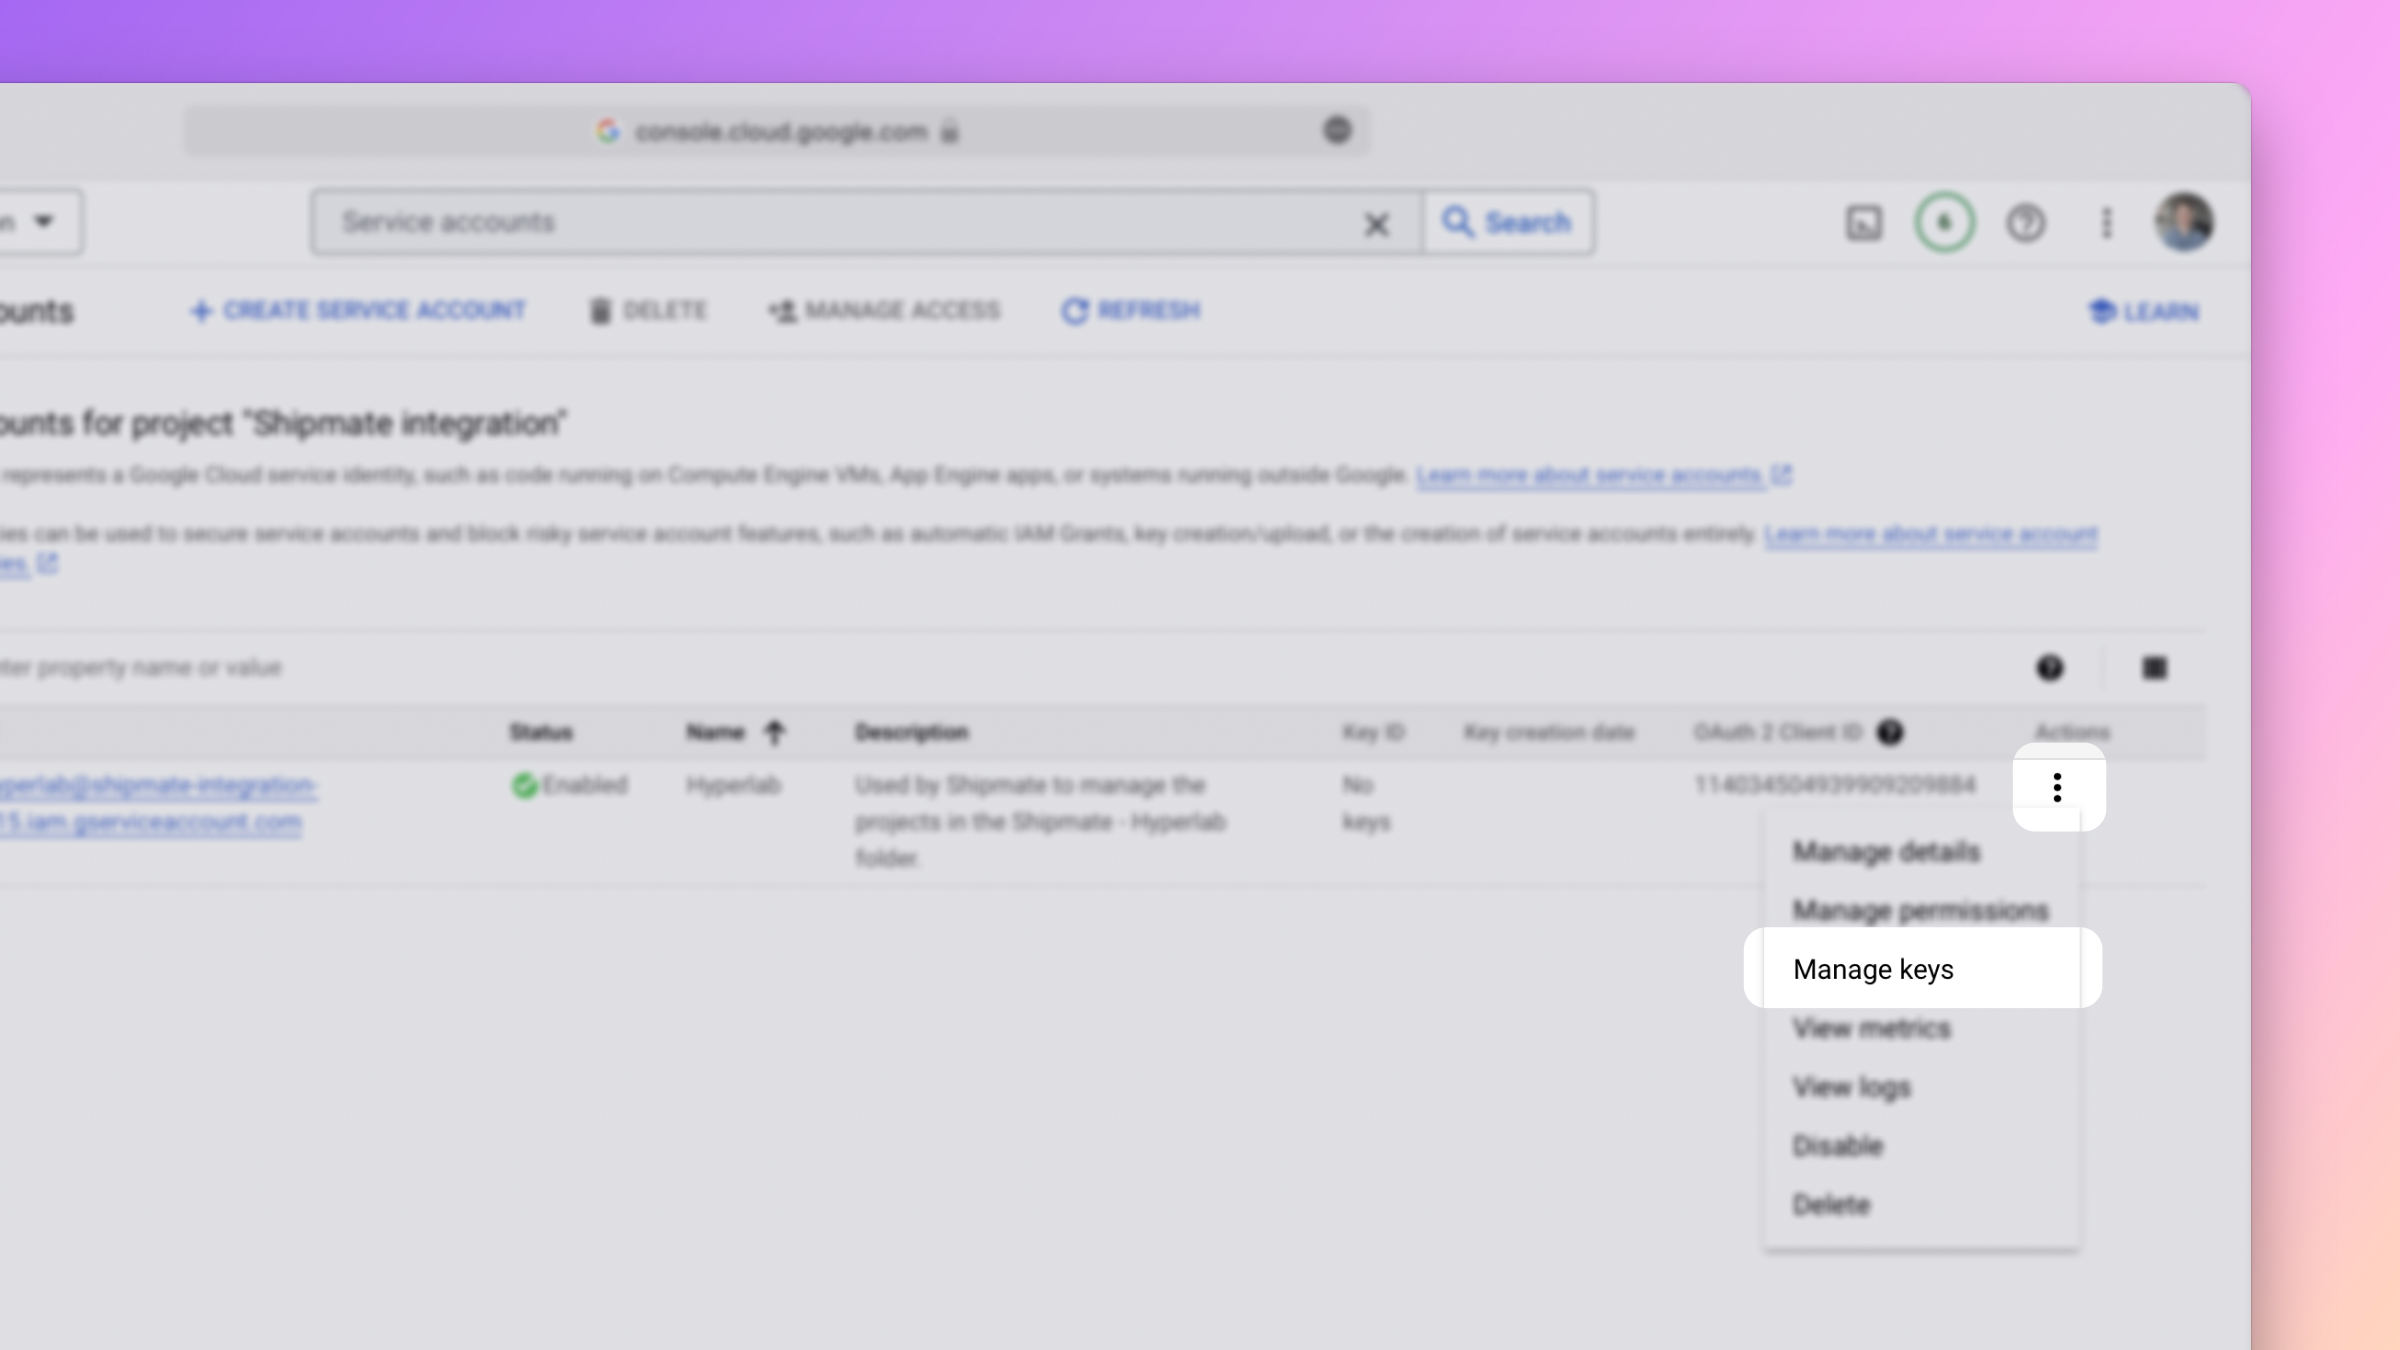
On the Service accounts page, click the ellipsis of the service account you just created. In the menu that appears, click on Manage keys.
You should now see the Keys page of the service account you just created.
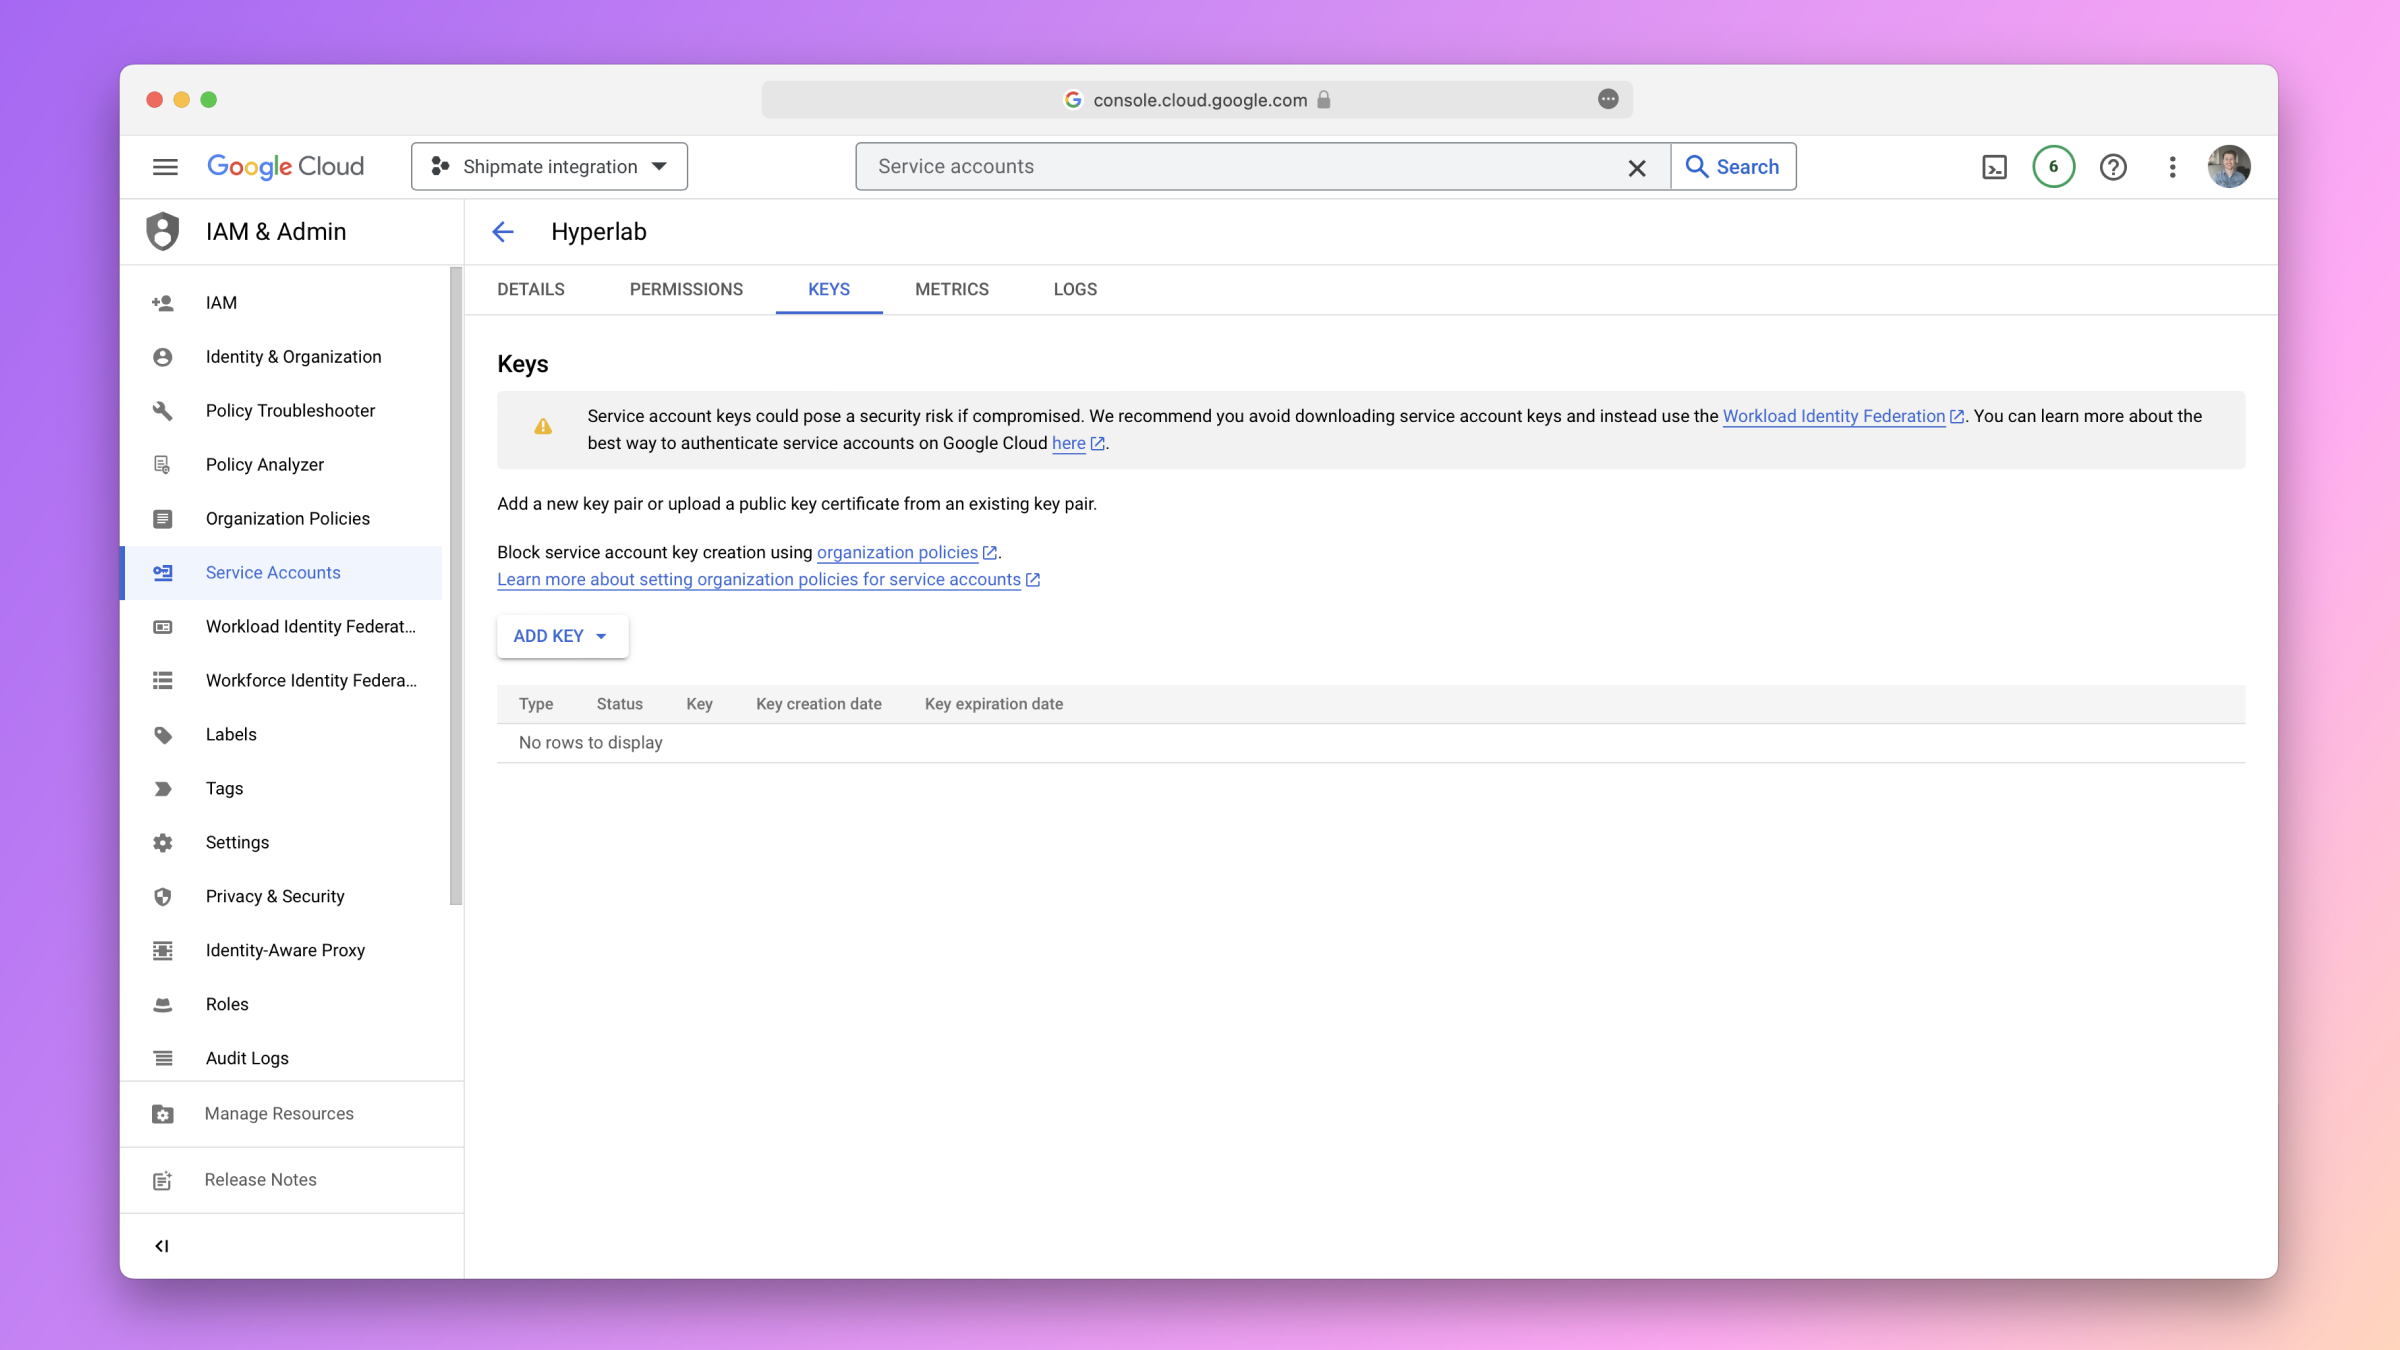
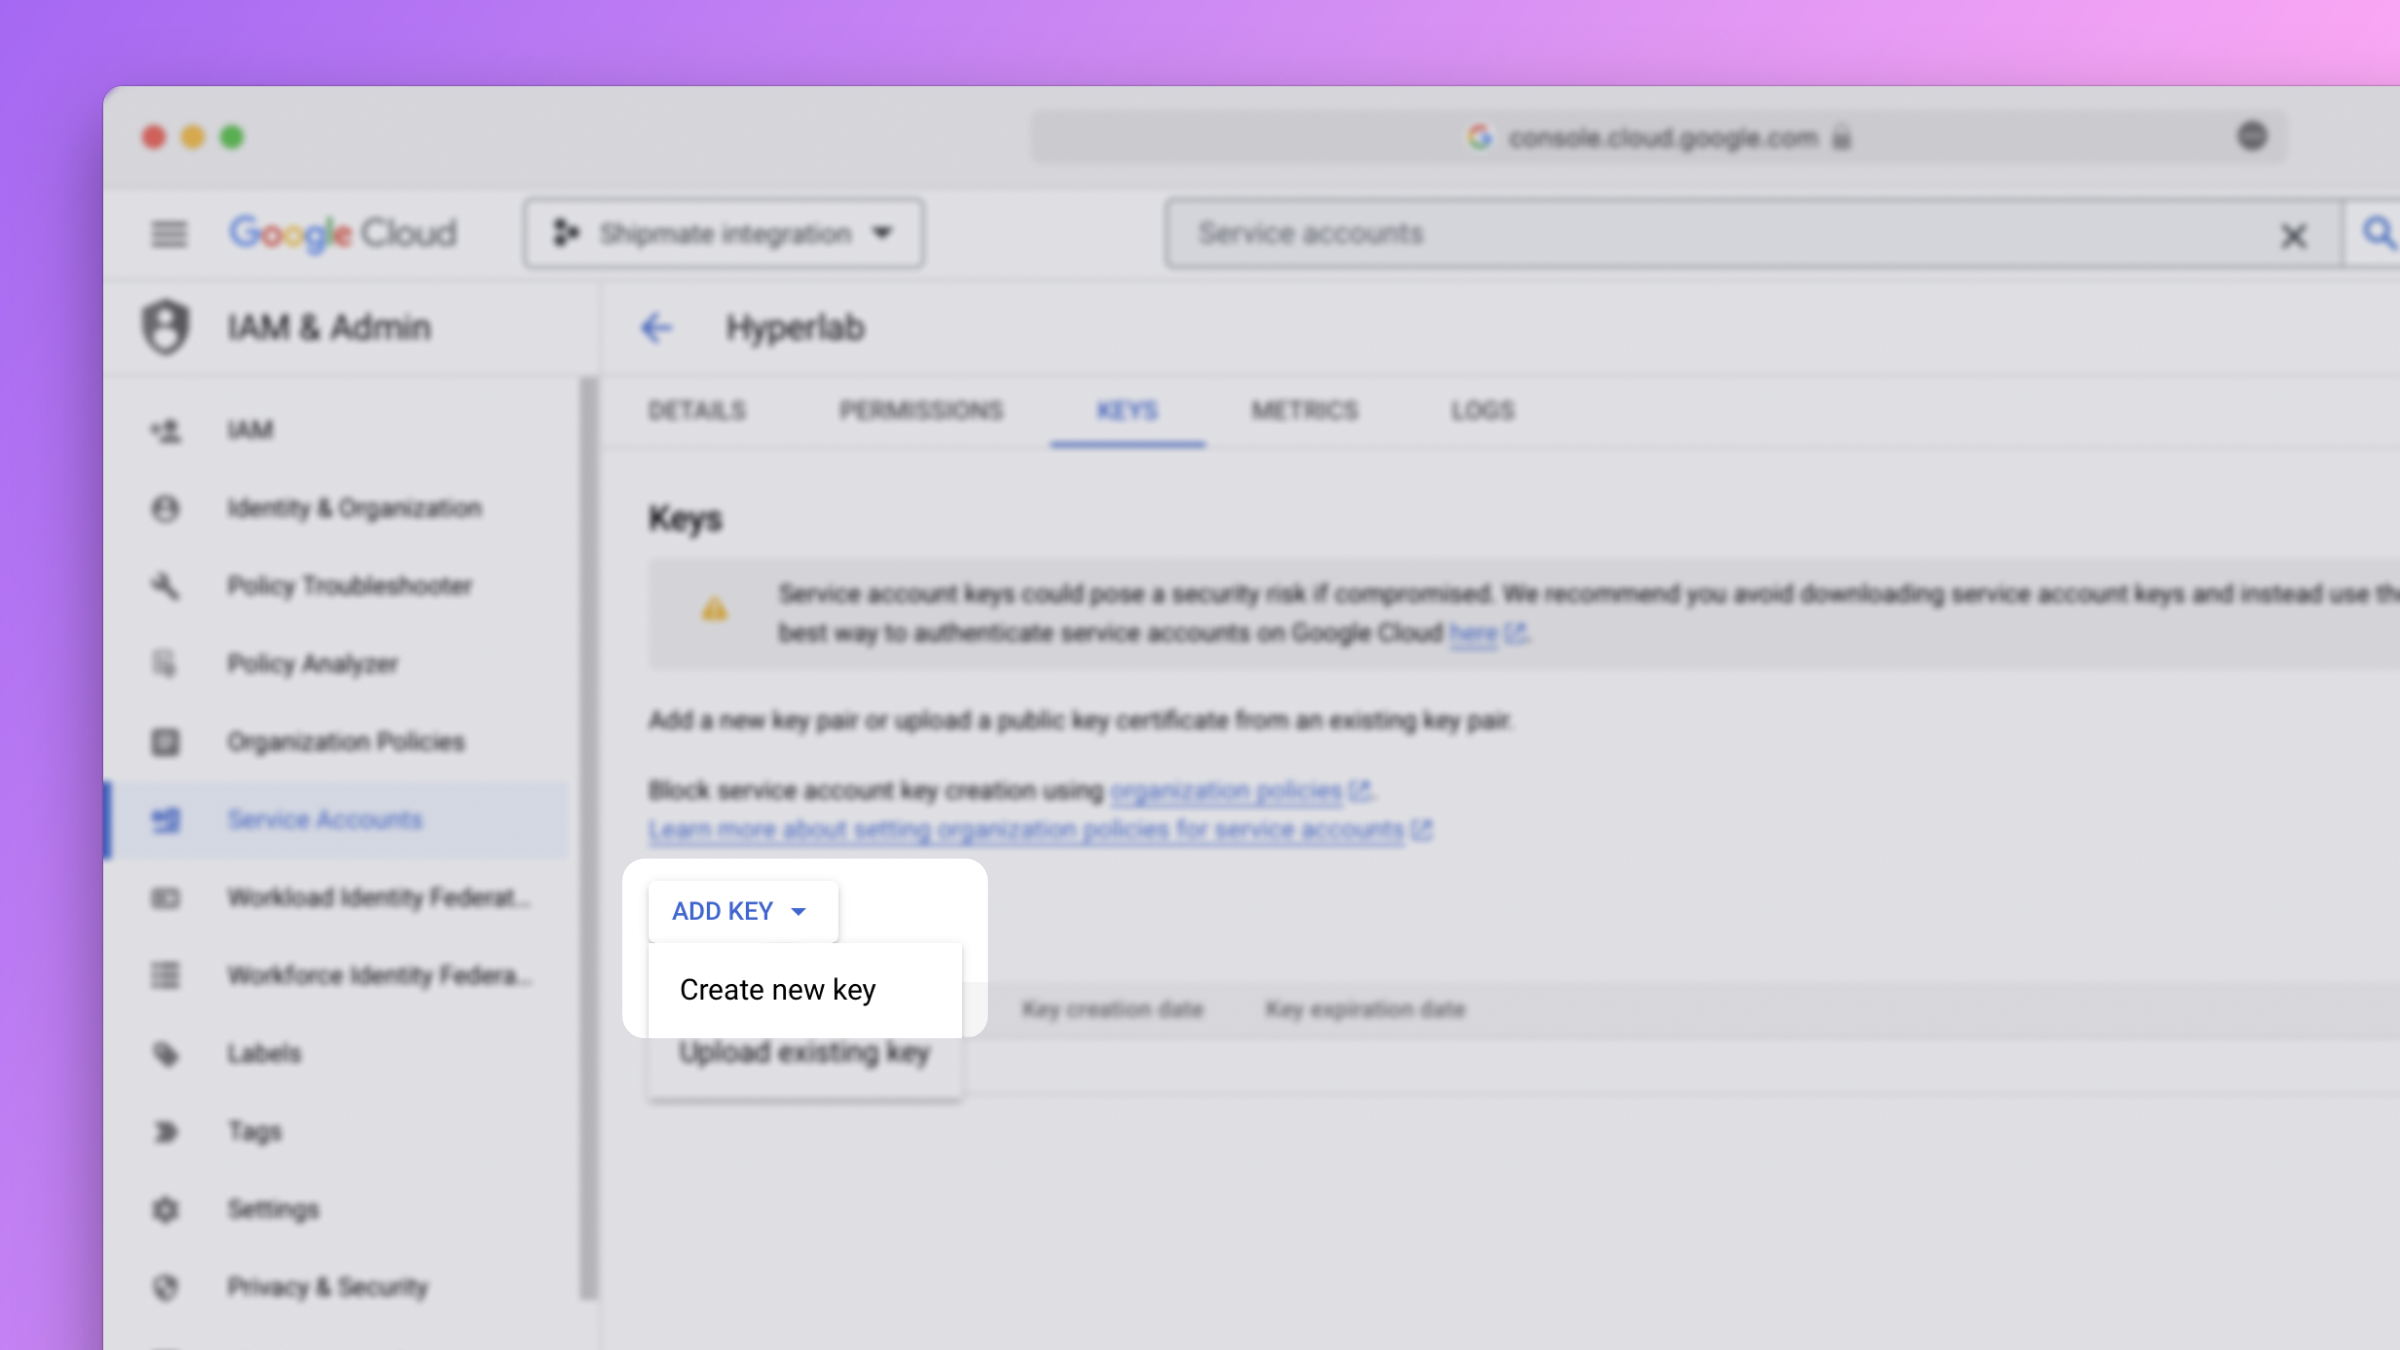
Click on the button labeled Add key at the top of the page. In the menu that appears, click on Create new key.
In the modal that appears, select JSON as the key type and click on create.
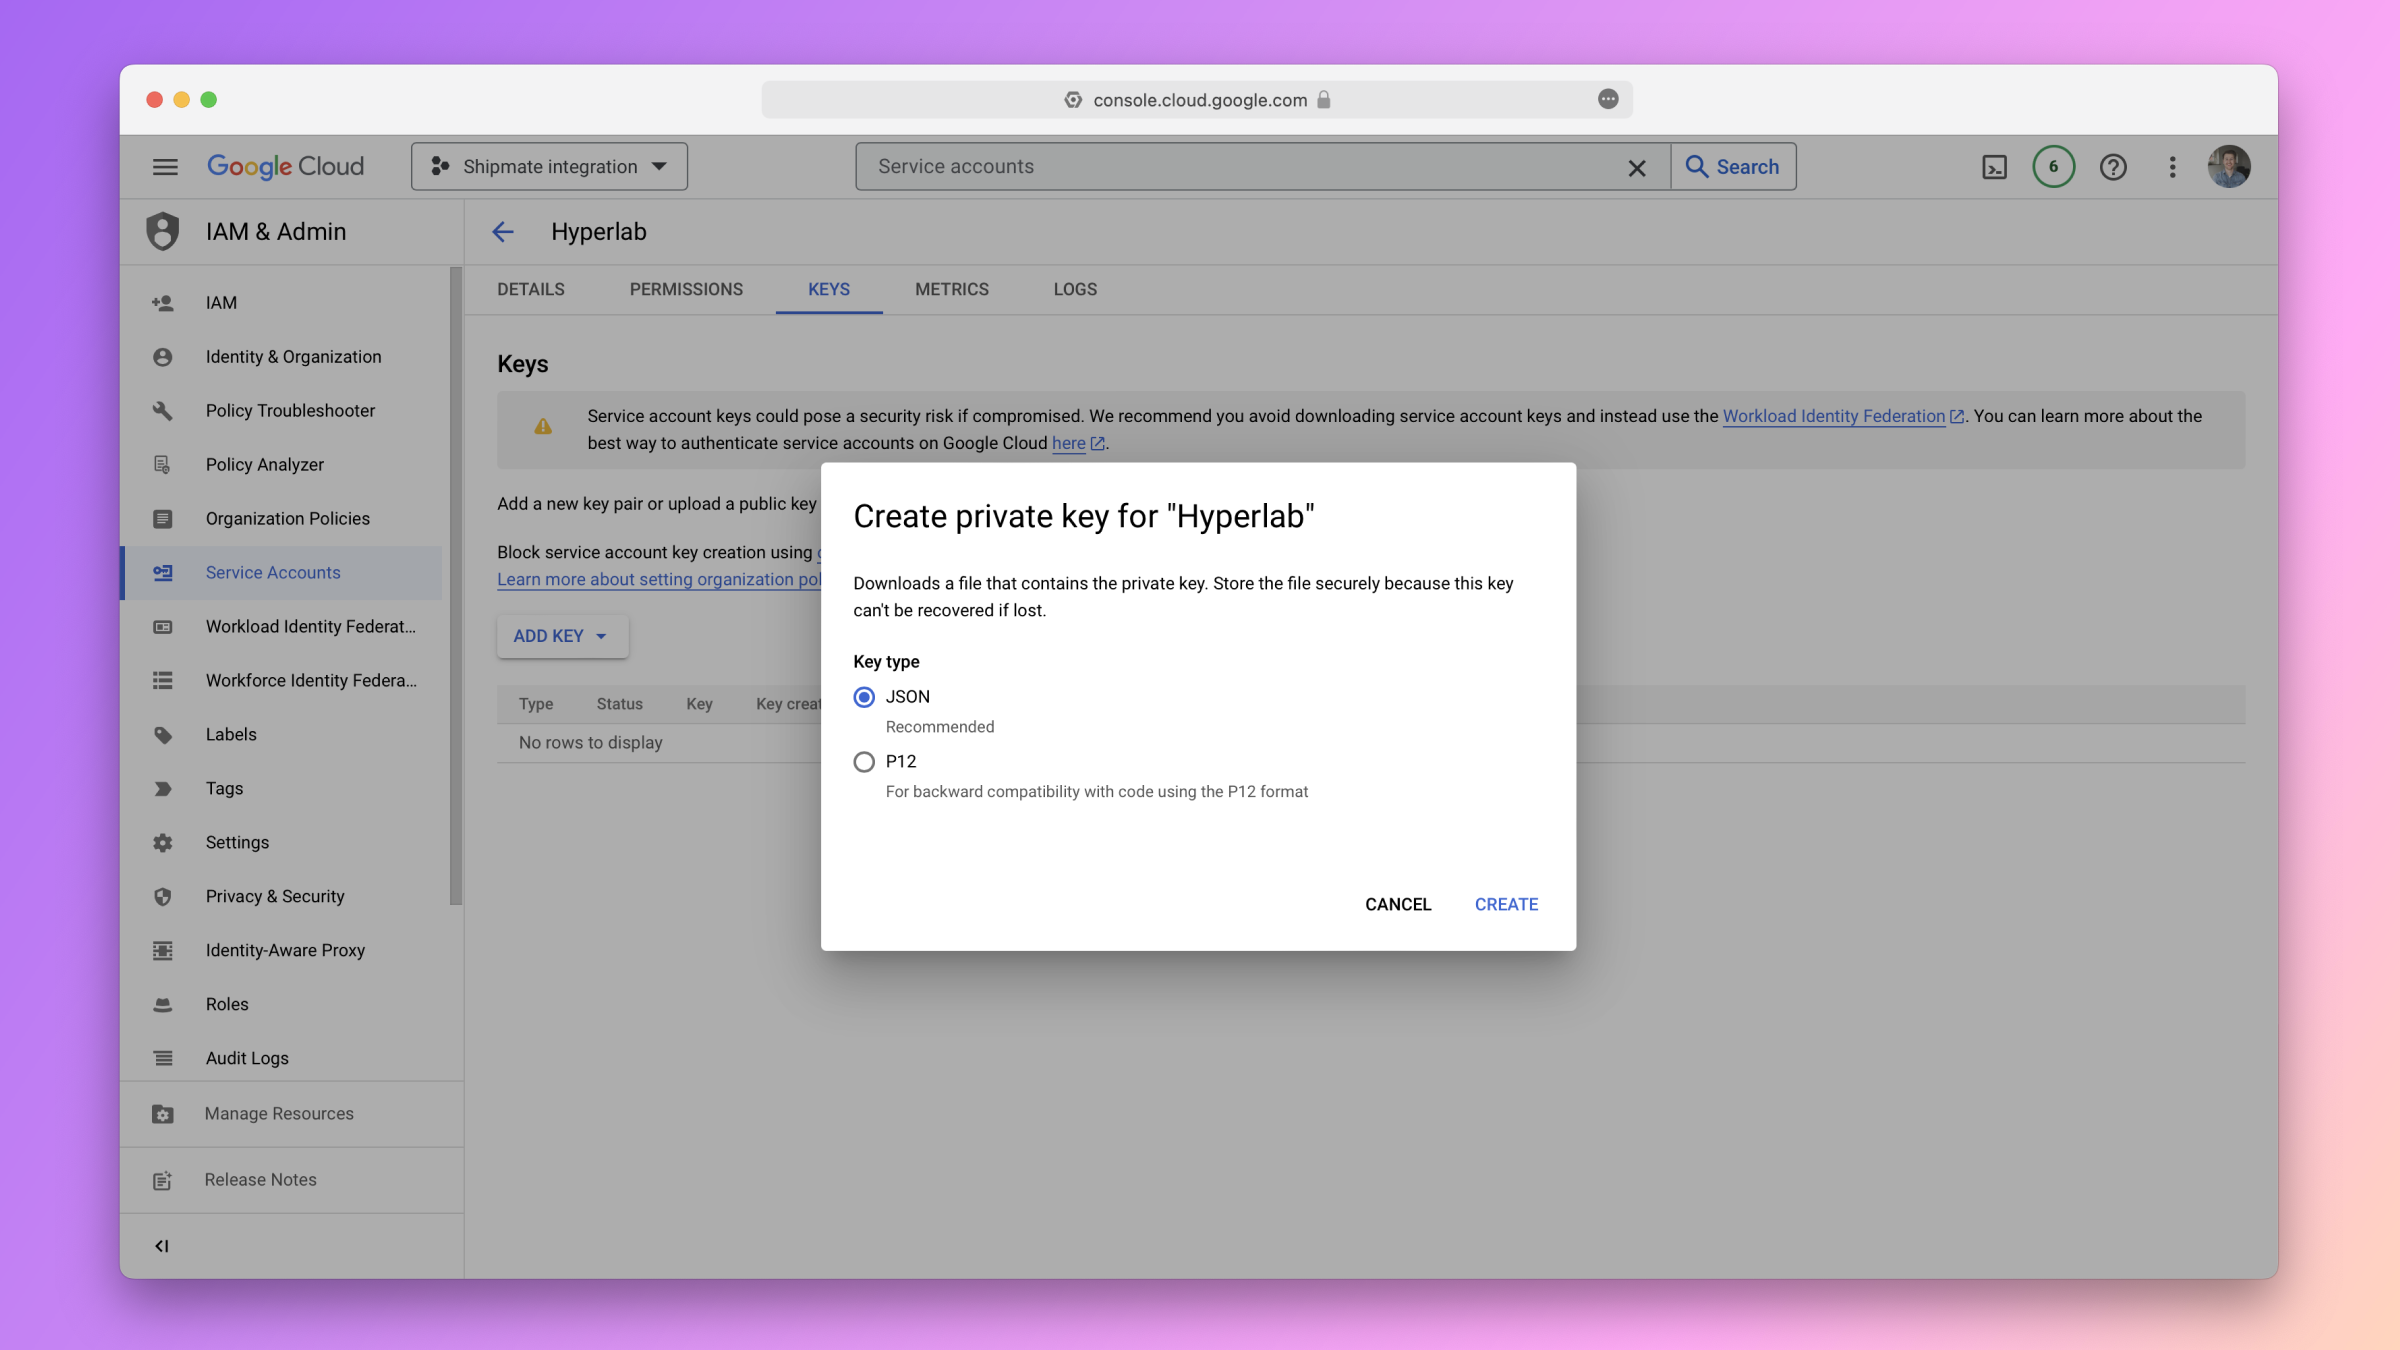
You should now see a JSON file being downloaded, which contains the private key of your service account. Copy the contents of this file, as you will need to enter it in Shipmate as part of the last step in this guide.
Granting the required permissions
Shipmate requires the service account to have the following permissions:
- Organization level
- Billing Account User
- Folder level
- Owner
- Folder Admin
- Project Creator
- Compute Shared VPC Access
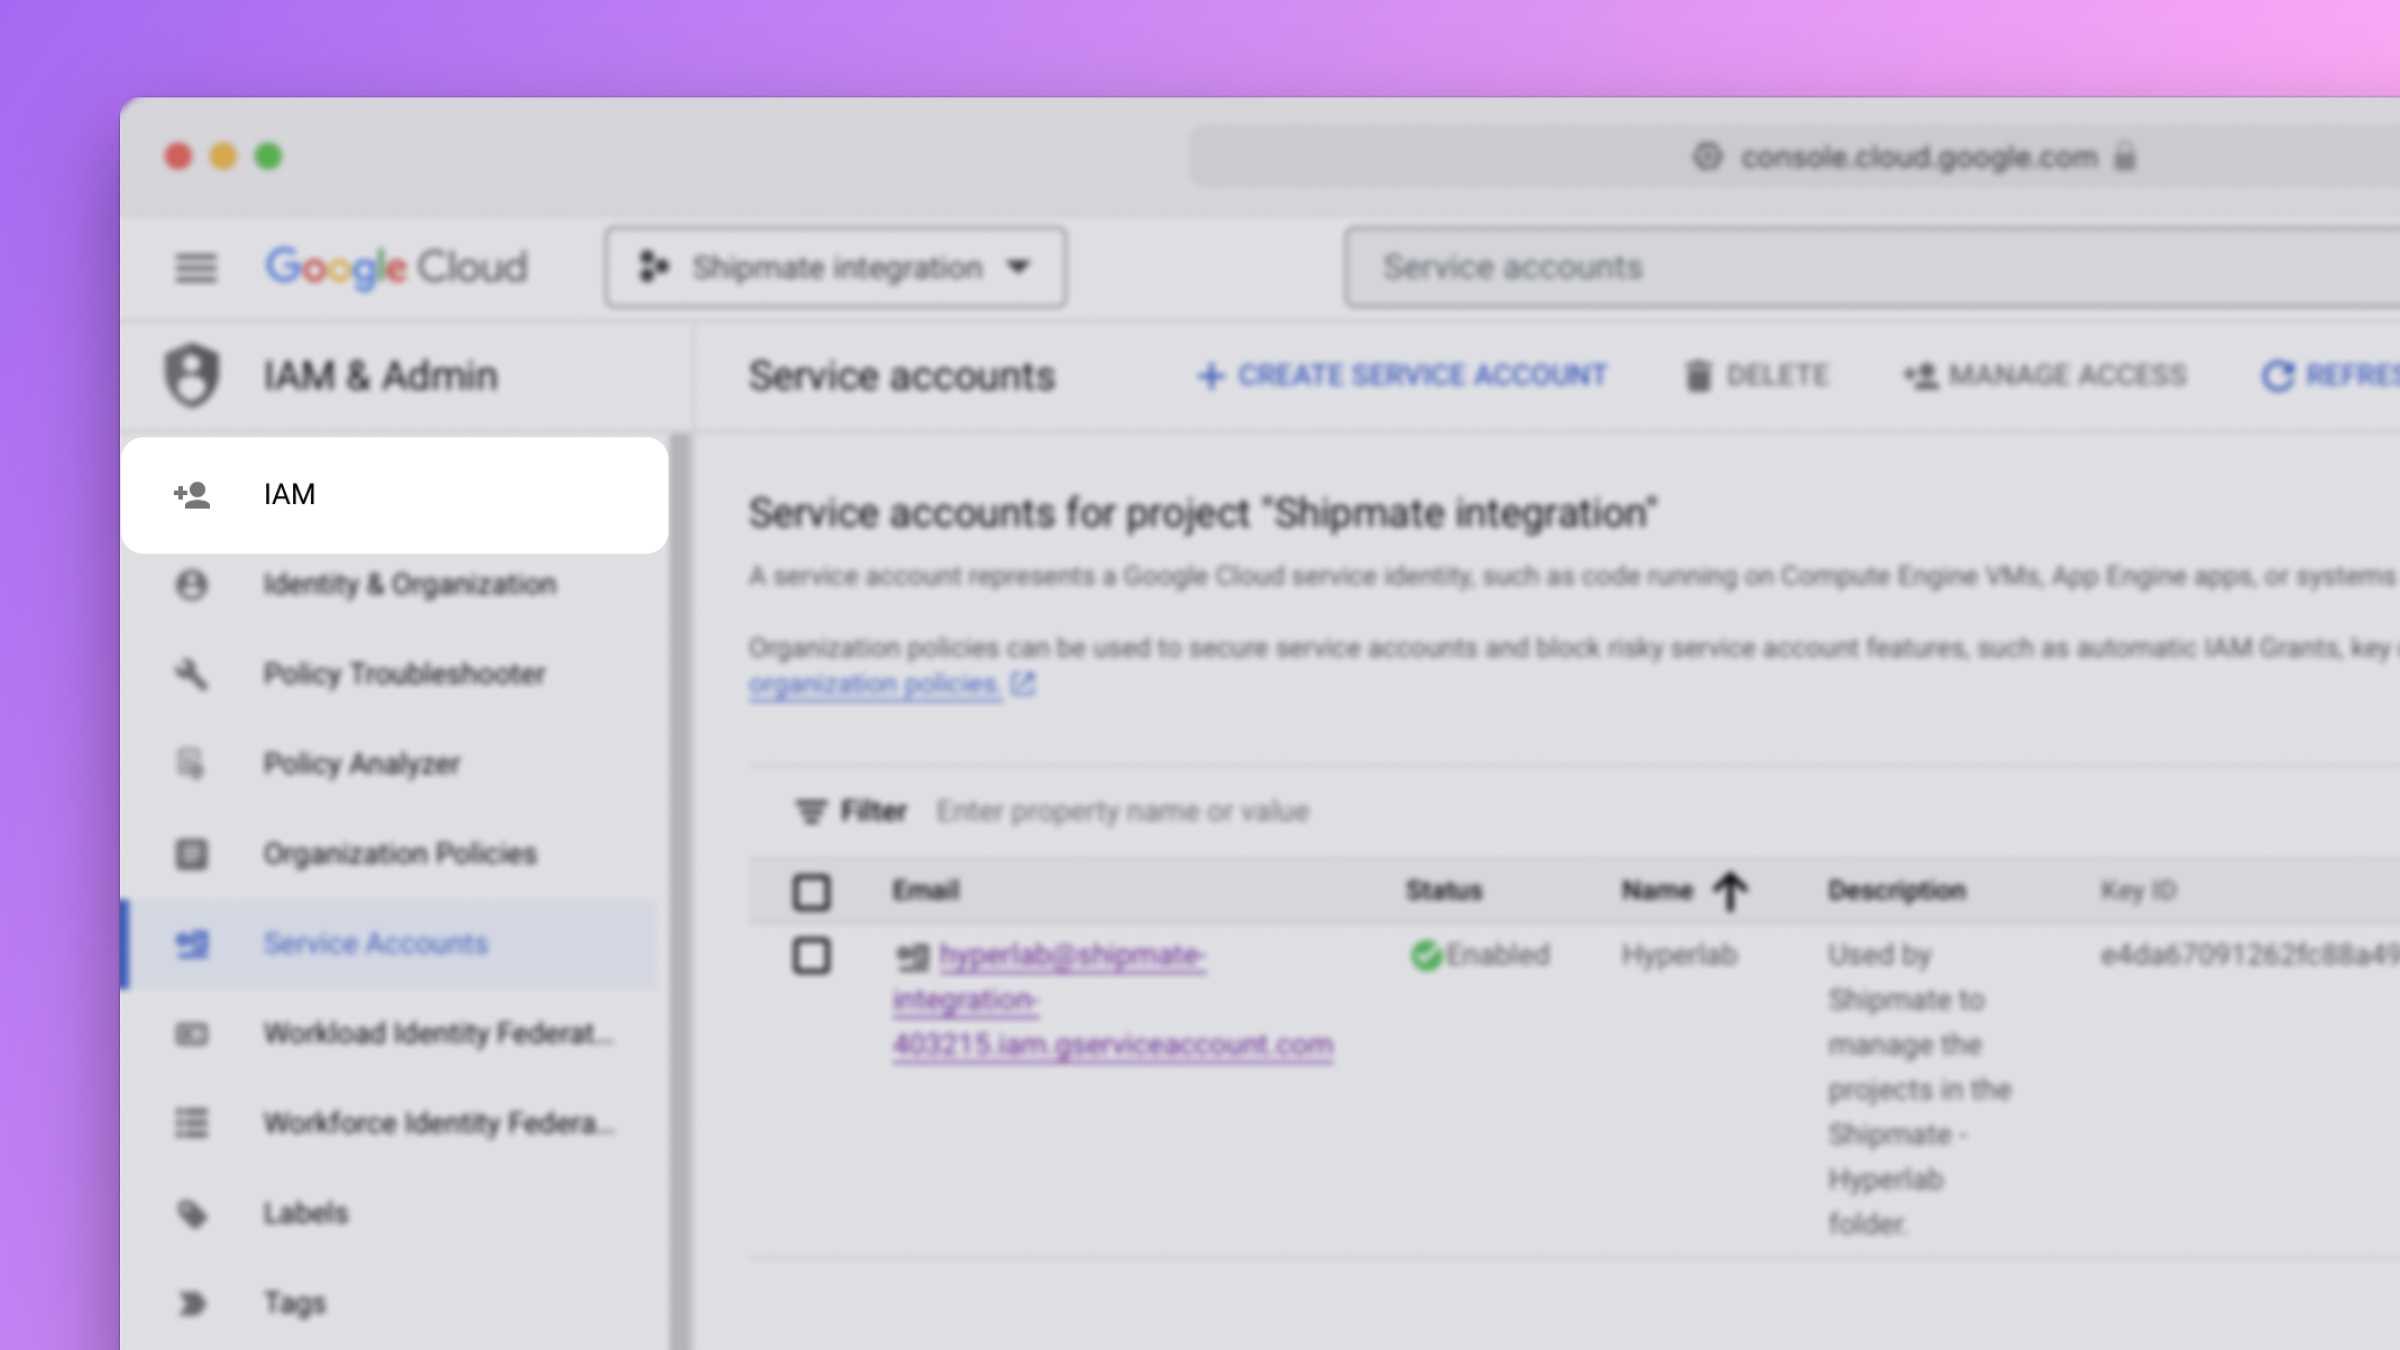
To grant these permissions, go to the Permissions page by clicking on the button labeled IAM in the sidebar of the Service Accounts page.
Organization
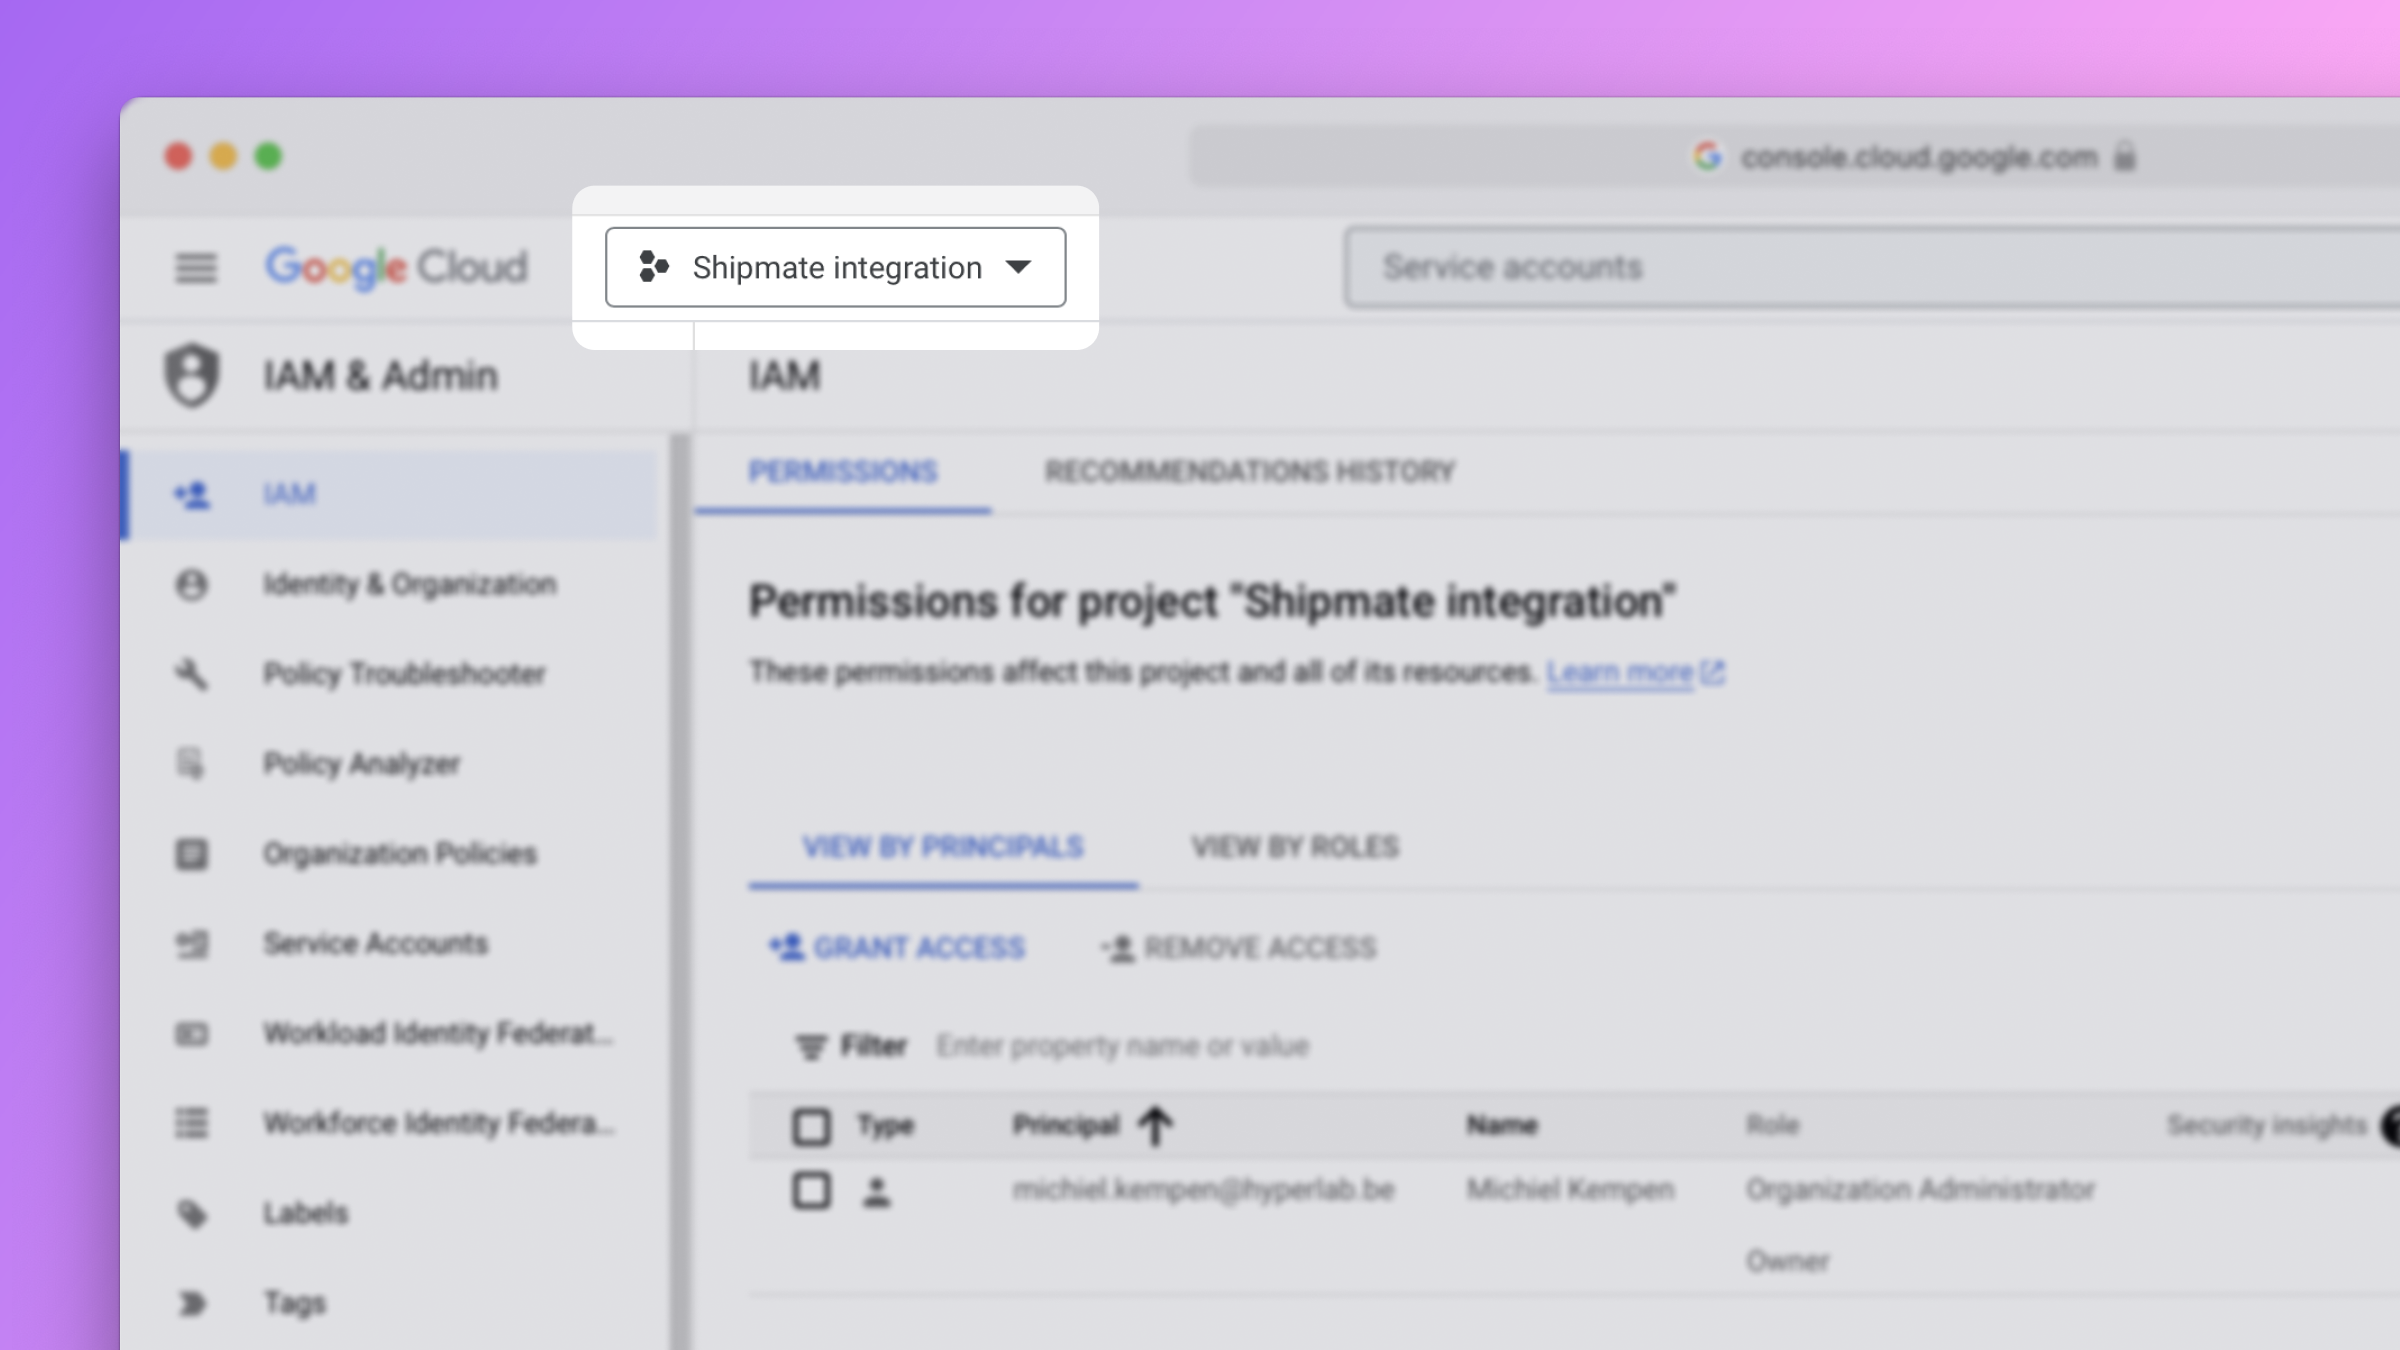
To manage the permissions for your Google Cloud organization, click on the select field at the top of the Google Cloud Console.
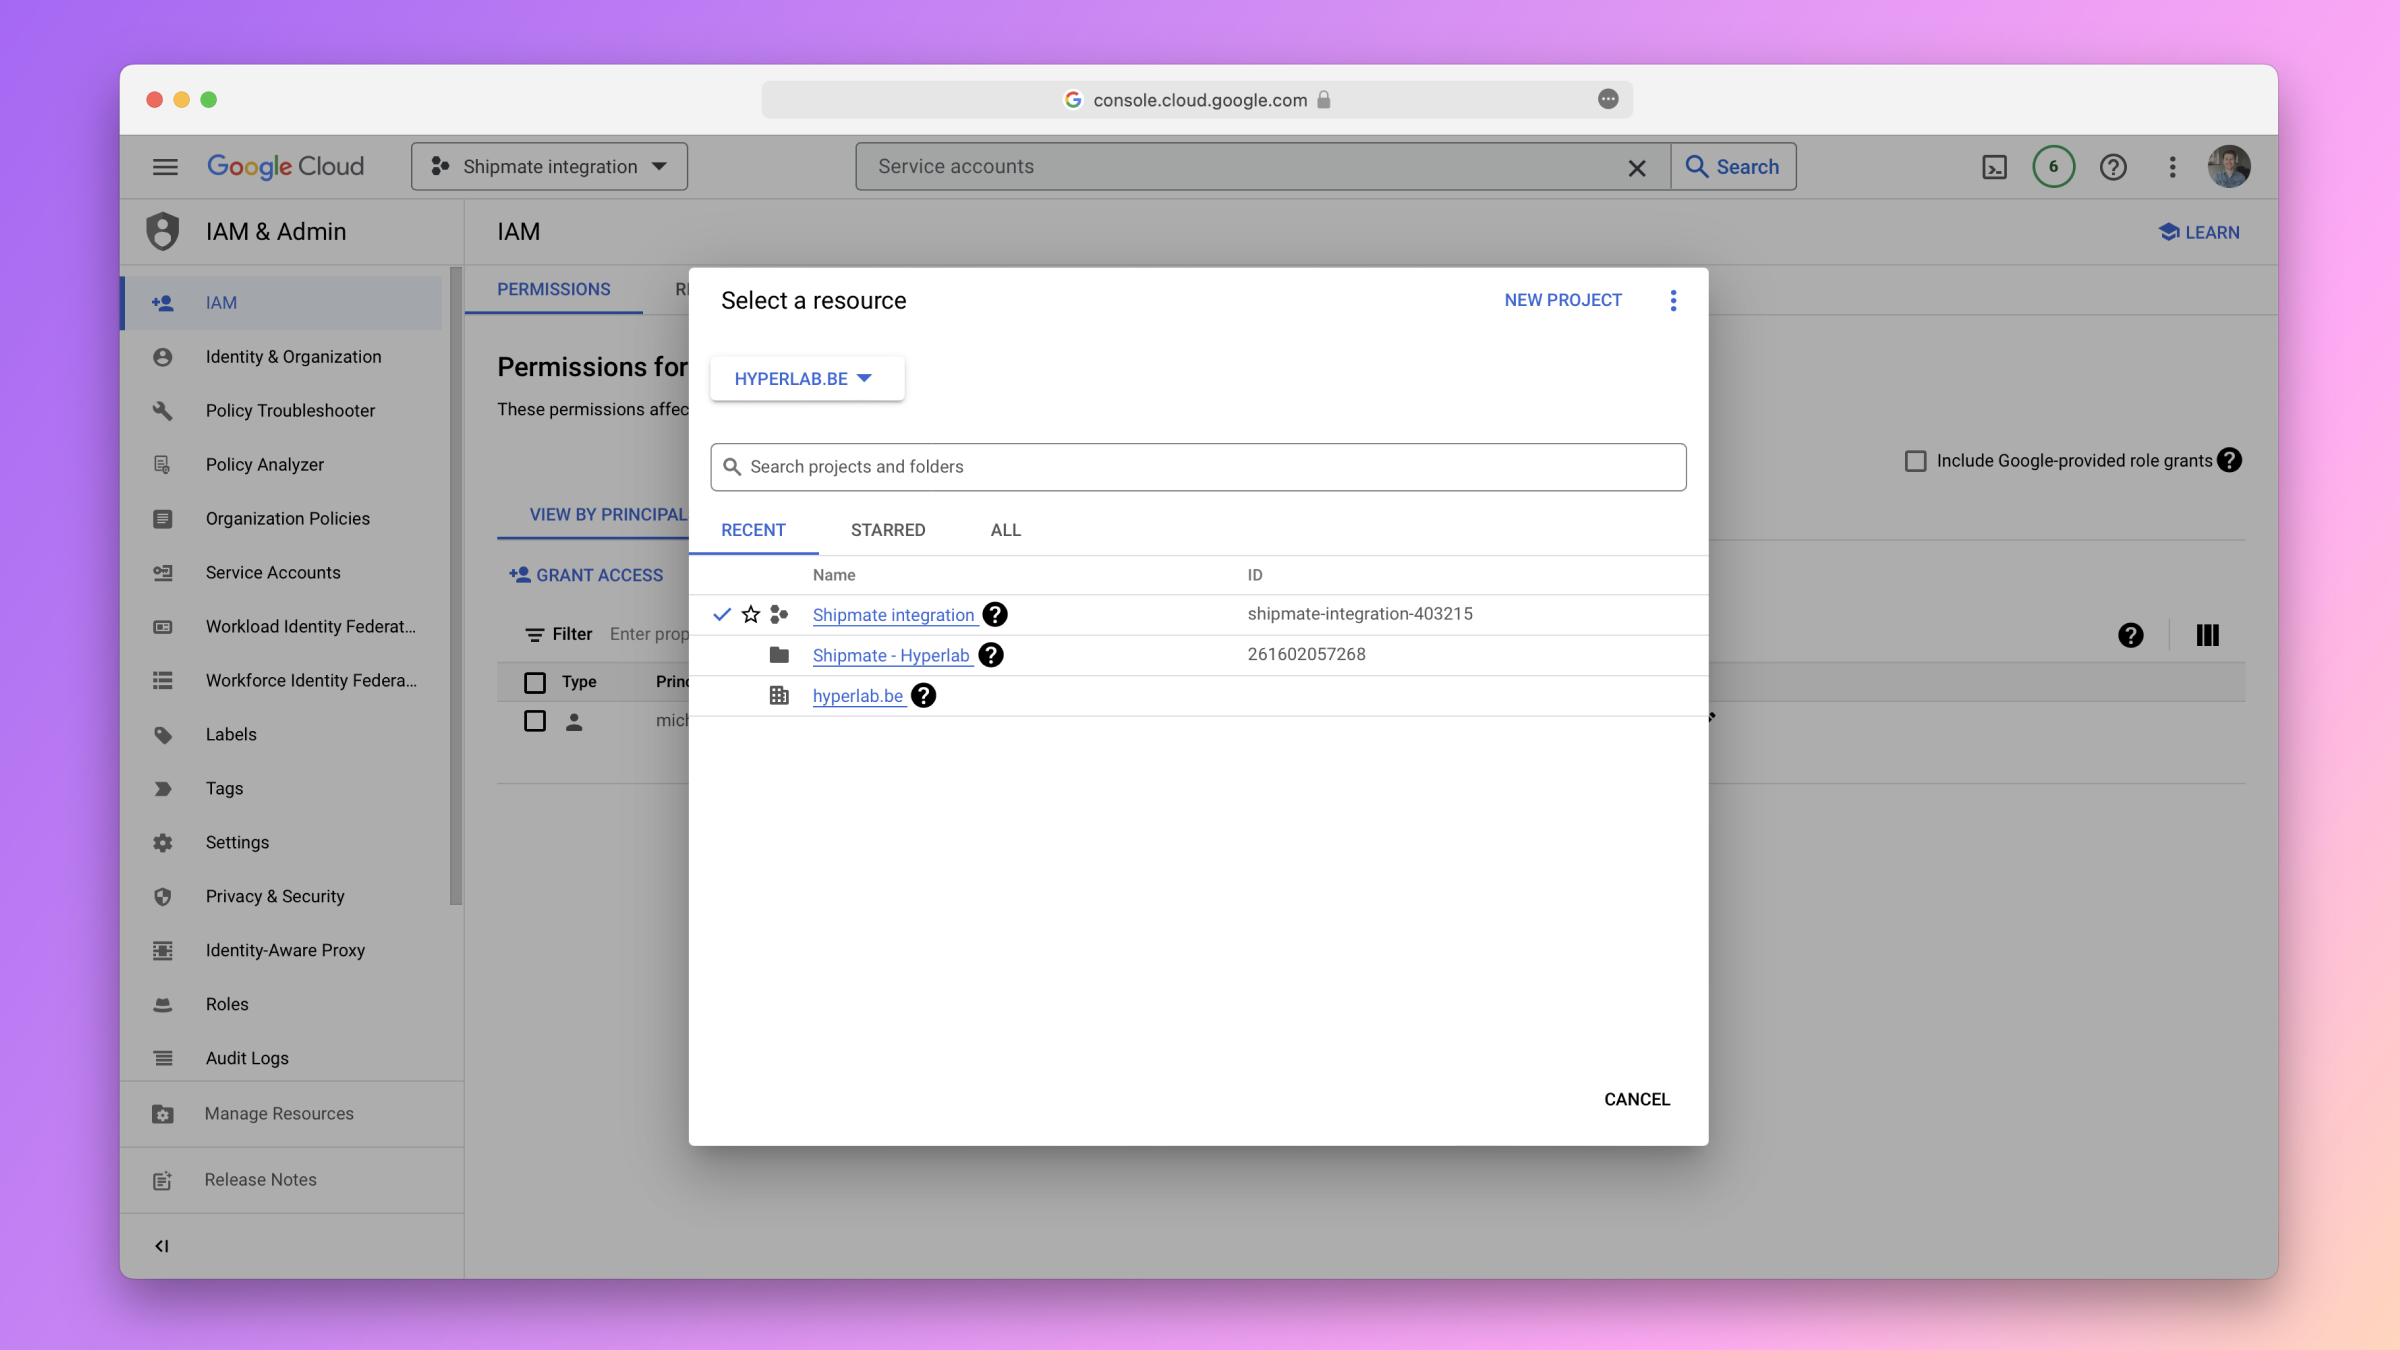
In the modal that appears, click on the name of your organization.
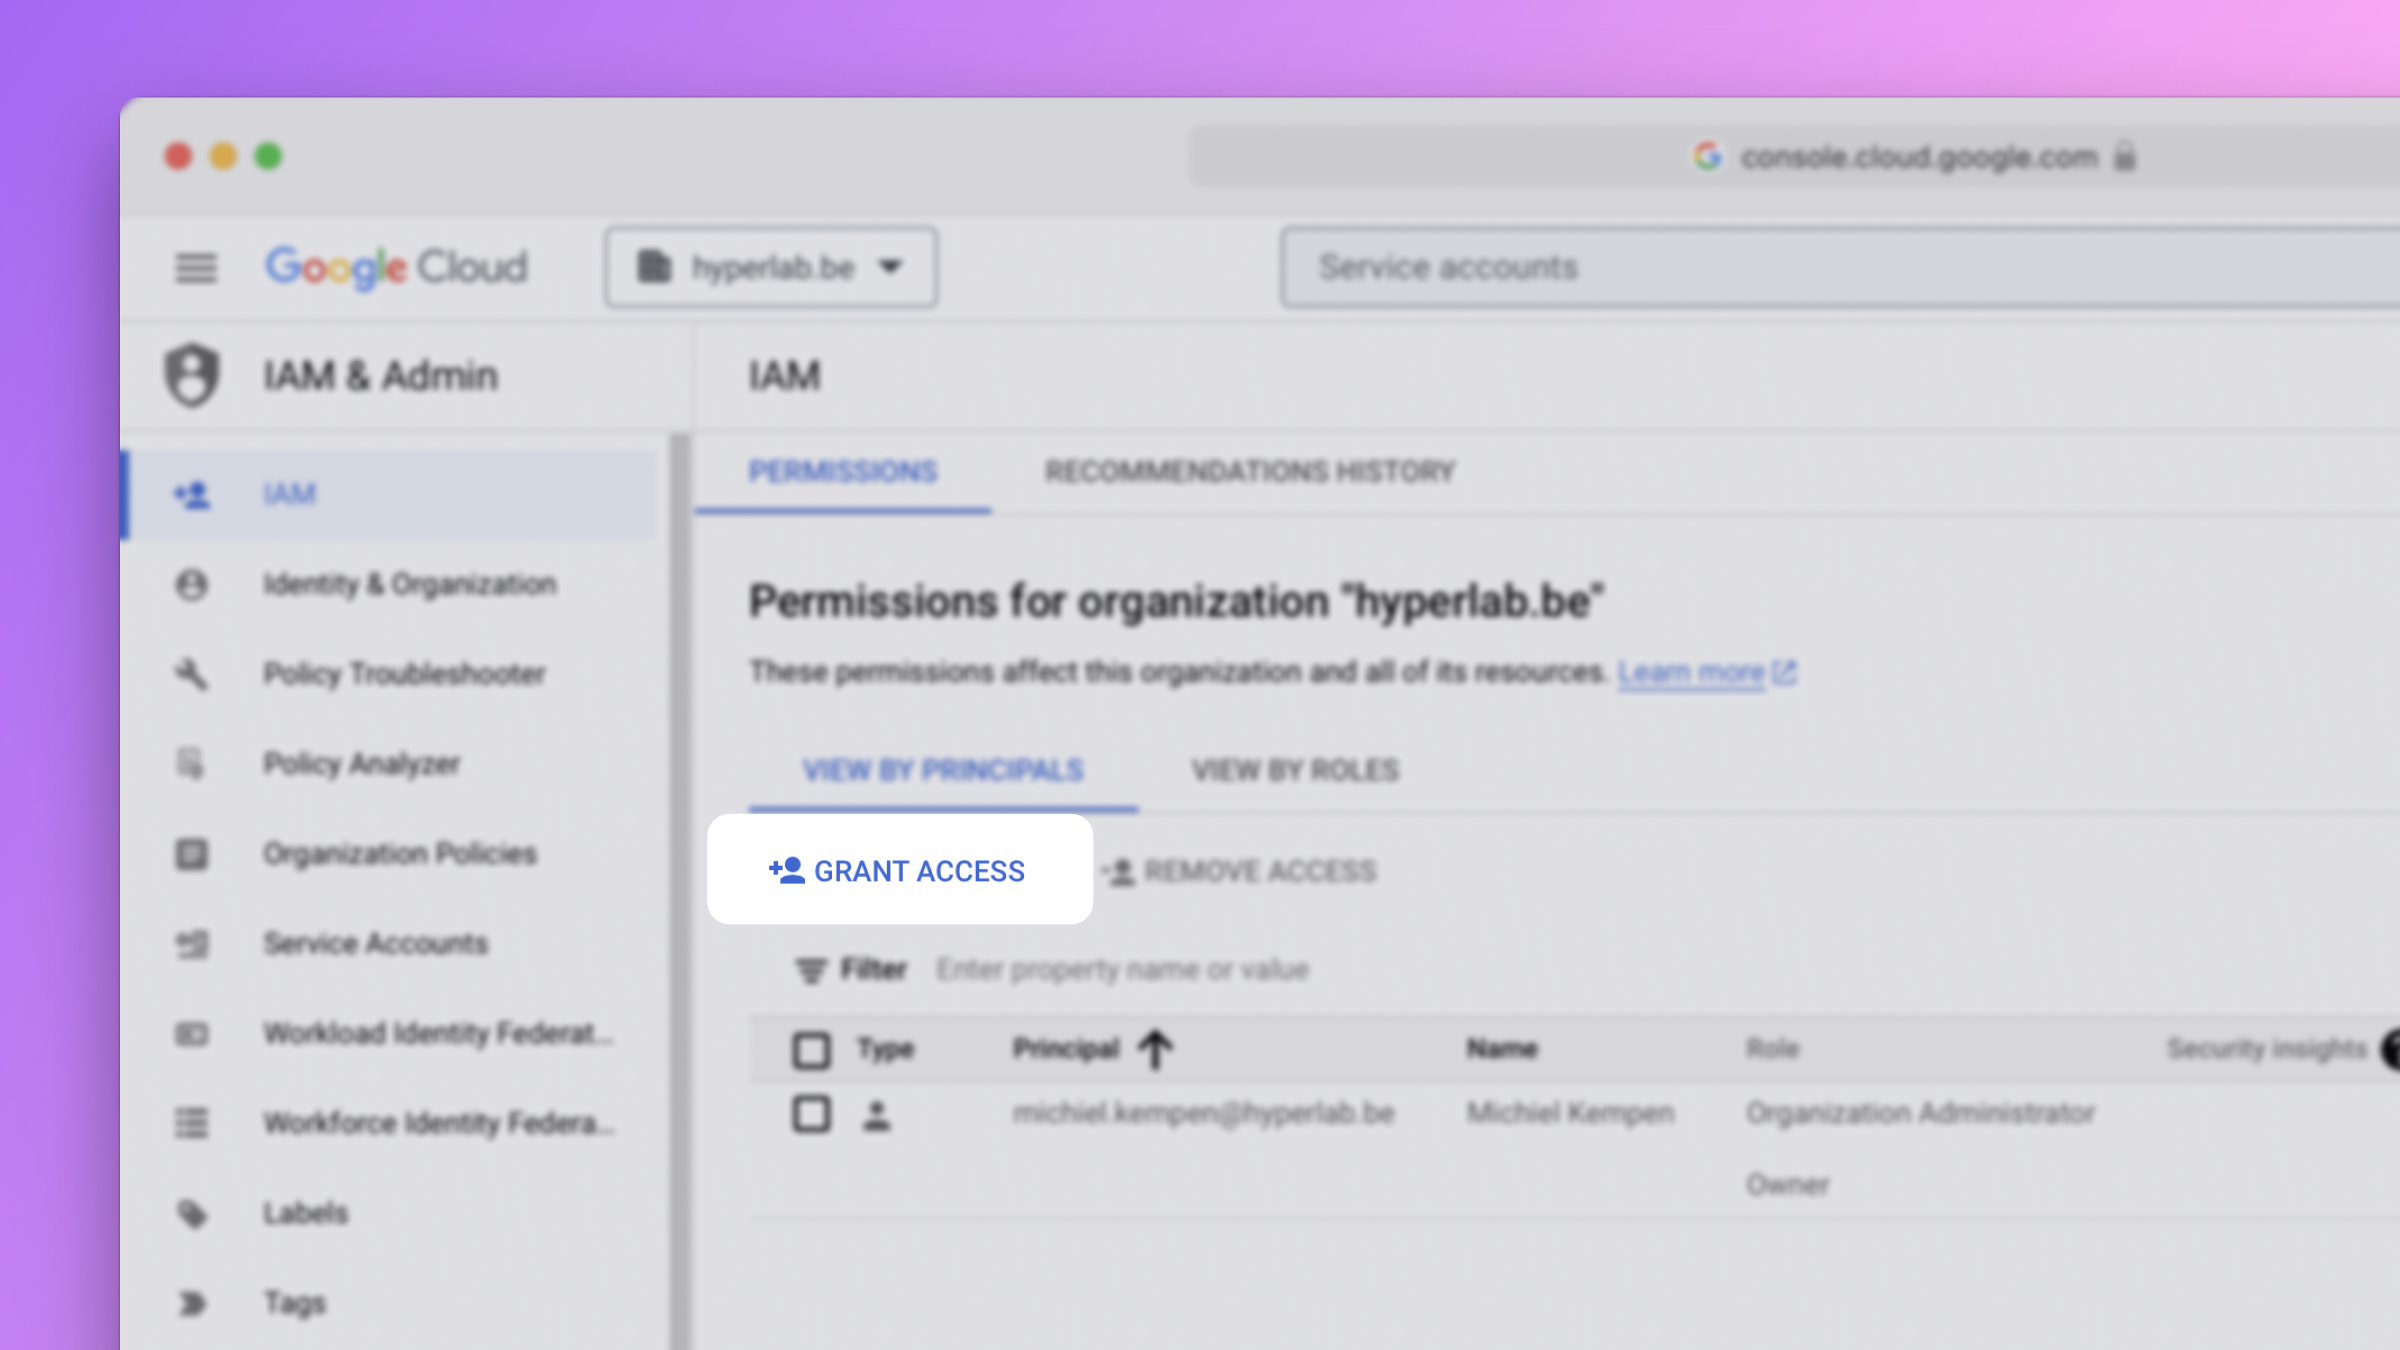
You should now see the permissions for your organization. On this page, click on the button labeled Grant access.
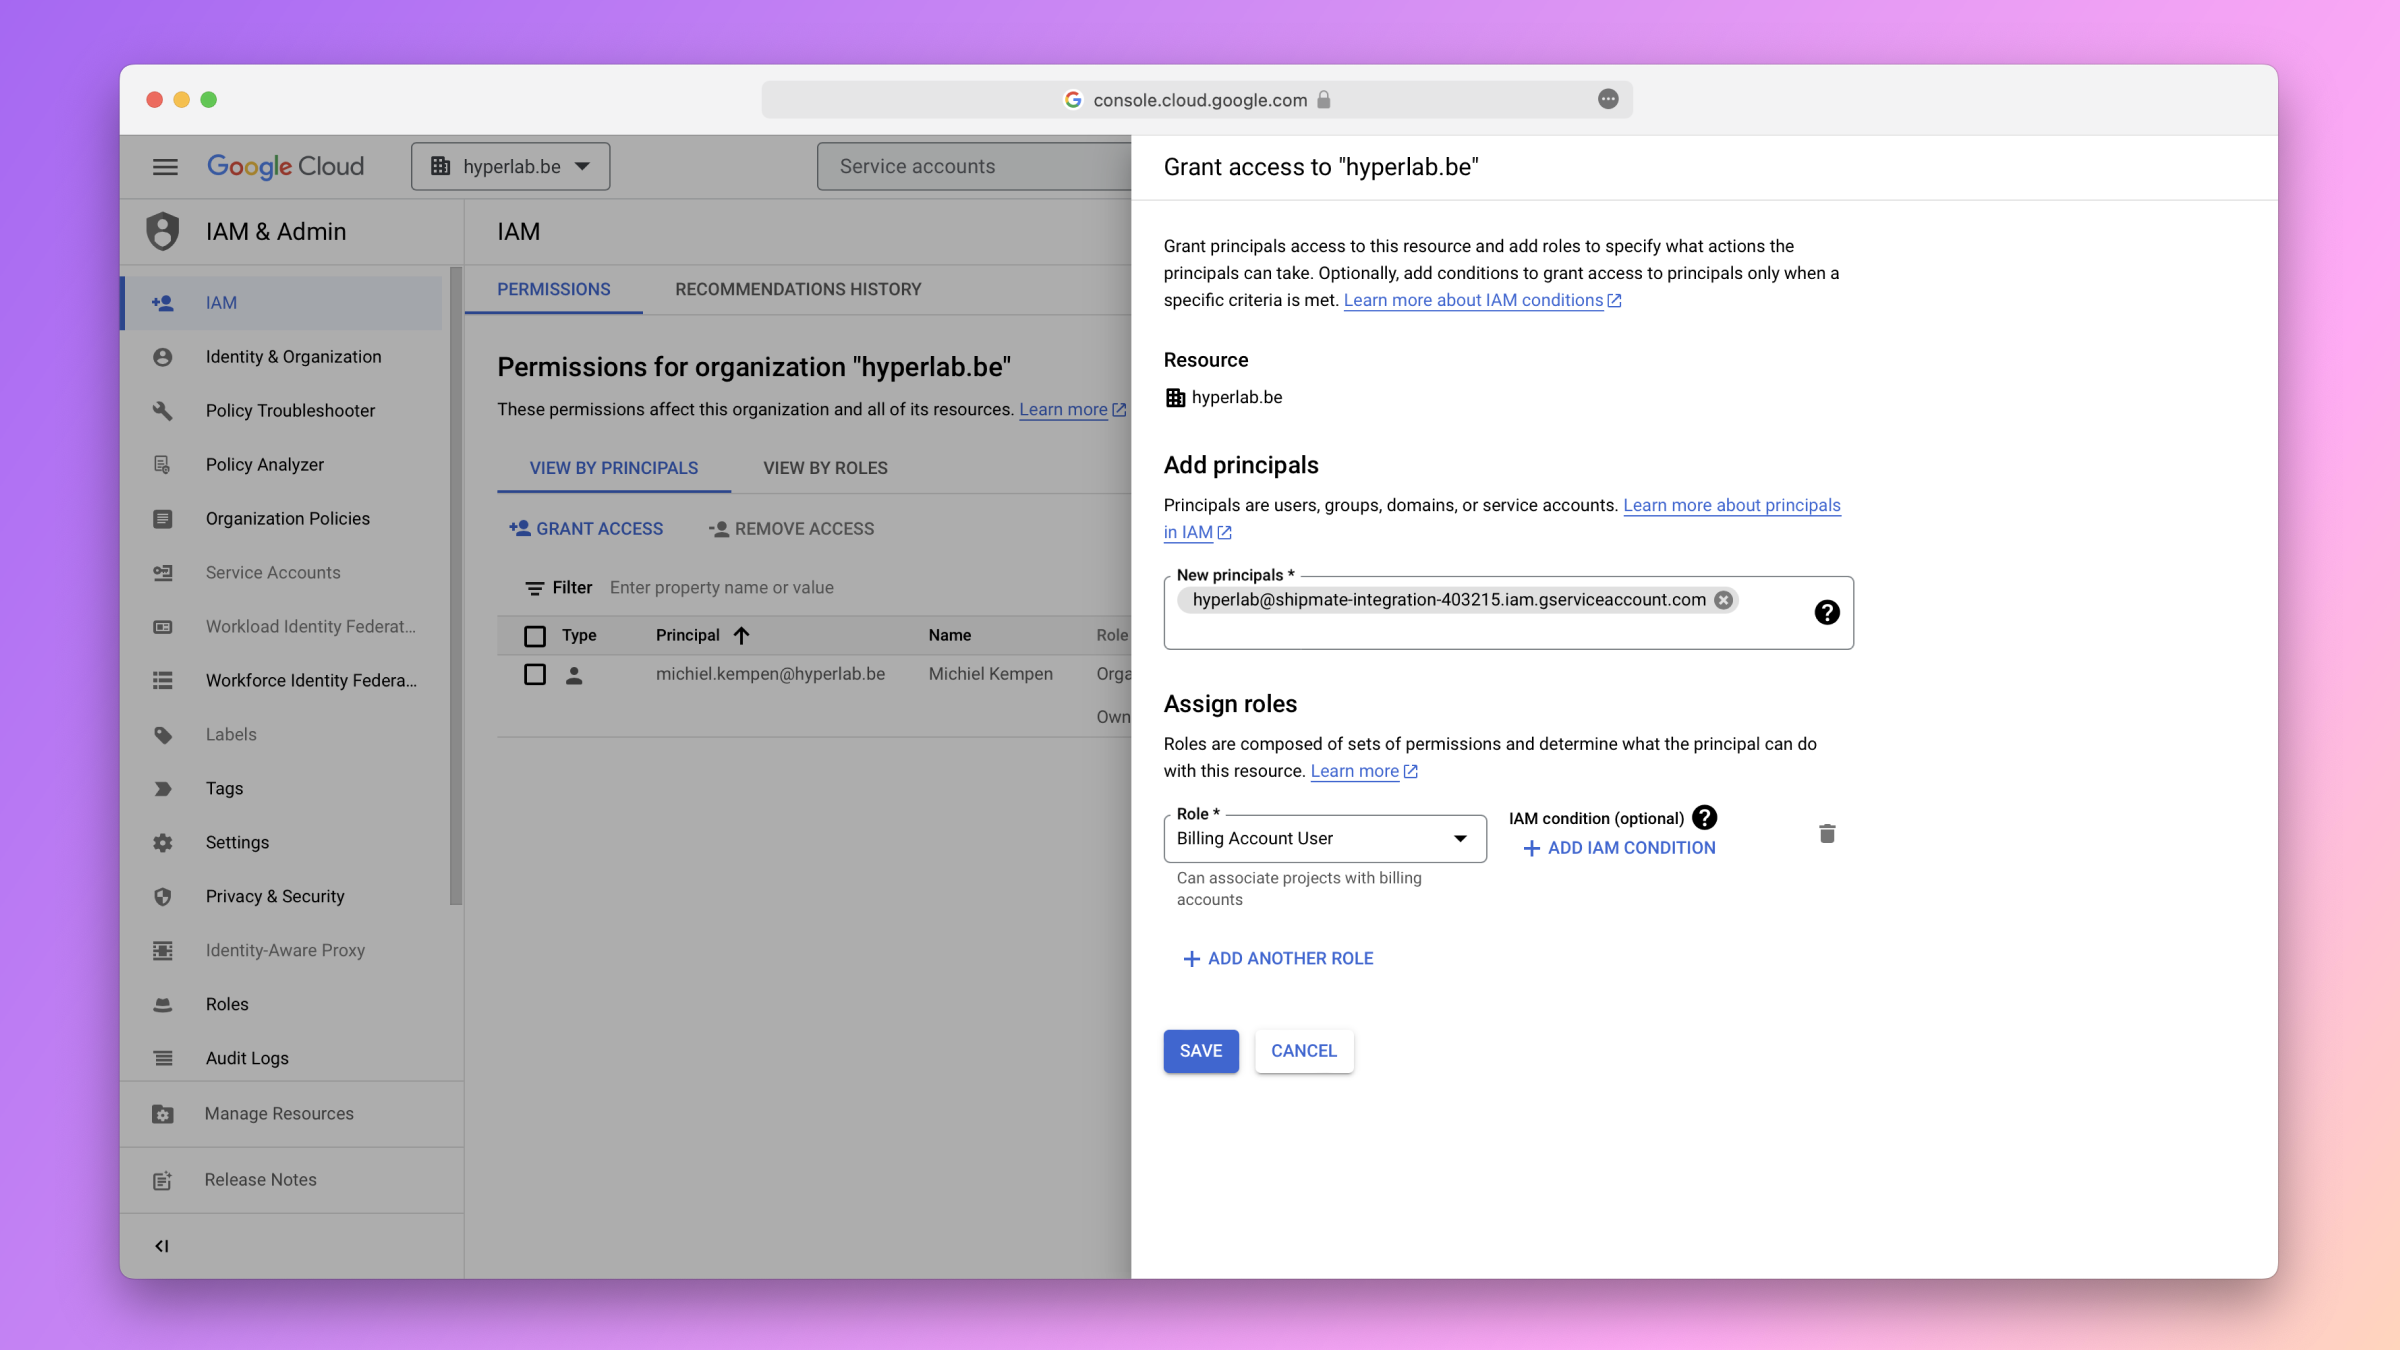
Fill out the form that appears.
- For the principal, enter the email address of the service account you just created.
- For the roles, select Billing Account User.
Folder
To manage the permissions for your Google Cloud folder, click on the select field at the top of the Google Cloud Console.
In the modal that appears, click on the name of the folder you just created.
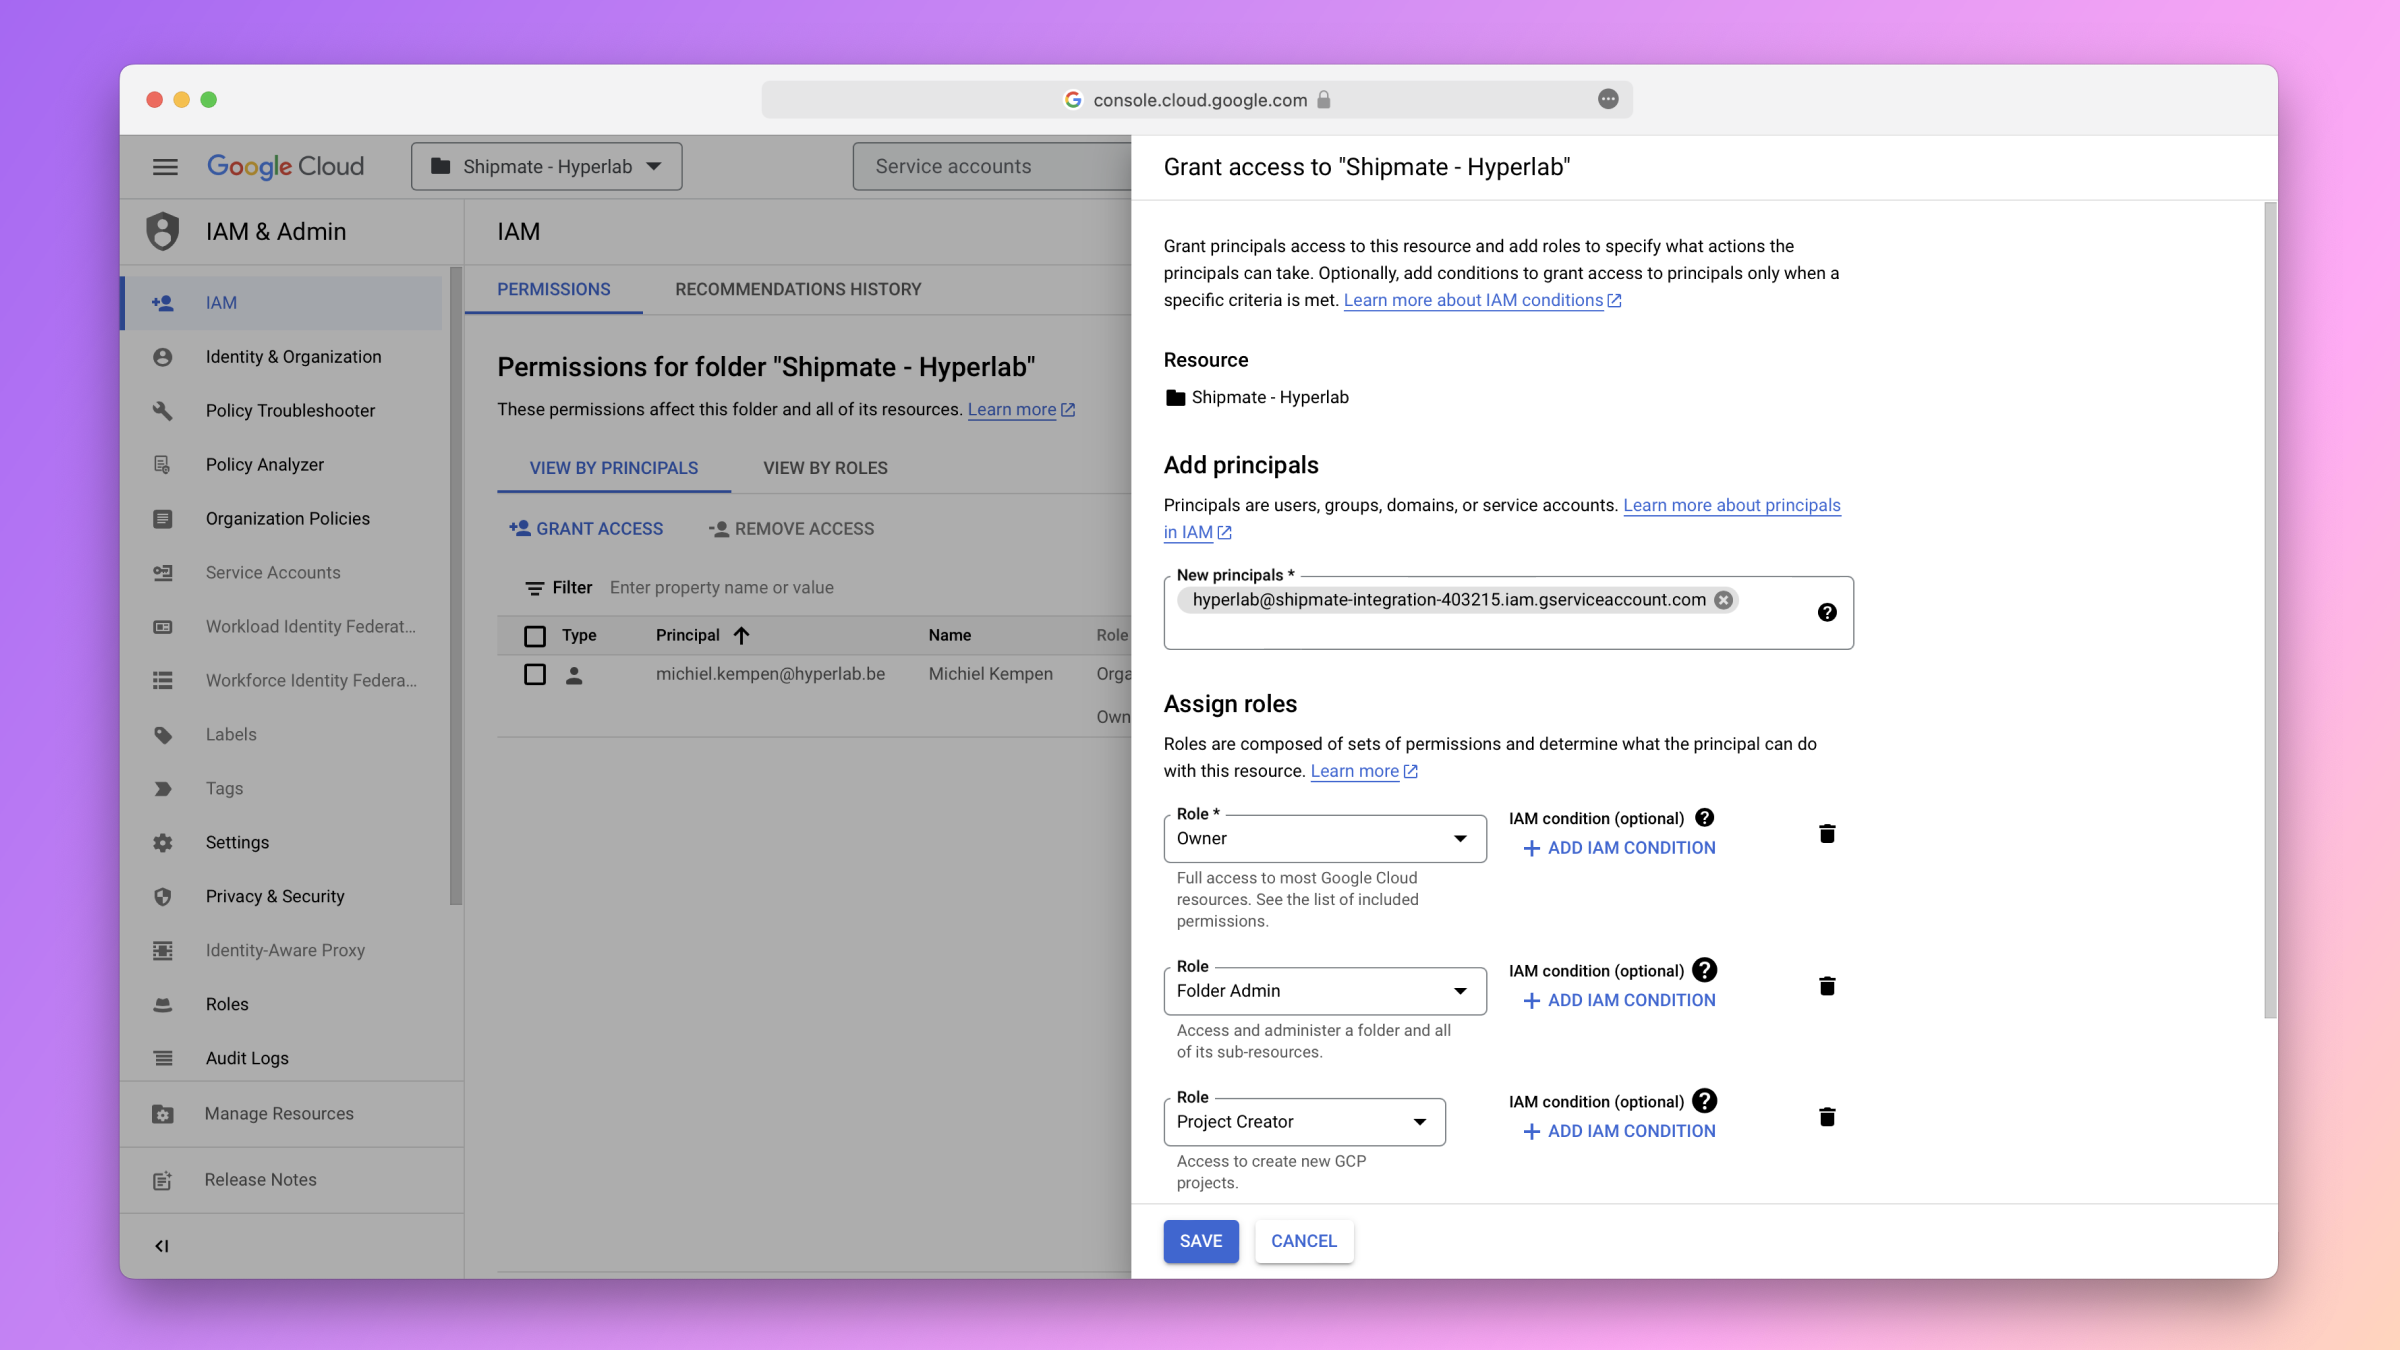
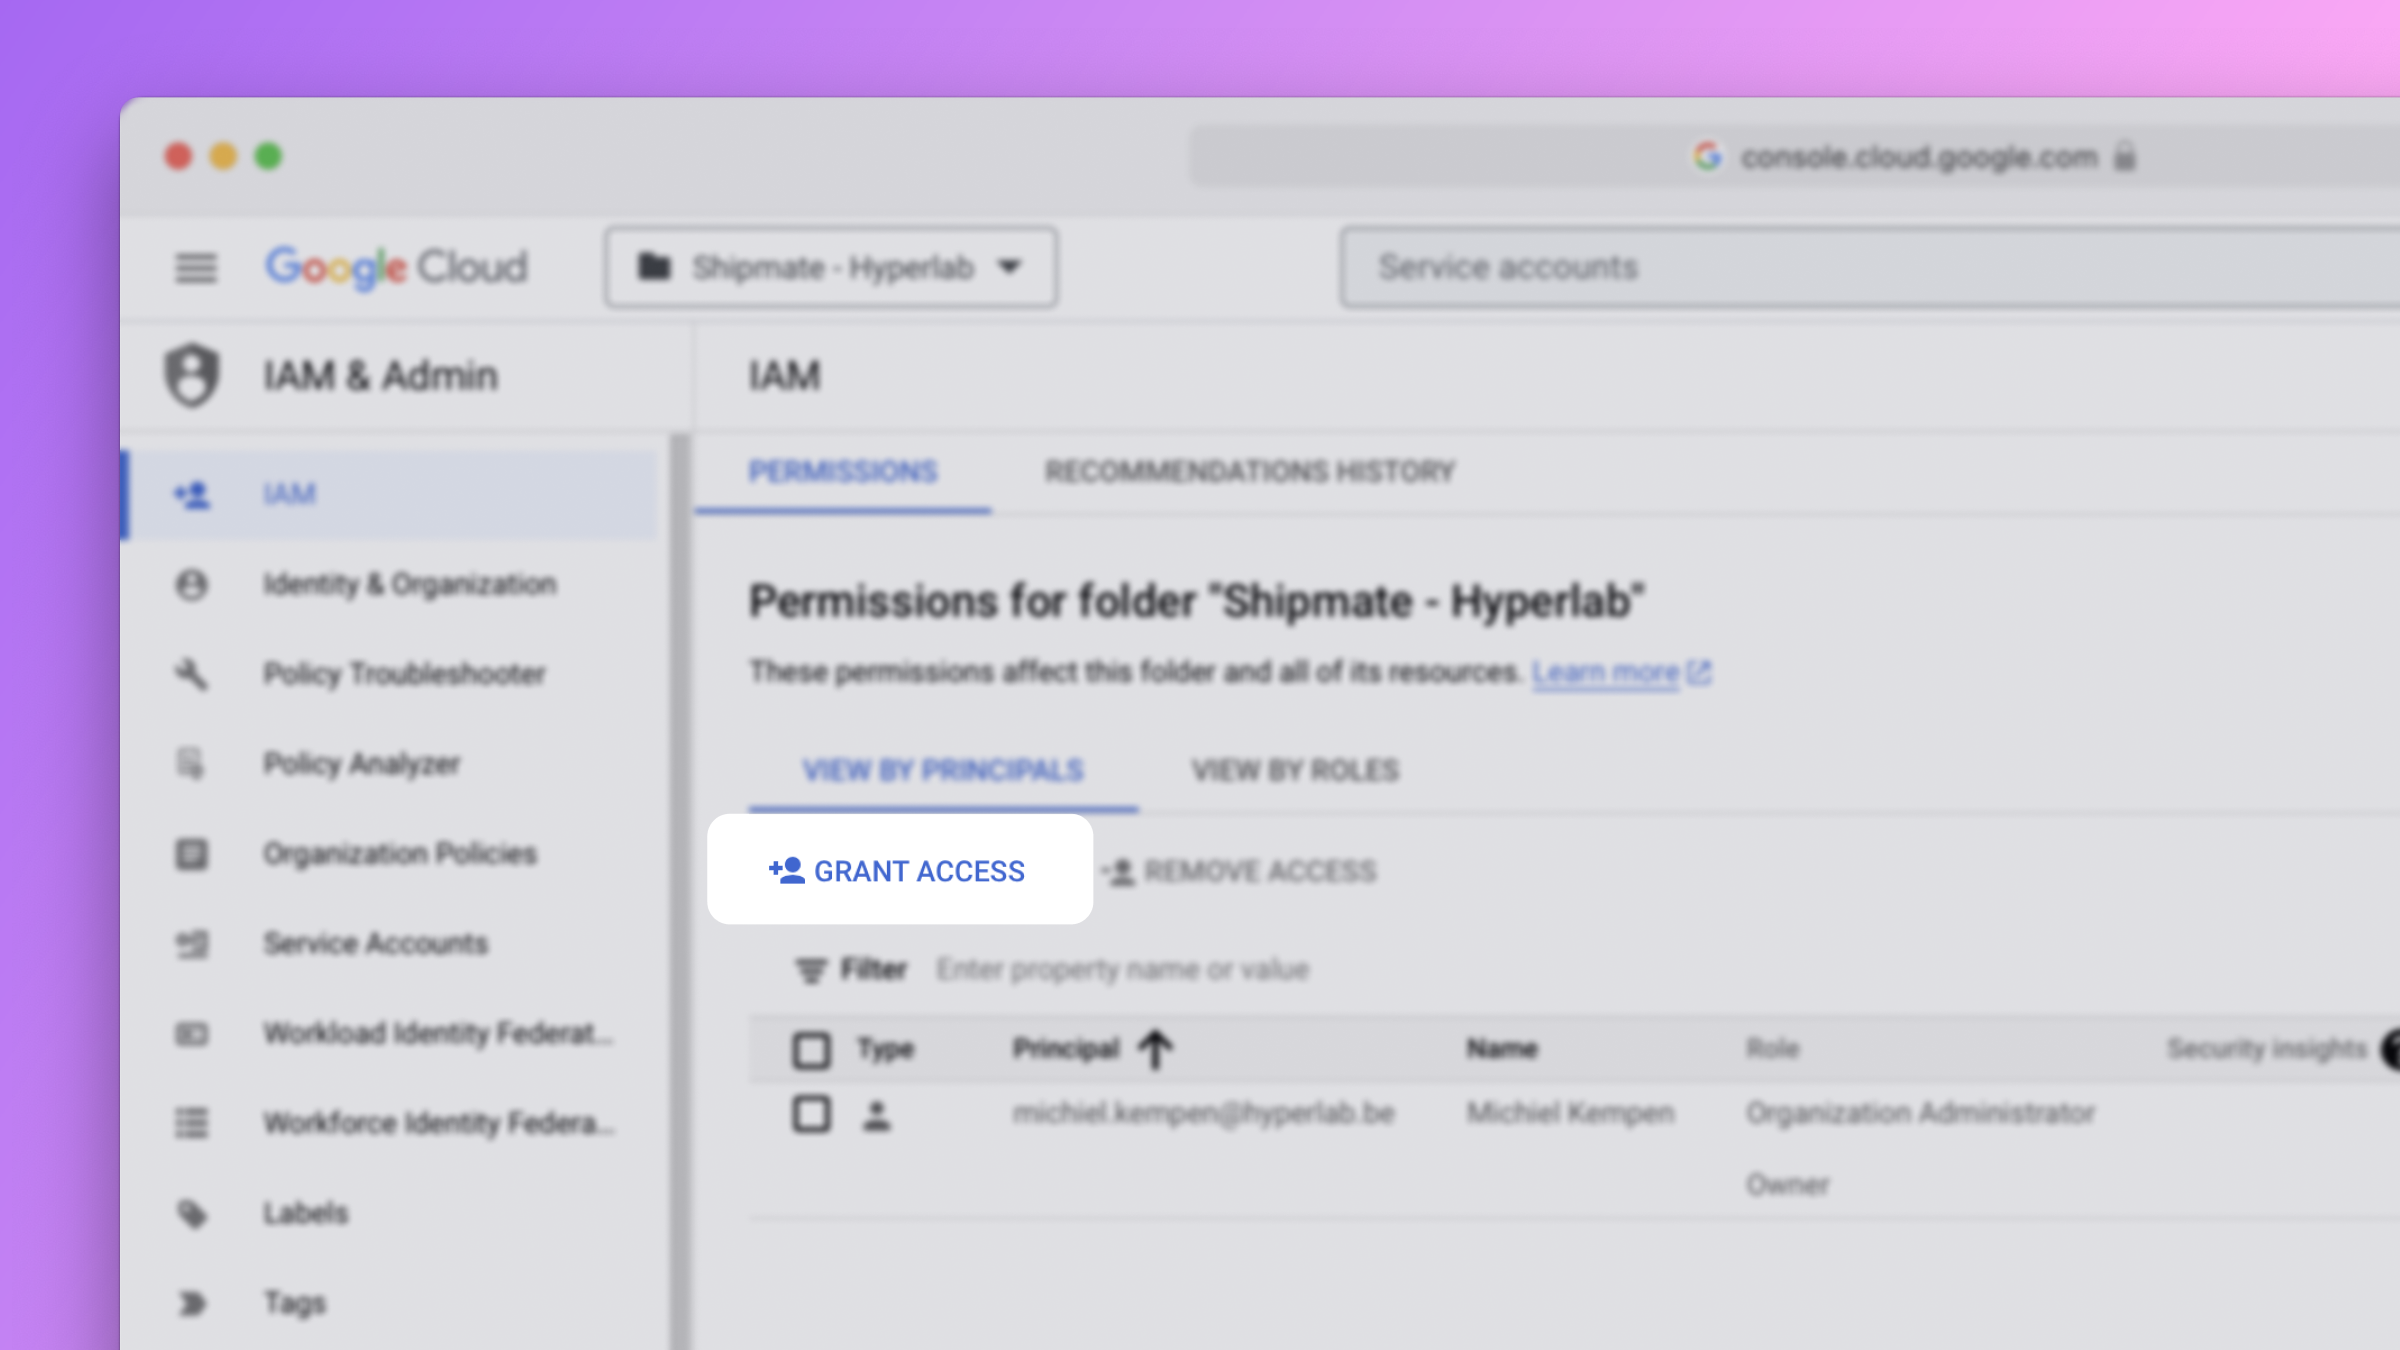
You should now see the permissions for your folder. On this page, click on the button labeled Grant access.
Fill out the form that appears.
- For the principal, enter the email address of the service account you just created.
- For the roles, select Owner, Folder Admin, Project Creator, and Compute Shared VPC Access.