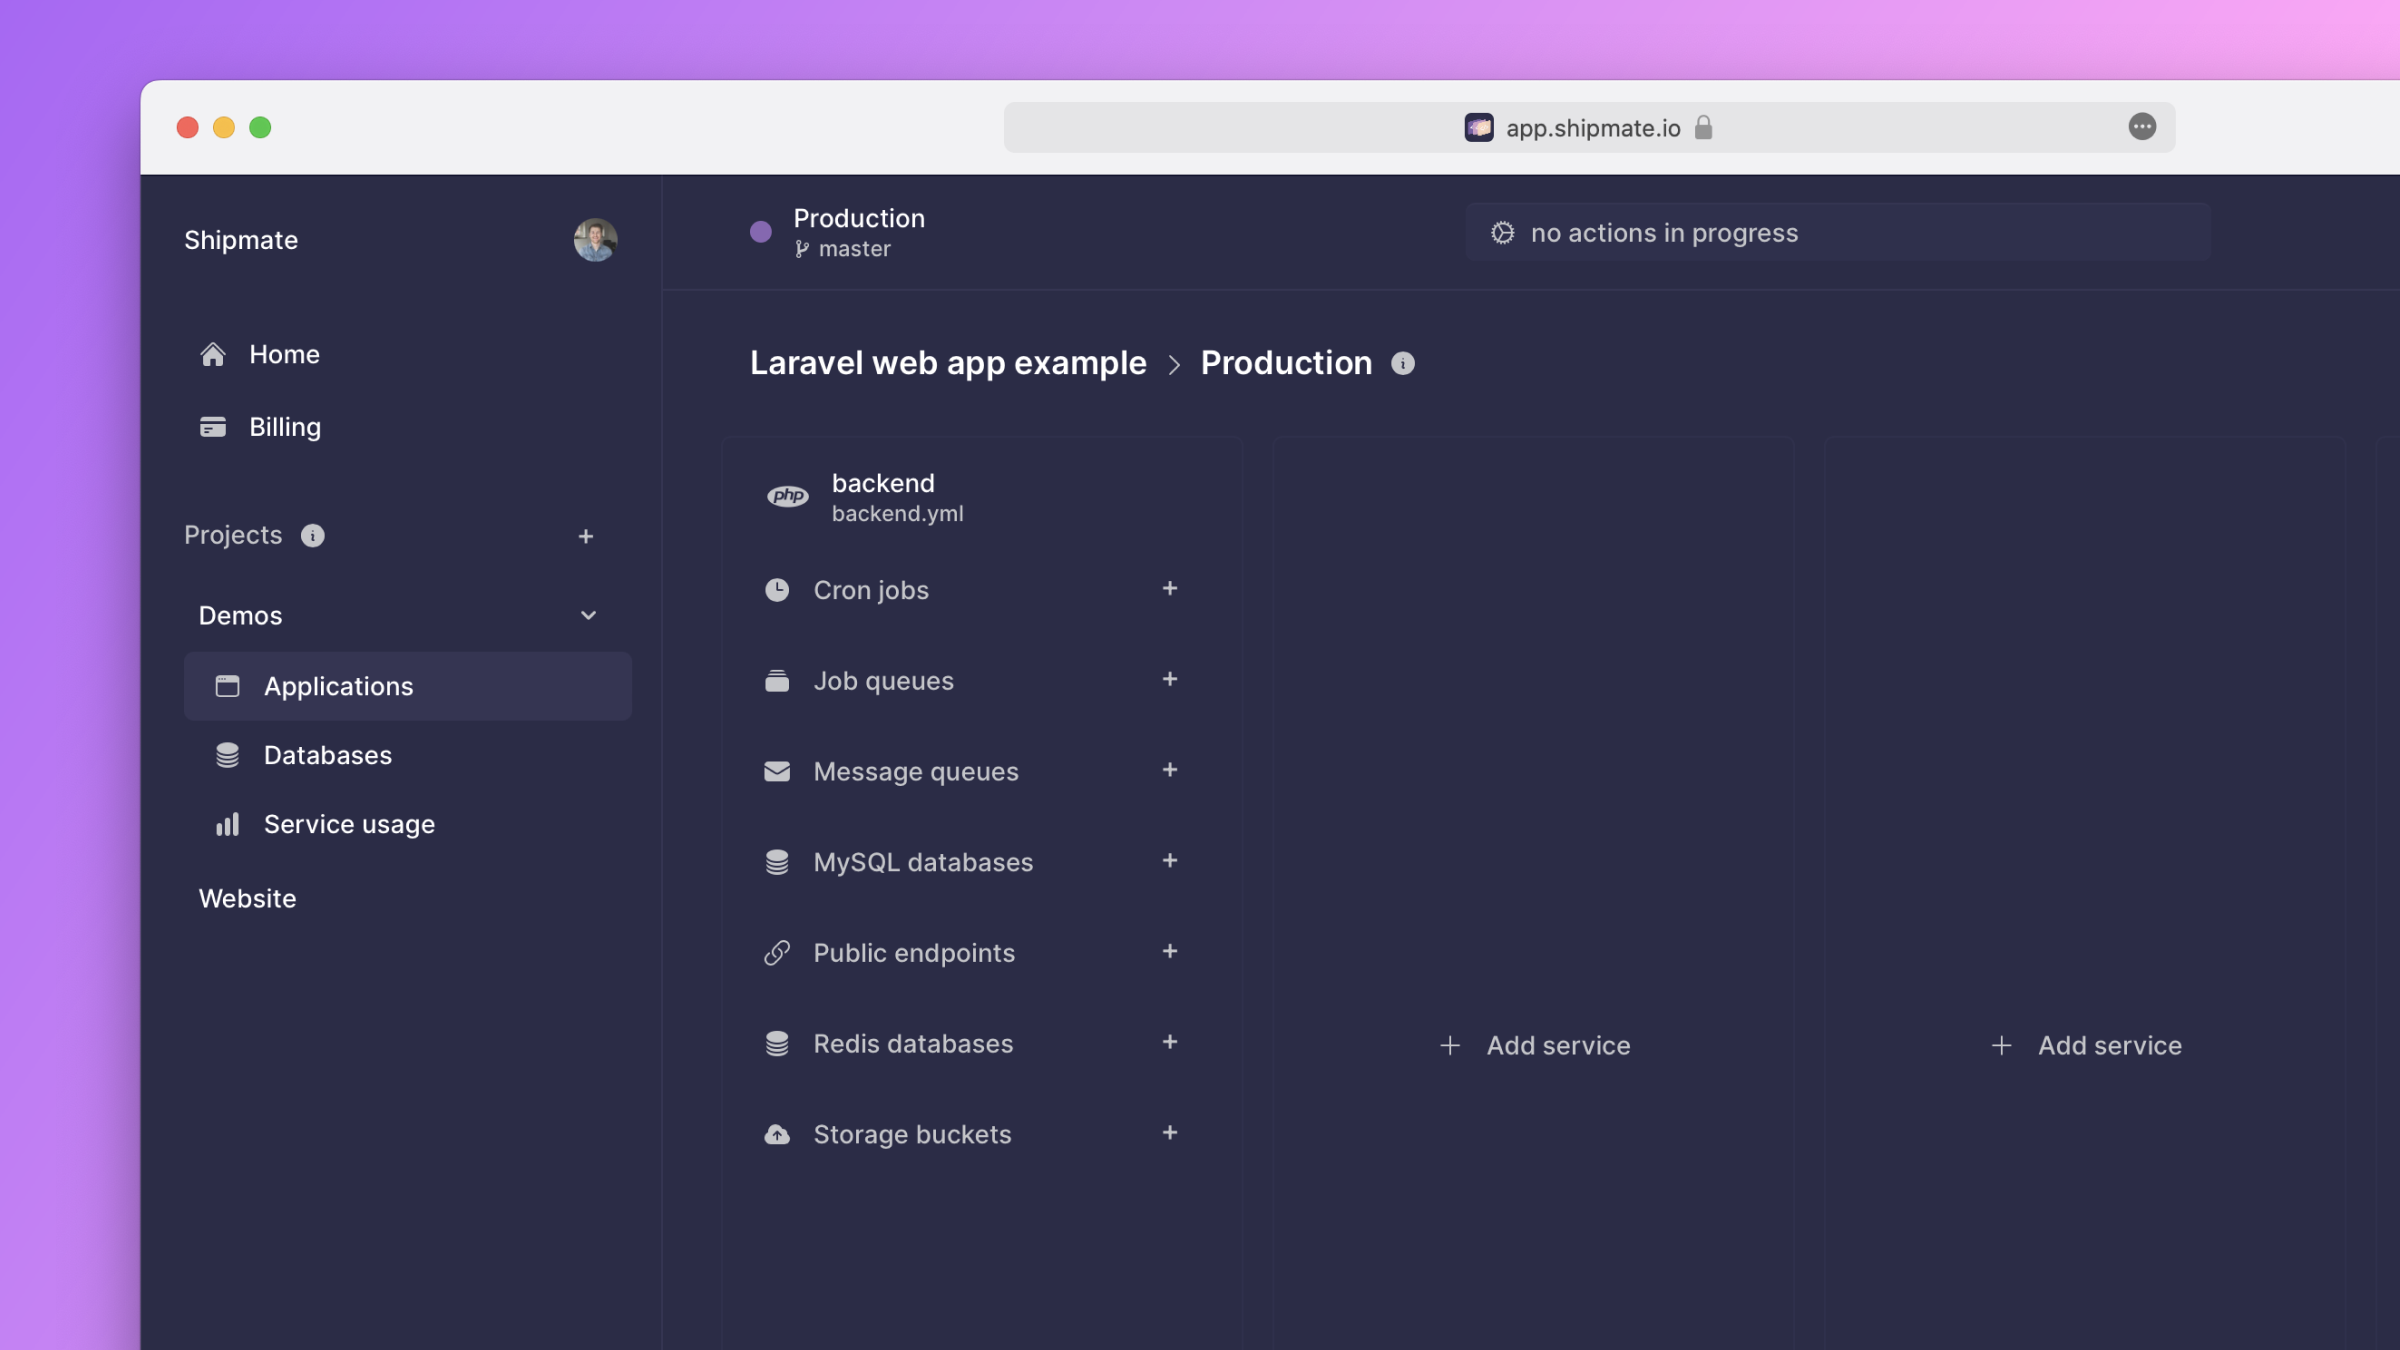
Cloud service
Shipmate allows you to attach a range of managed cloud services to your own frontend and backend services.
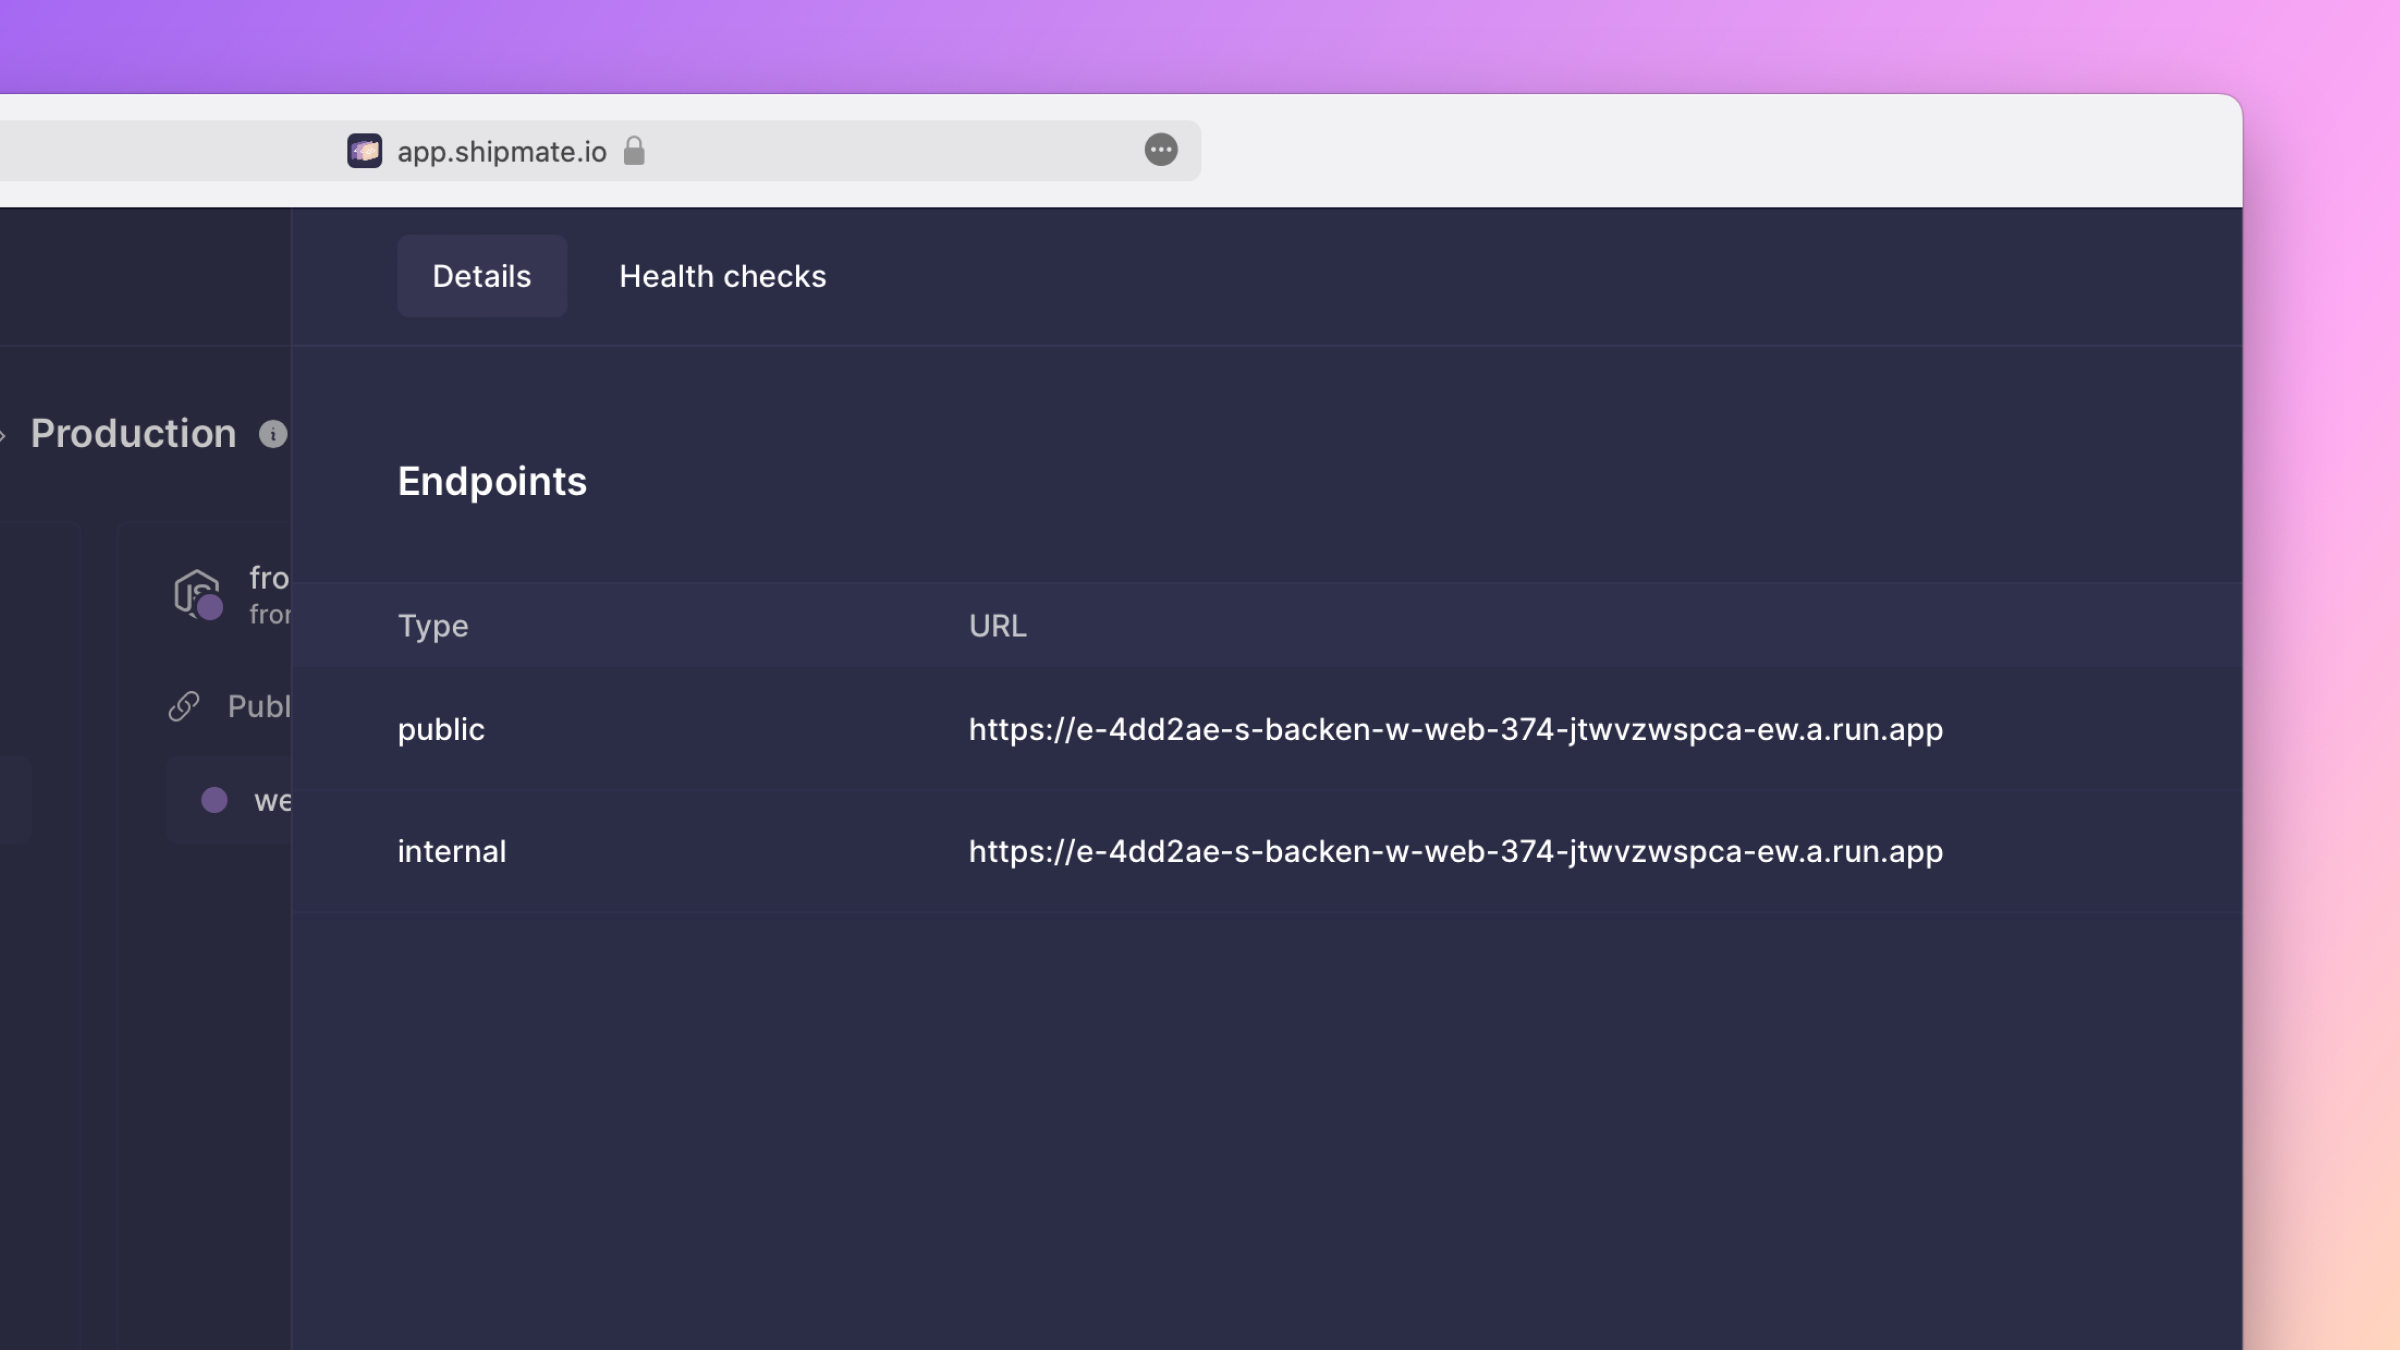
Public endpoint
Expose your service through a secure HTTPS endpoint with a custom domain.
MySQL database
Securely store and query data in a MySQL database.
Redis database
Securely store and query data in a Redis database.
Storage bucket
Store static assets and large files in an S3-compatible filesystem.
Cron job
Schedule recurring jobs at regular intervals.
Job queue
Improve your service's responsiveness by queueing time-consuming jobs.
Message queue
Decouple your services with asynchronous event-based communication.
Viewing your cloud services
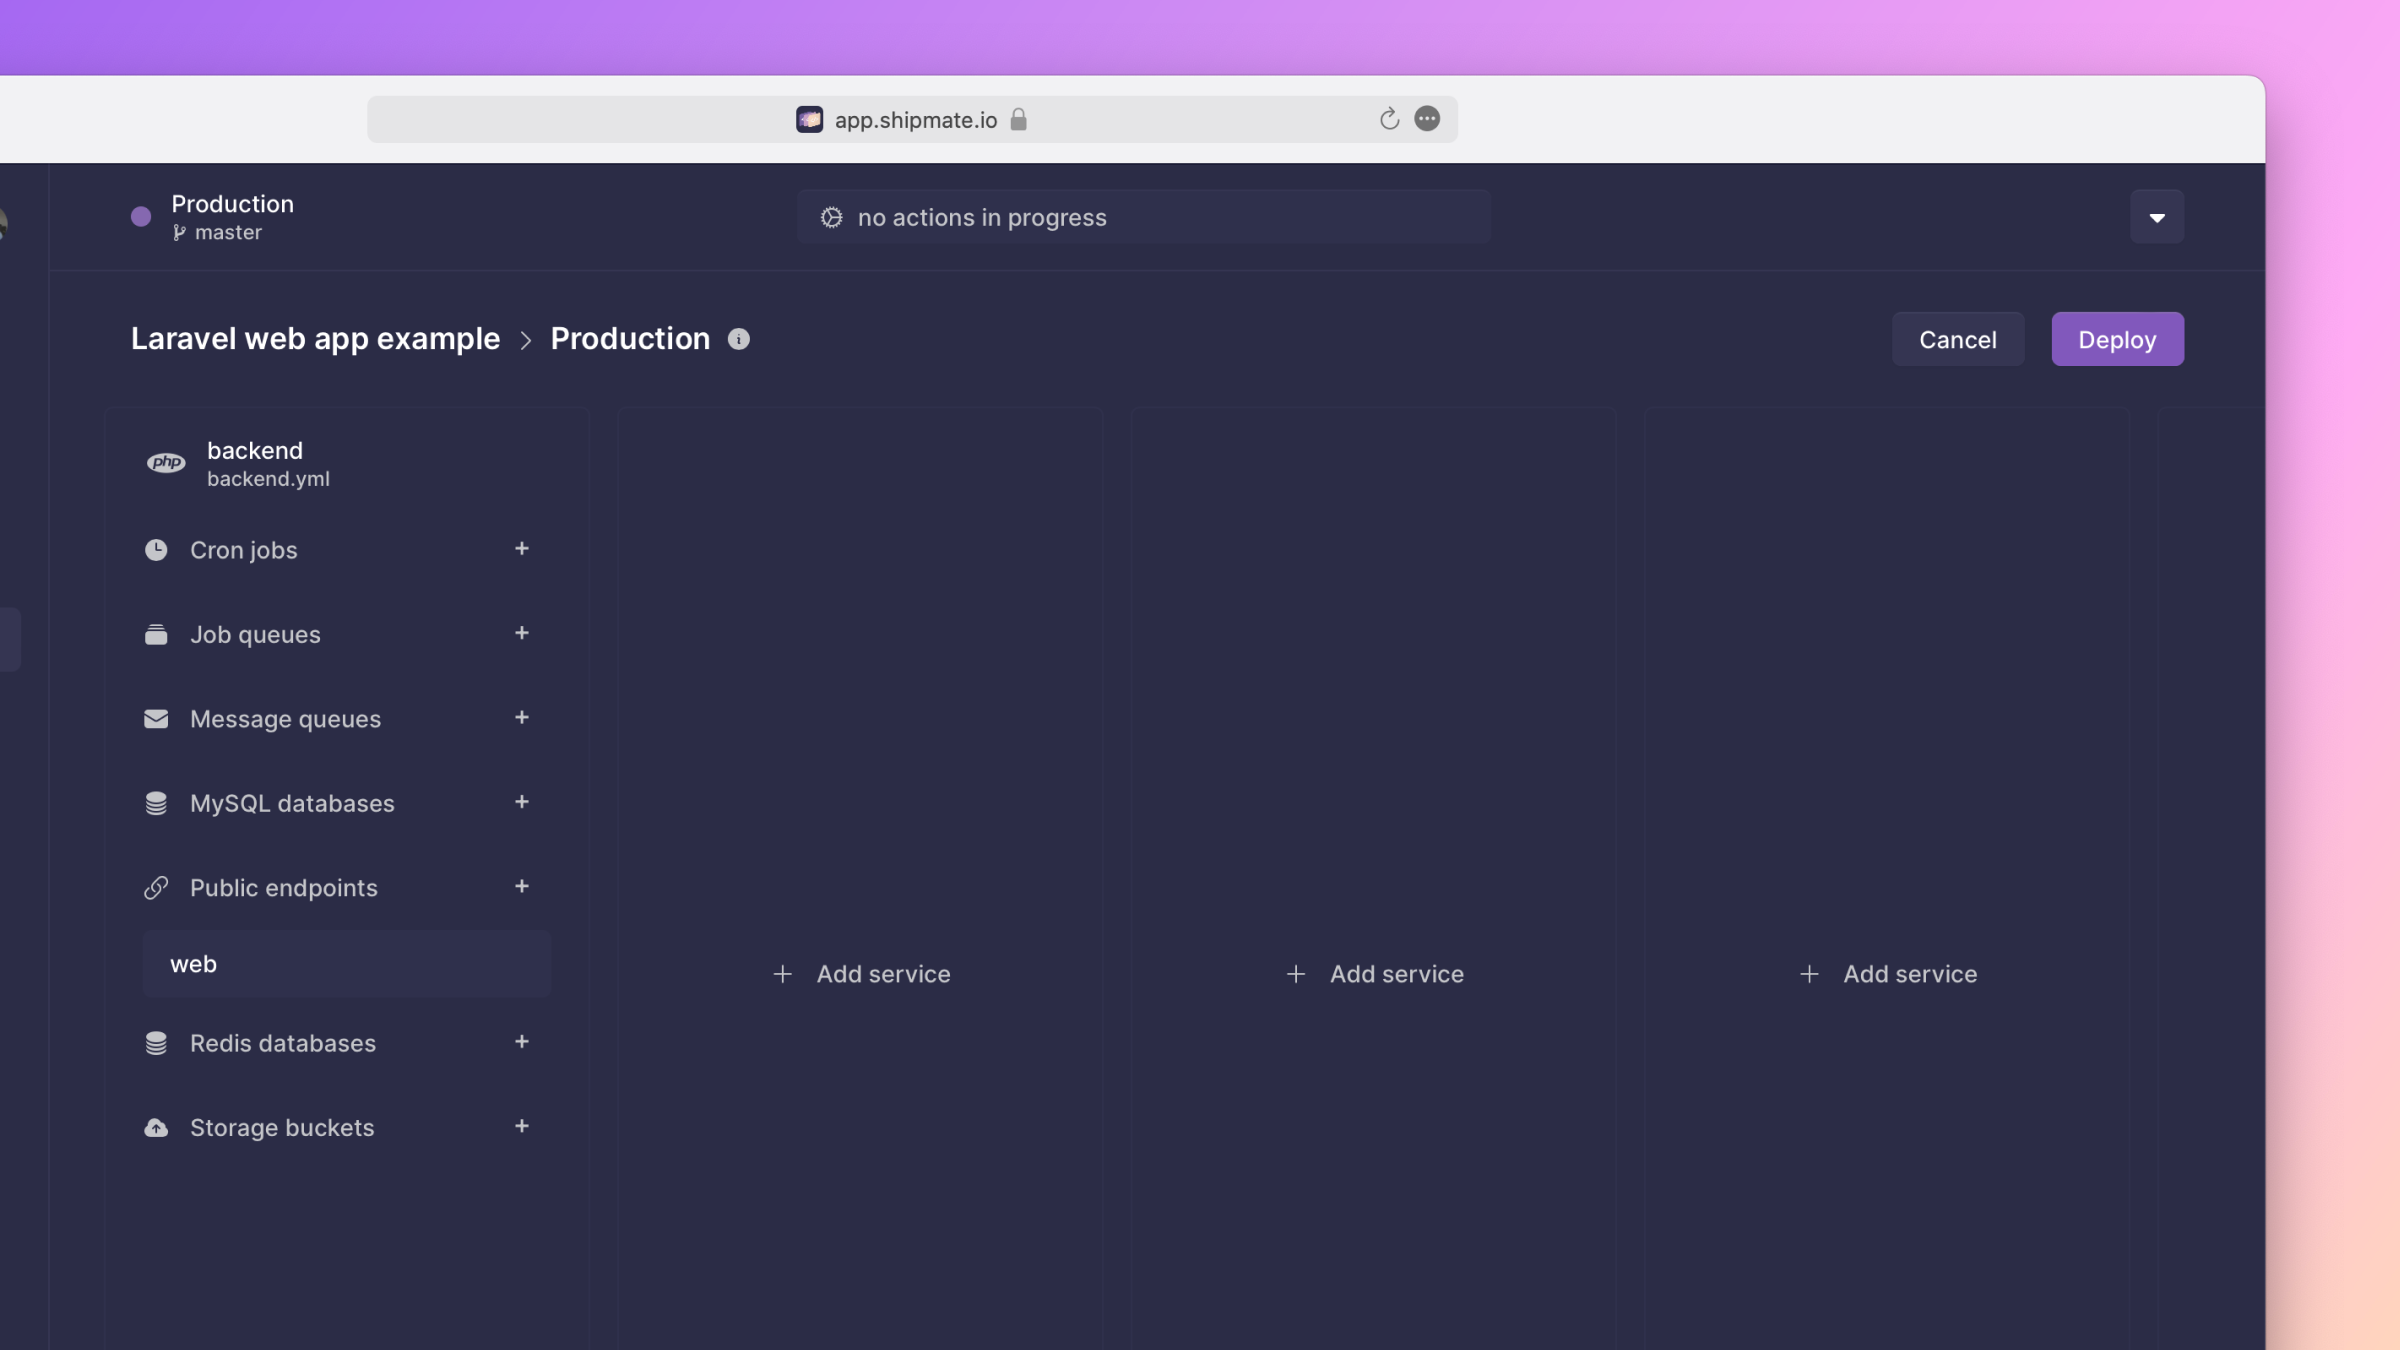
The cloud services attached to a service are shown on the environment page below the service's name.
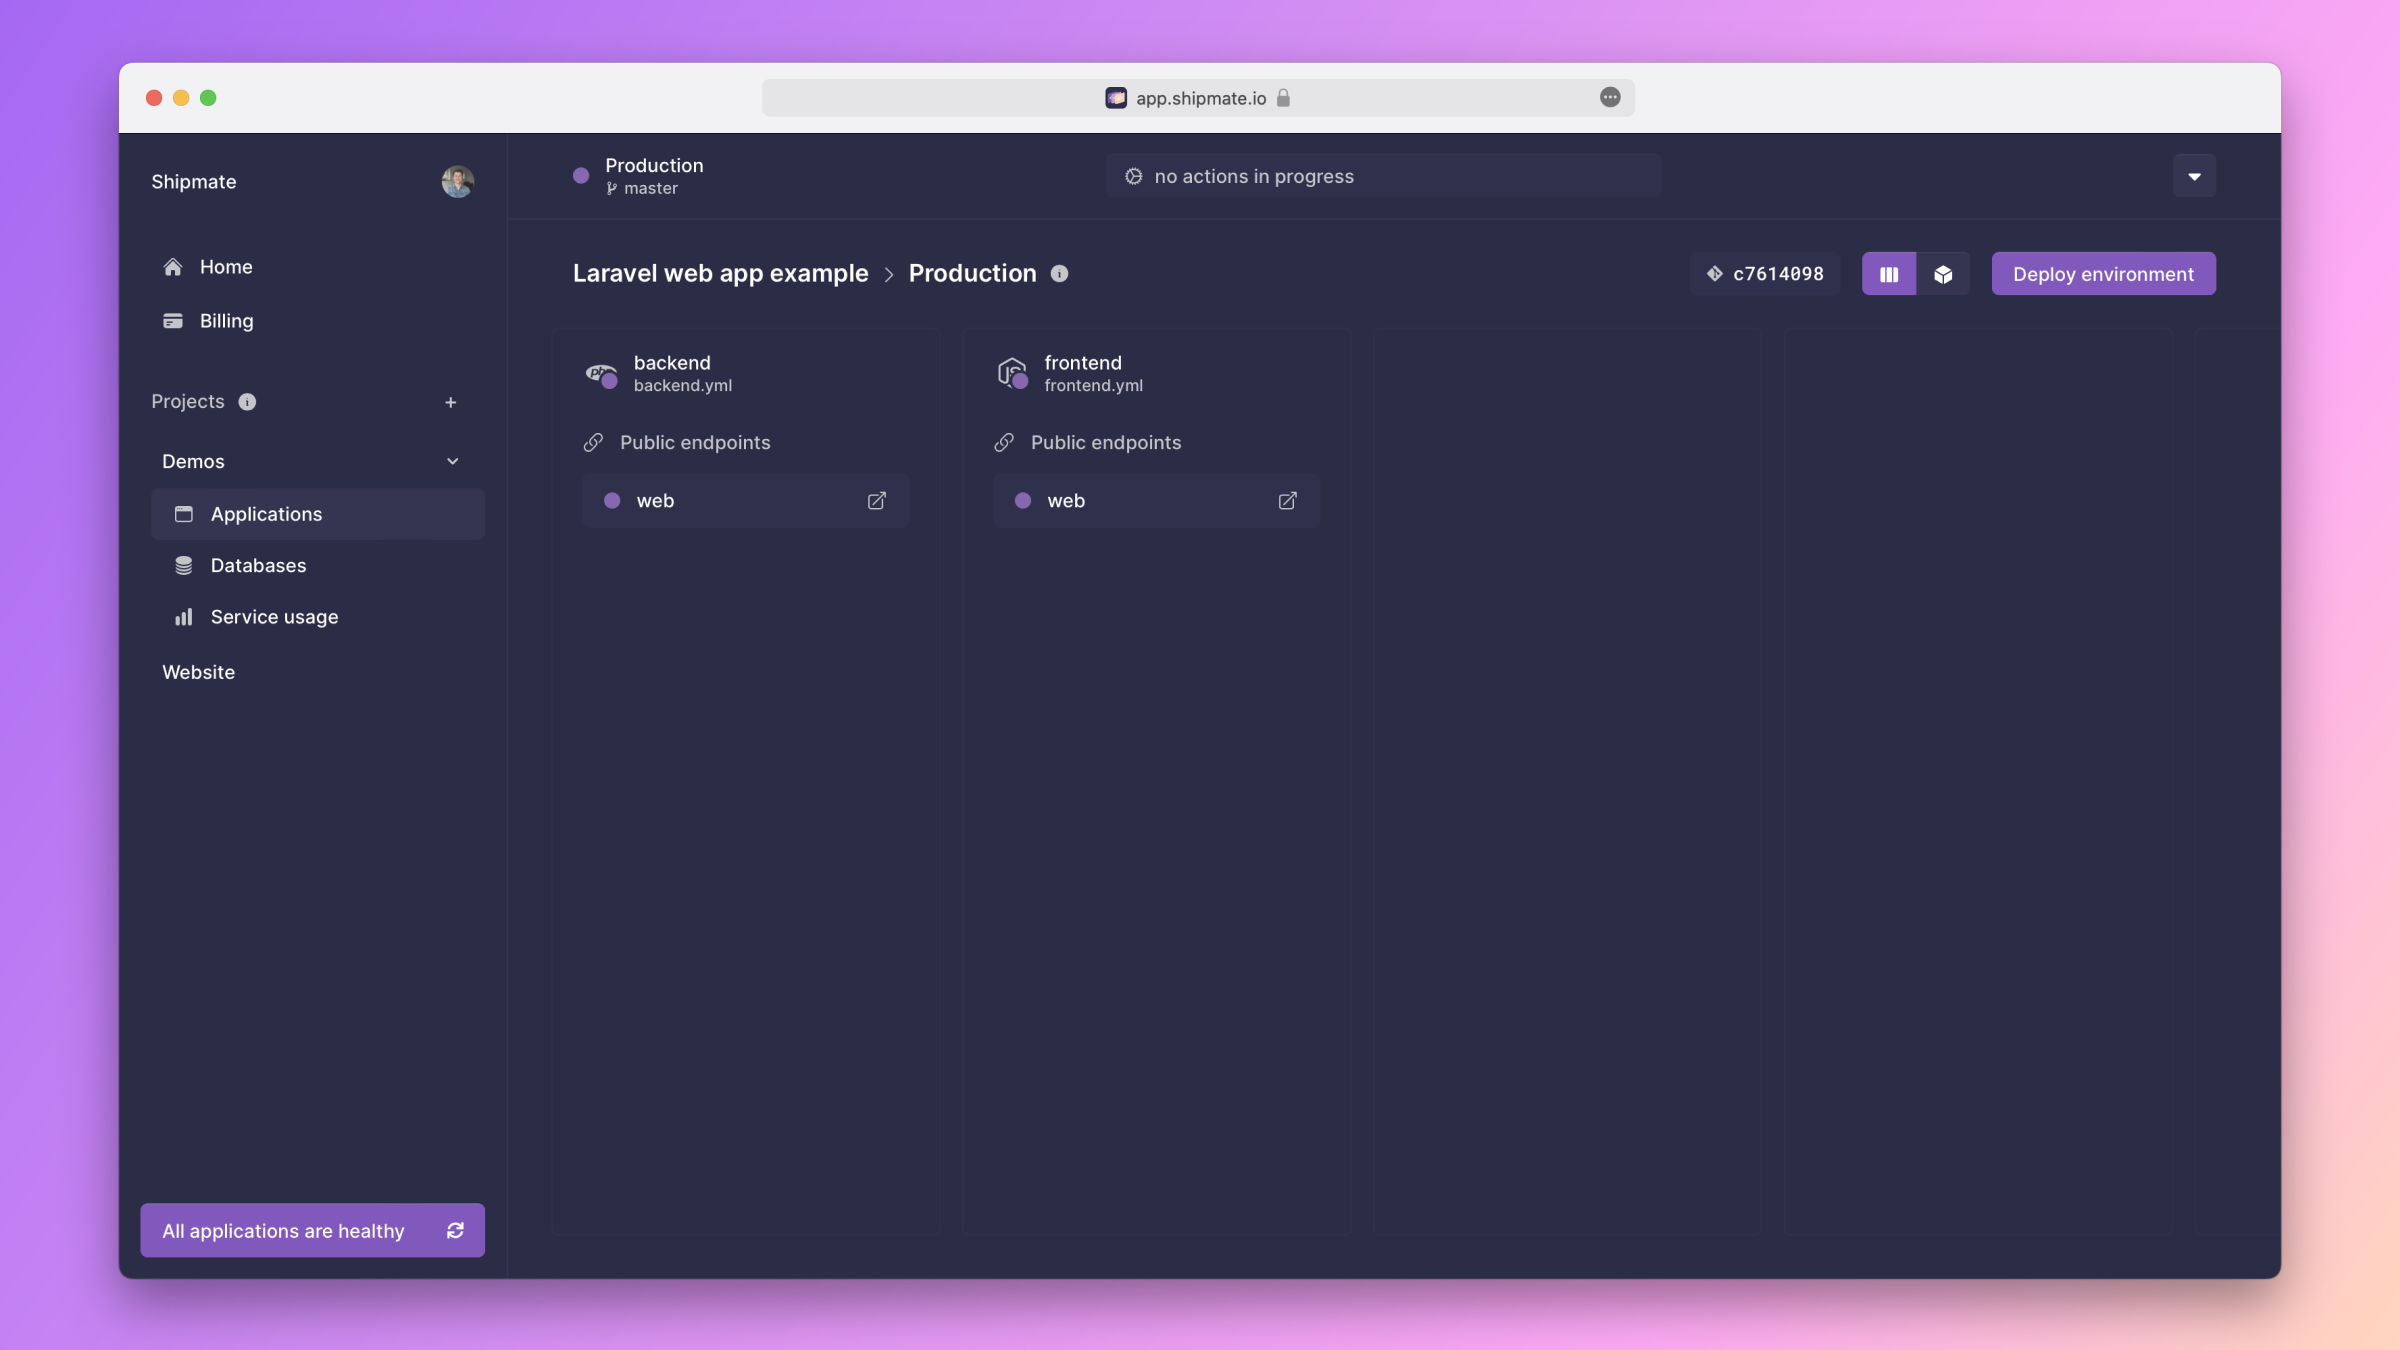
Click on the name of a cloud service to open a panel with all its details.
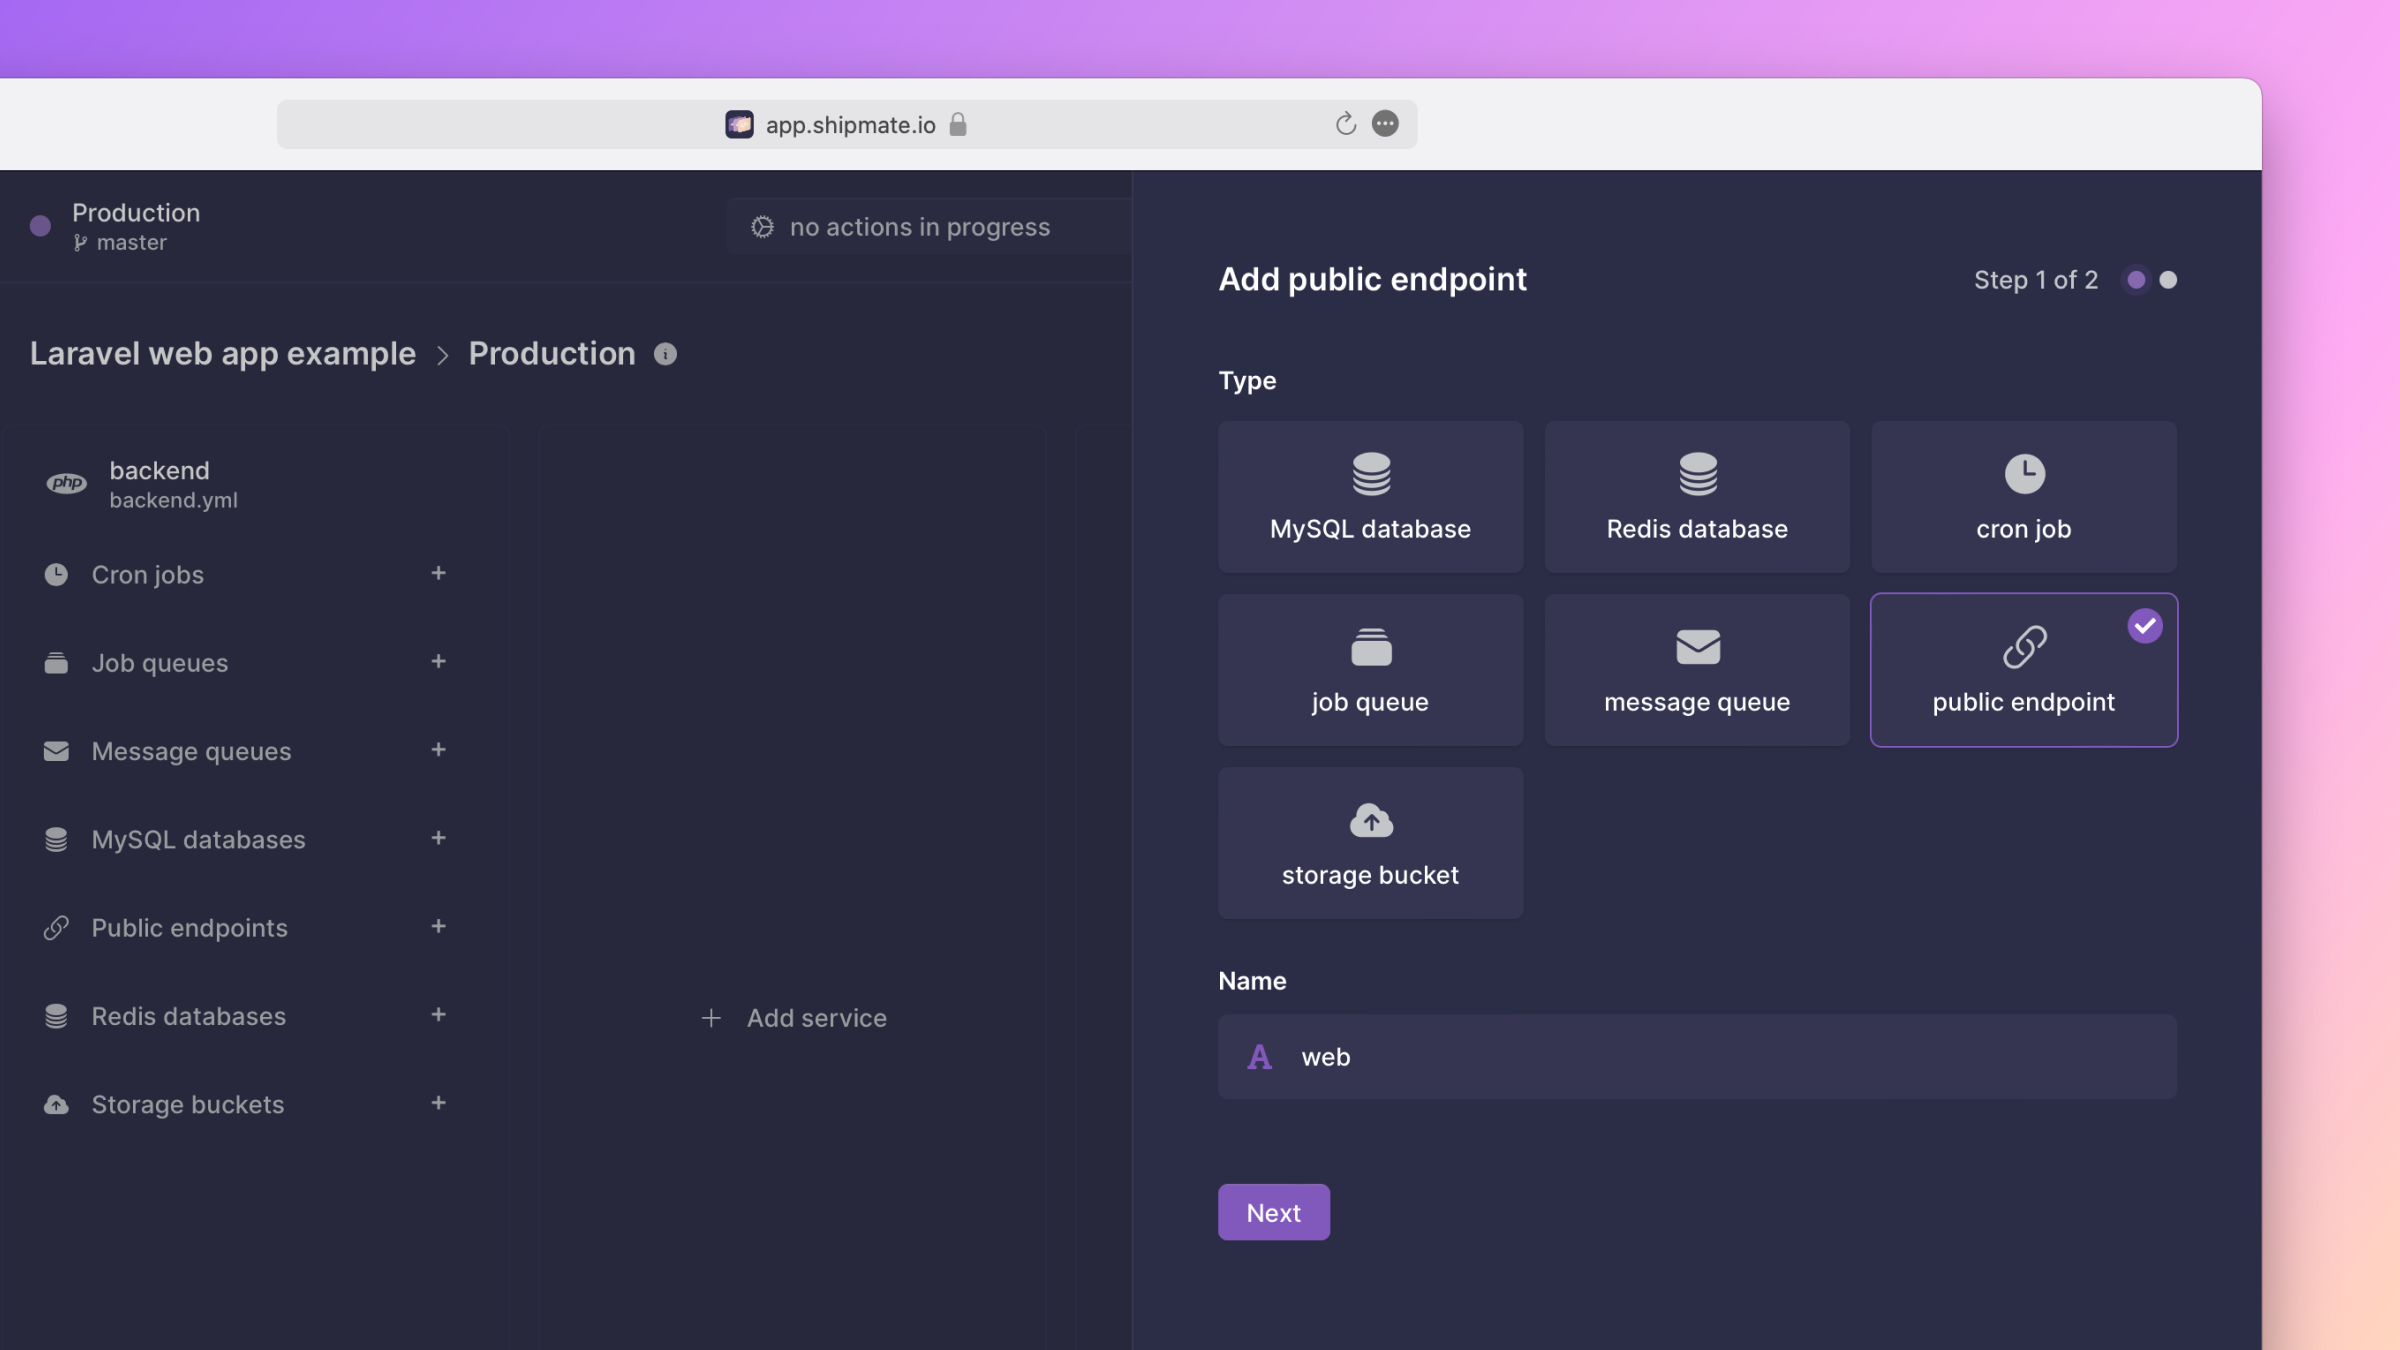
Creating a cloud service
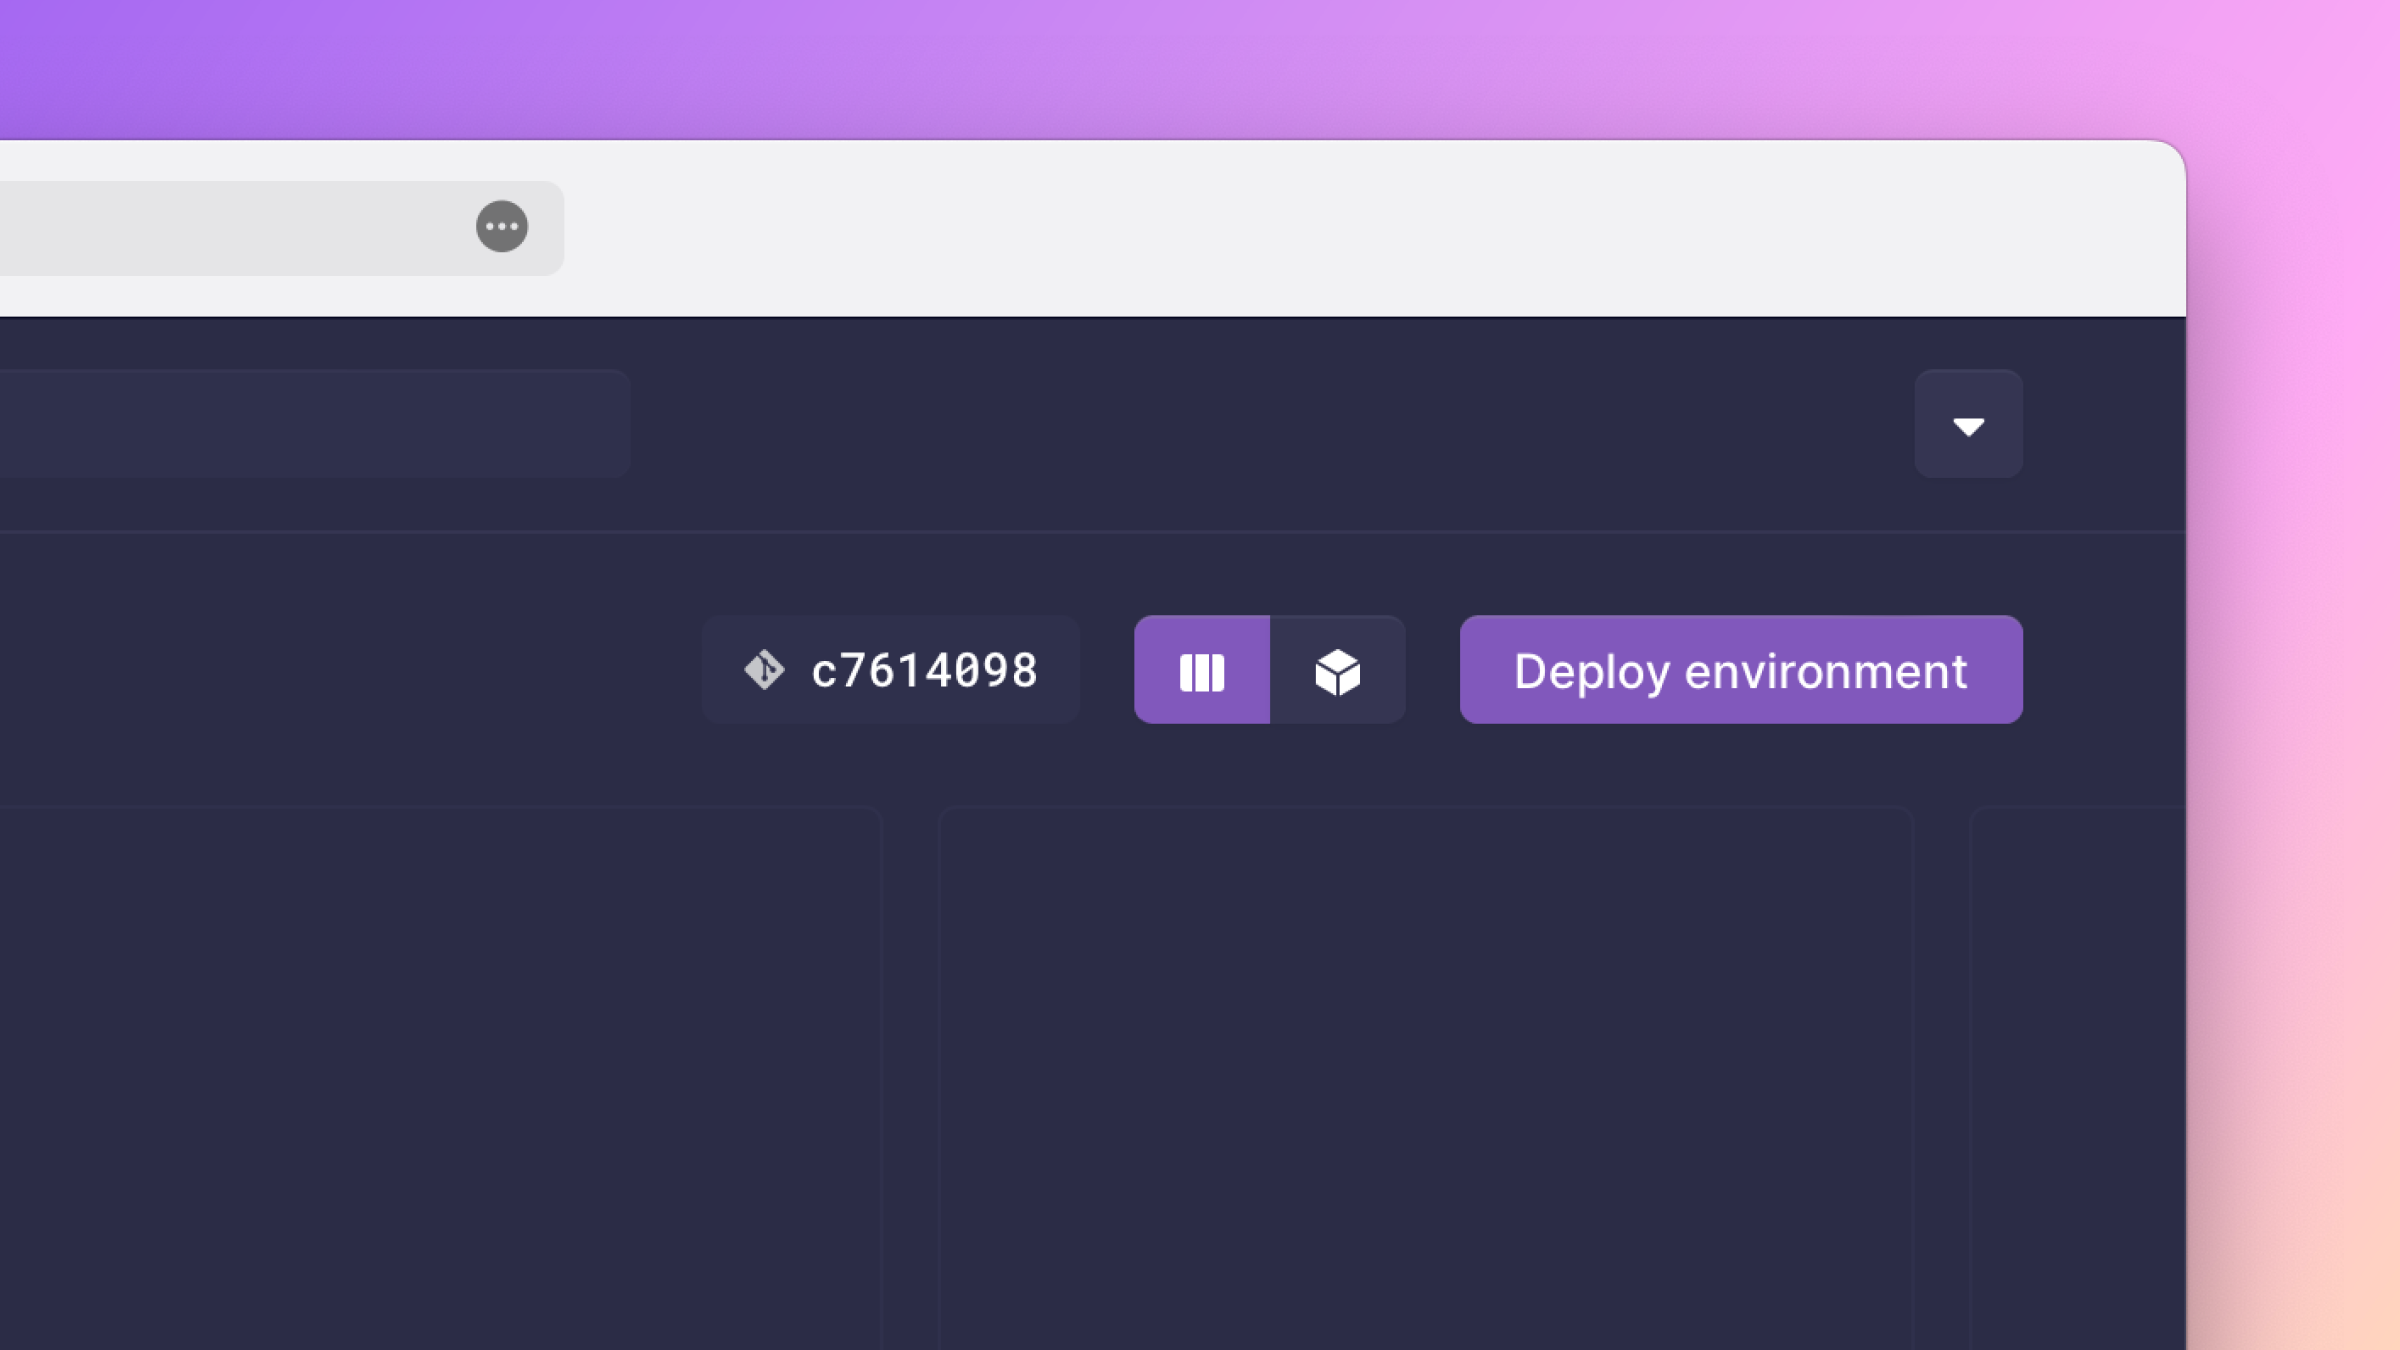
To create a service, click on the button labeled Deploy environment in the top-right corner of the environment page.
Below the service's name, a list of the available cloud service types appears. Click on the plus icon next to the cloud source type that you want to create.
Fill out the form that appears.
- For the name, specify a name in snake-case notation that is unique within your service. For example,
uploaded_files,mysql,database, etc.
After submitting the form, your cloud service should appear in the cloud services table. At this moment, the creation is pending and can still be canceled. To persist the creation, click the button labeled Deploy in the top-right corner of the page.
Configuration as code
Shipmate stores the configuration of your services as code in your Git repository. The cloud services attached to a service are defined at the bottom of the service's configuration file.
# service: ...

public_endpoints:
  - name: web

mysql_databases:
  - name: mysql

cron_jobs:
  - name: backup_database
    schedule: '0 0 * * *'
    command: php backup-database.php
You can find a complete list of the available configuration options for each cloud service on its respective page in this documentation.