Bitbucket
To deploy an application whose source code is hosted on Bitbucket, you need to set up an integration between Bitbucket and Shipmate.
Finding your Workspace ID
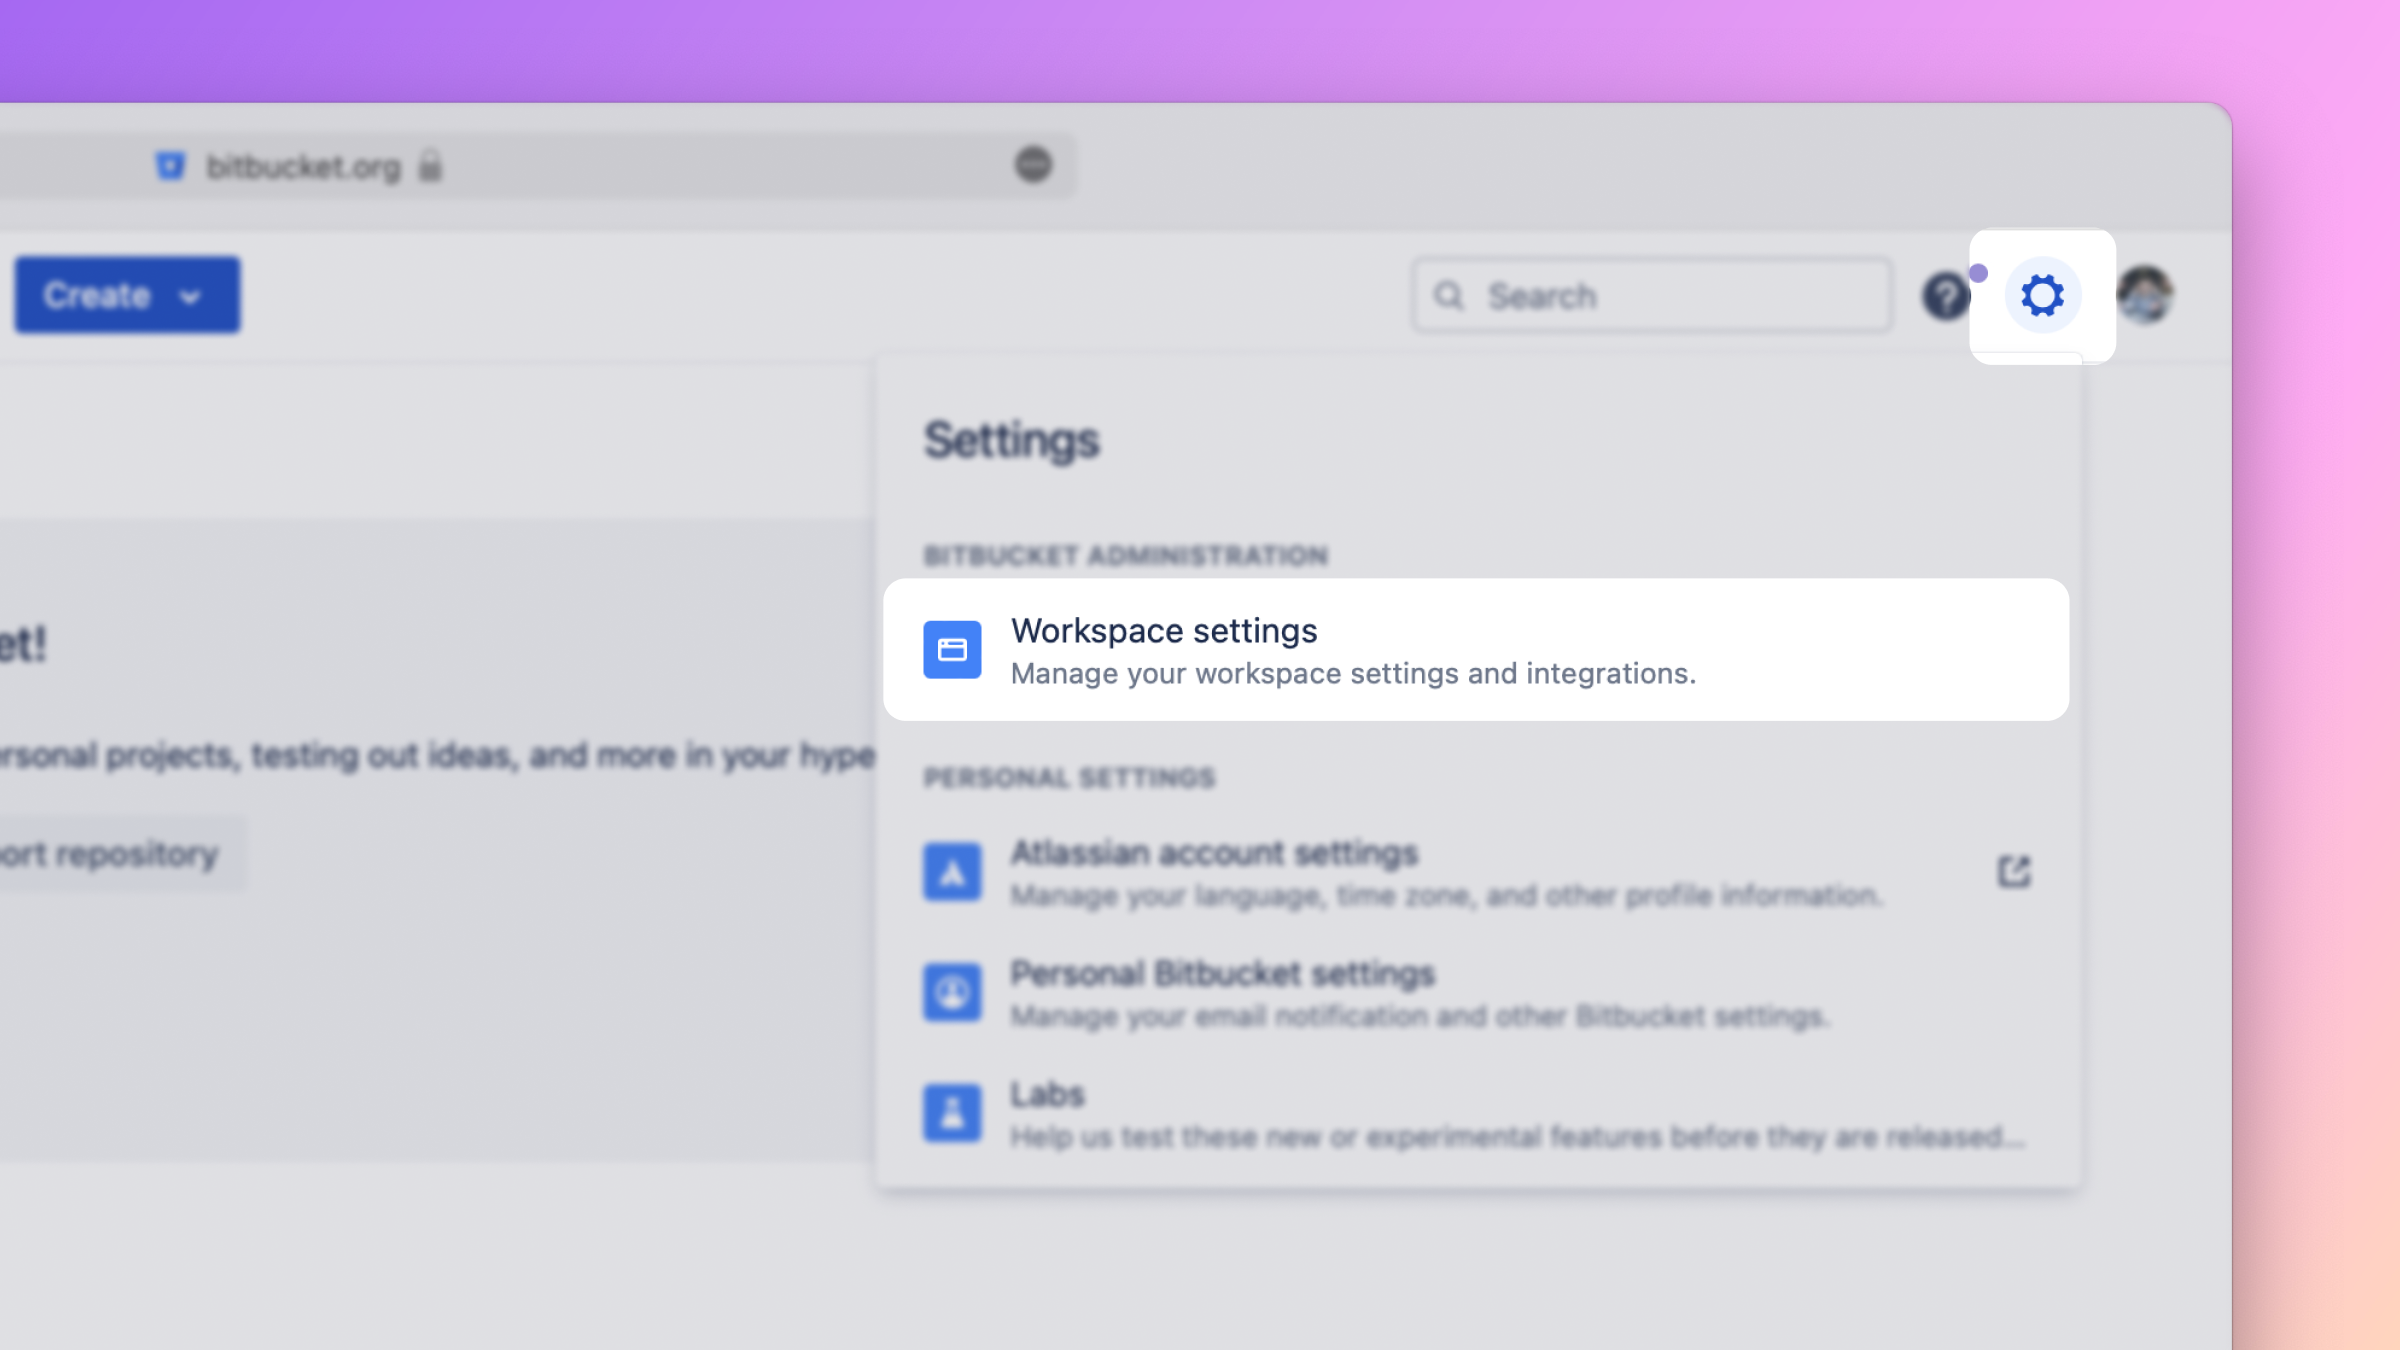
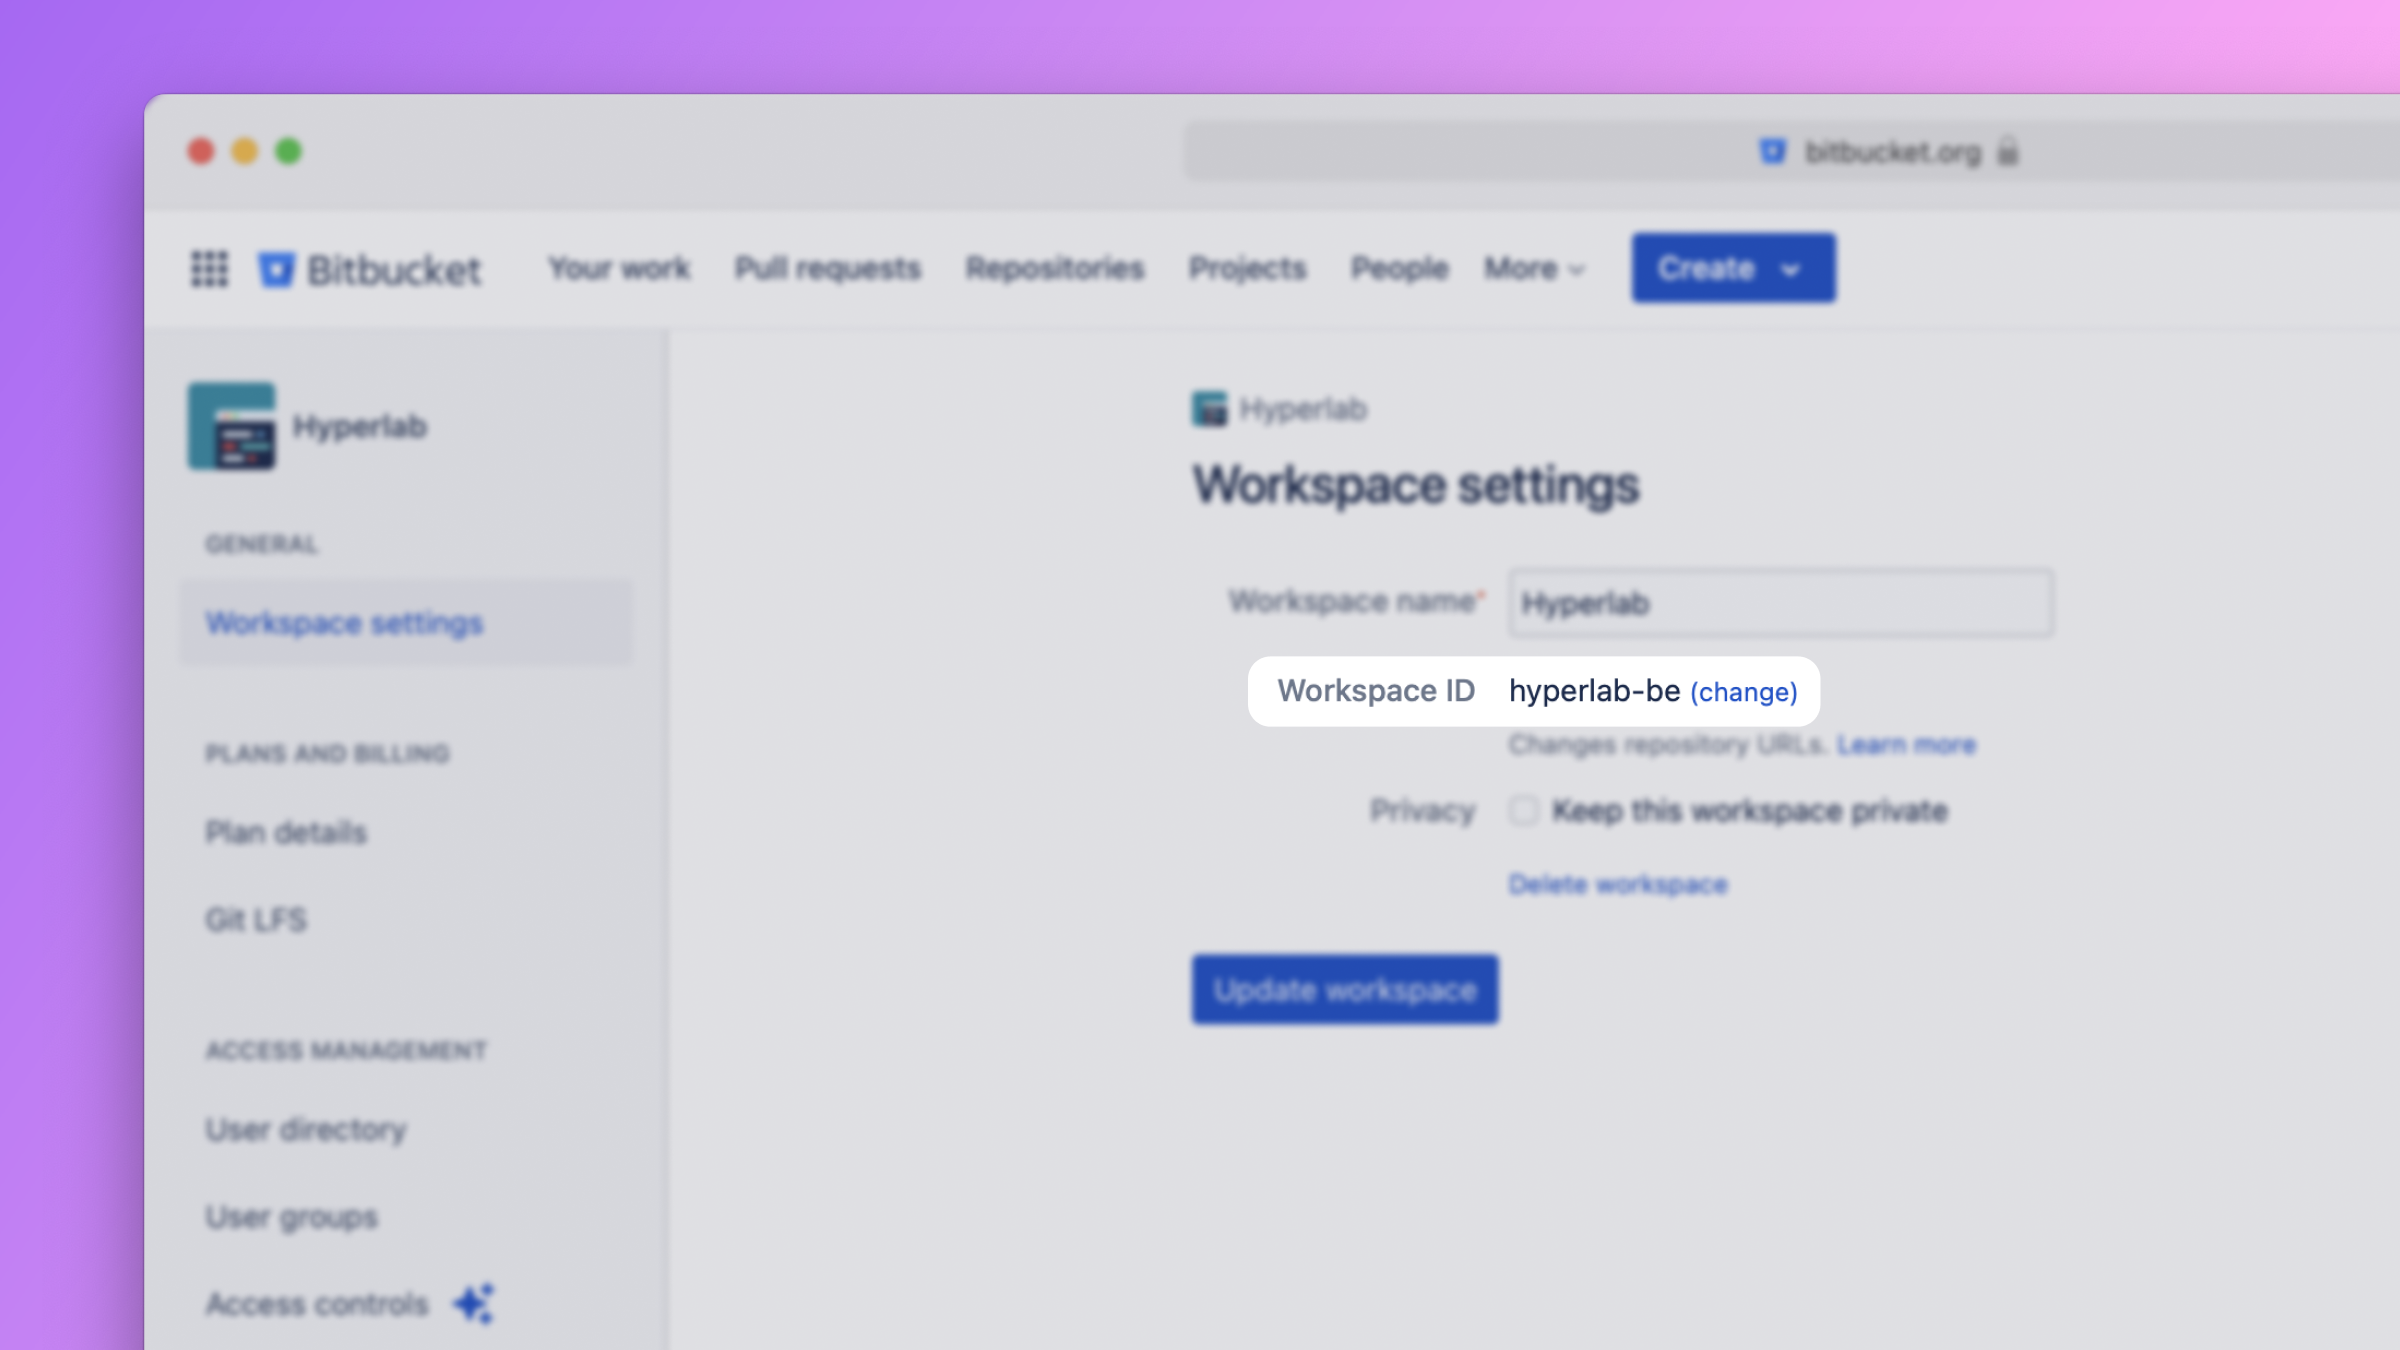
Shipmate will ask you to enter your Bitbucket workspace ID. To find this ID, click the cog icon in the top-right corner of Bitbucket. In the menu that appears, click the item labeled Workspace settings.
Your workspace ID is shown in the center of the page.
Finding your username
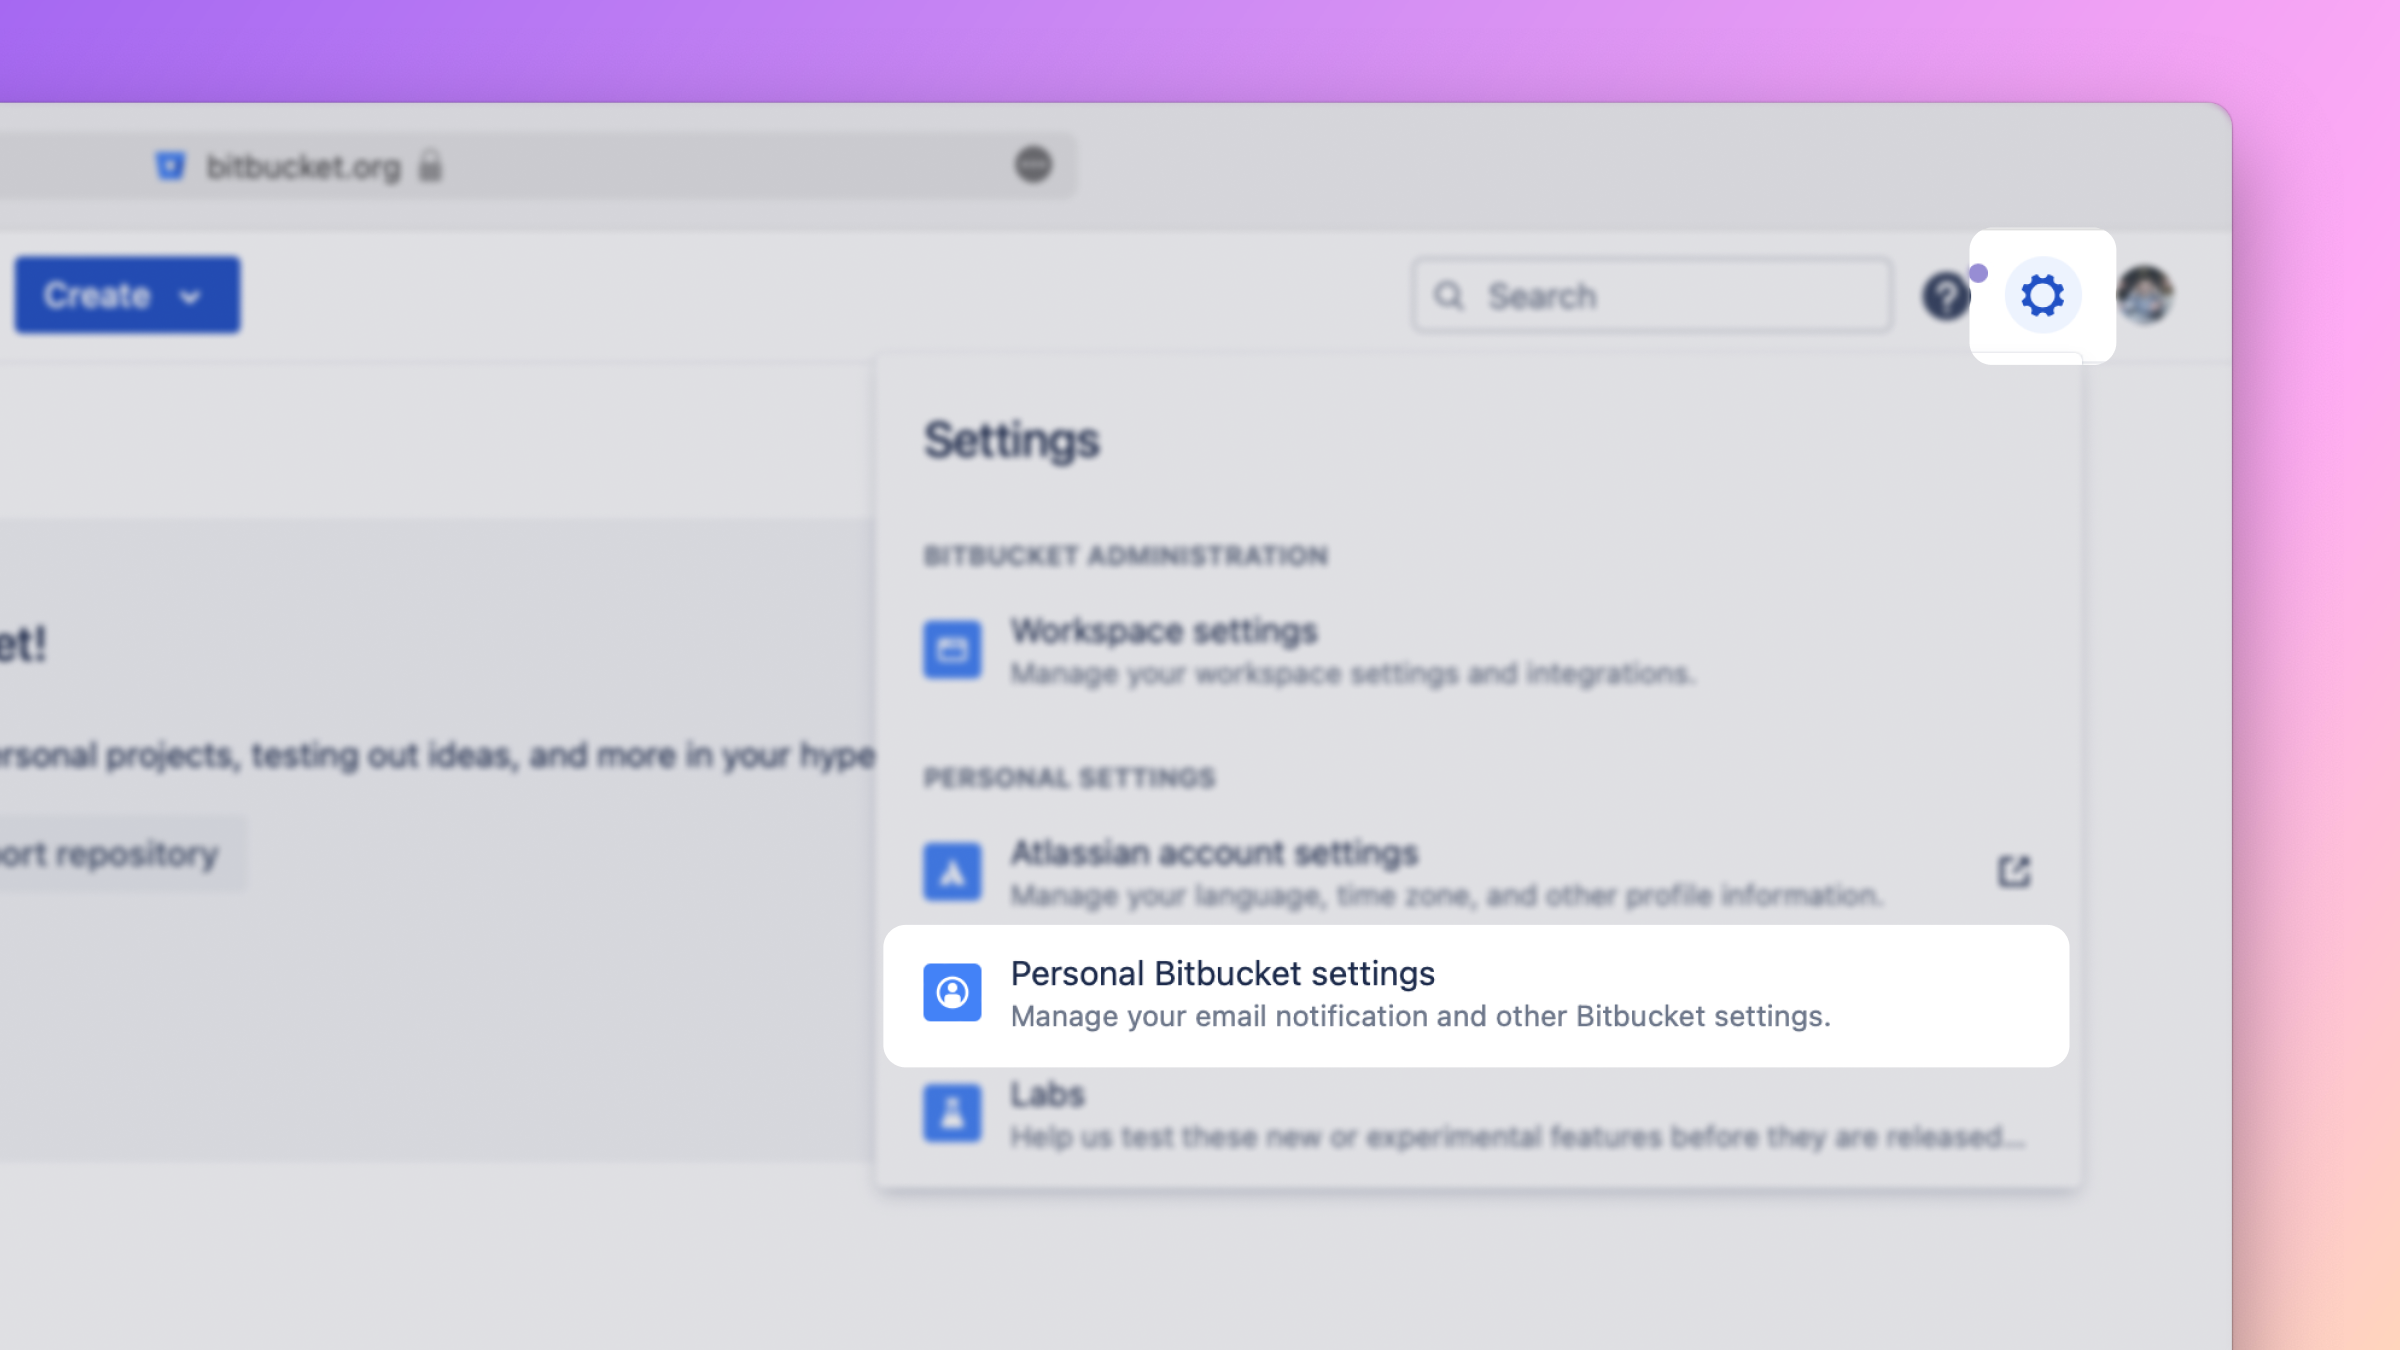
Shipmate will ask you to enter your Bitbucket username. To find your username, click the cog icon in the top-right corner of Bitbucket. In the menu that appears, click the item labeled Personal Bitbucket settings.
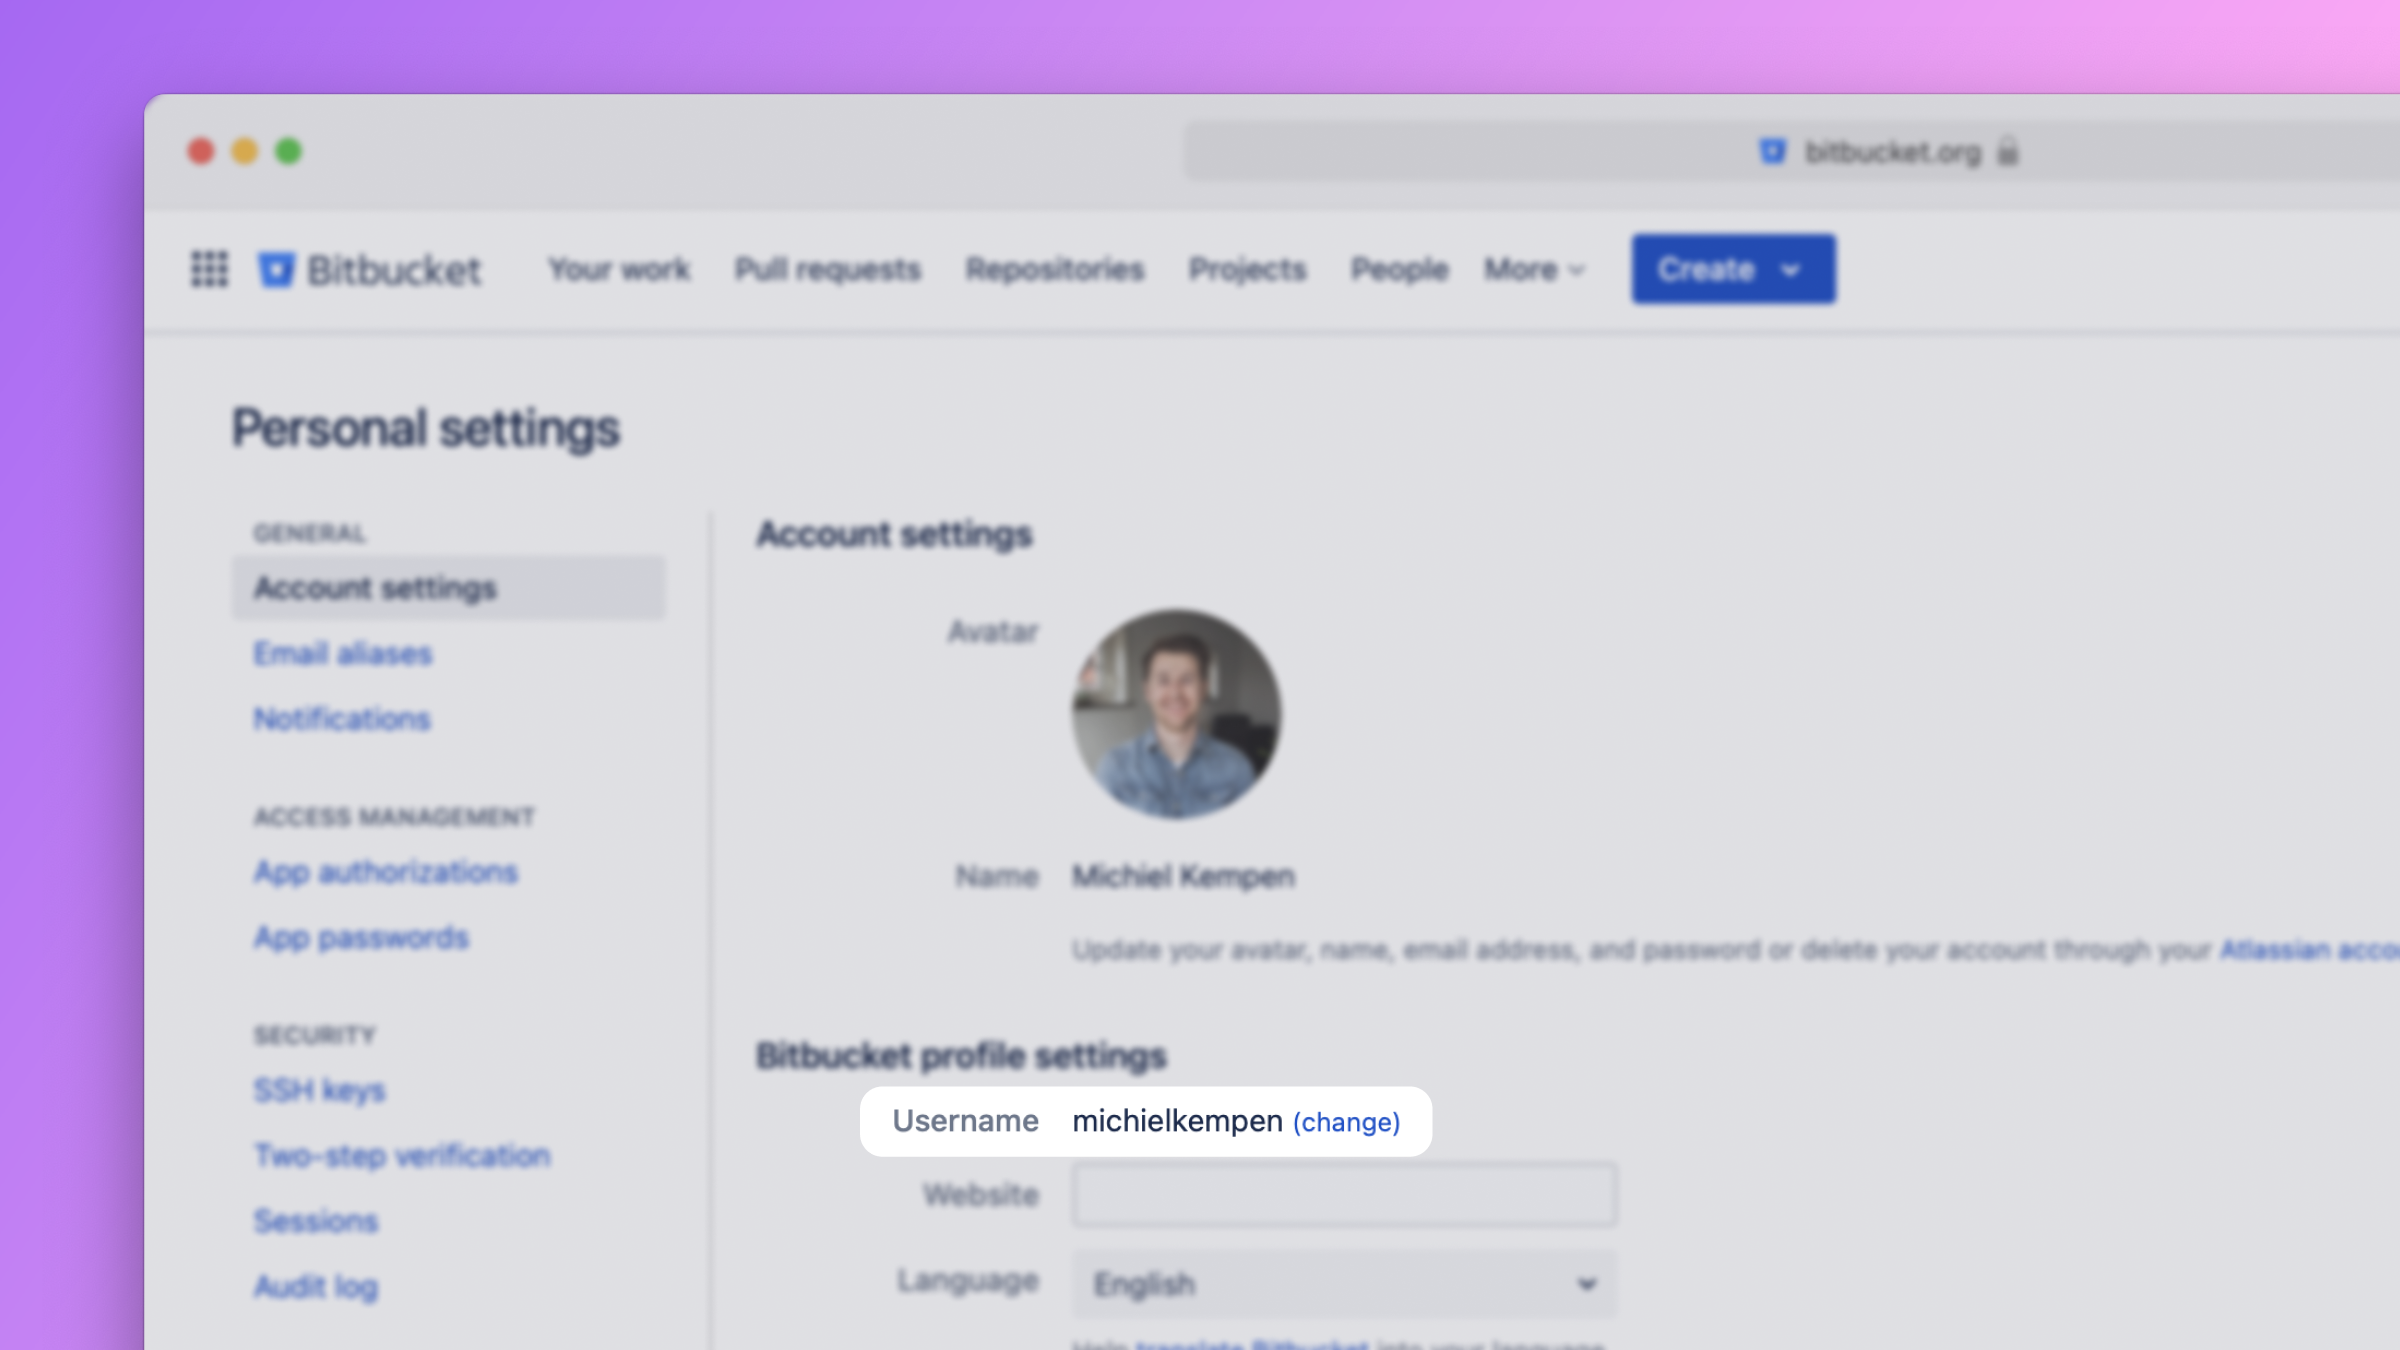
Your username is shown in the center of the page.
Creating an app password
To grant Shipmate access to your Bitbucket account, you need to create an App password and assign it the required permissions. To do so, click the cog icon in the top-right corner of Bitbucket. In the menu that appears, click the item labeled Personal Bitbucket settings.
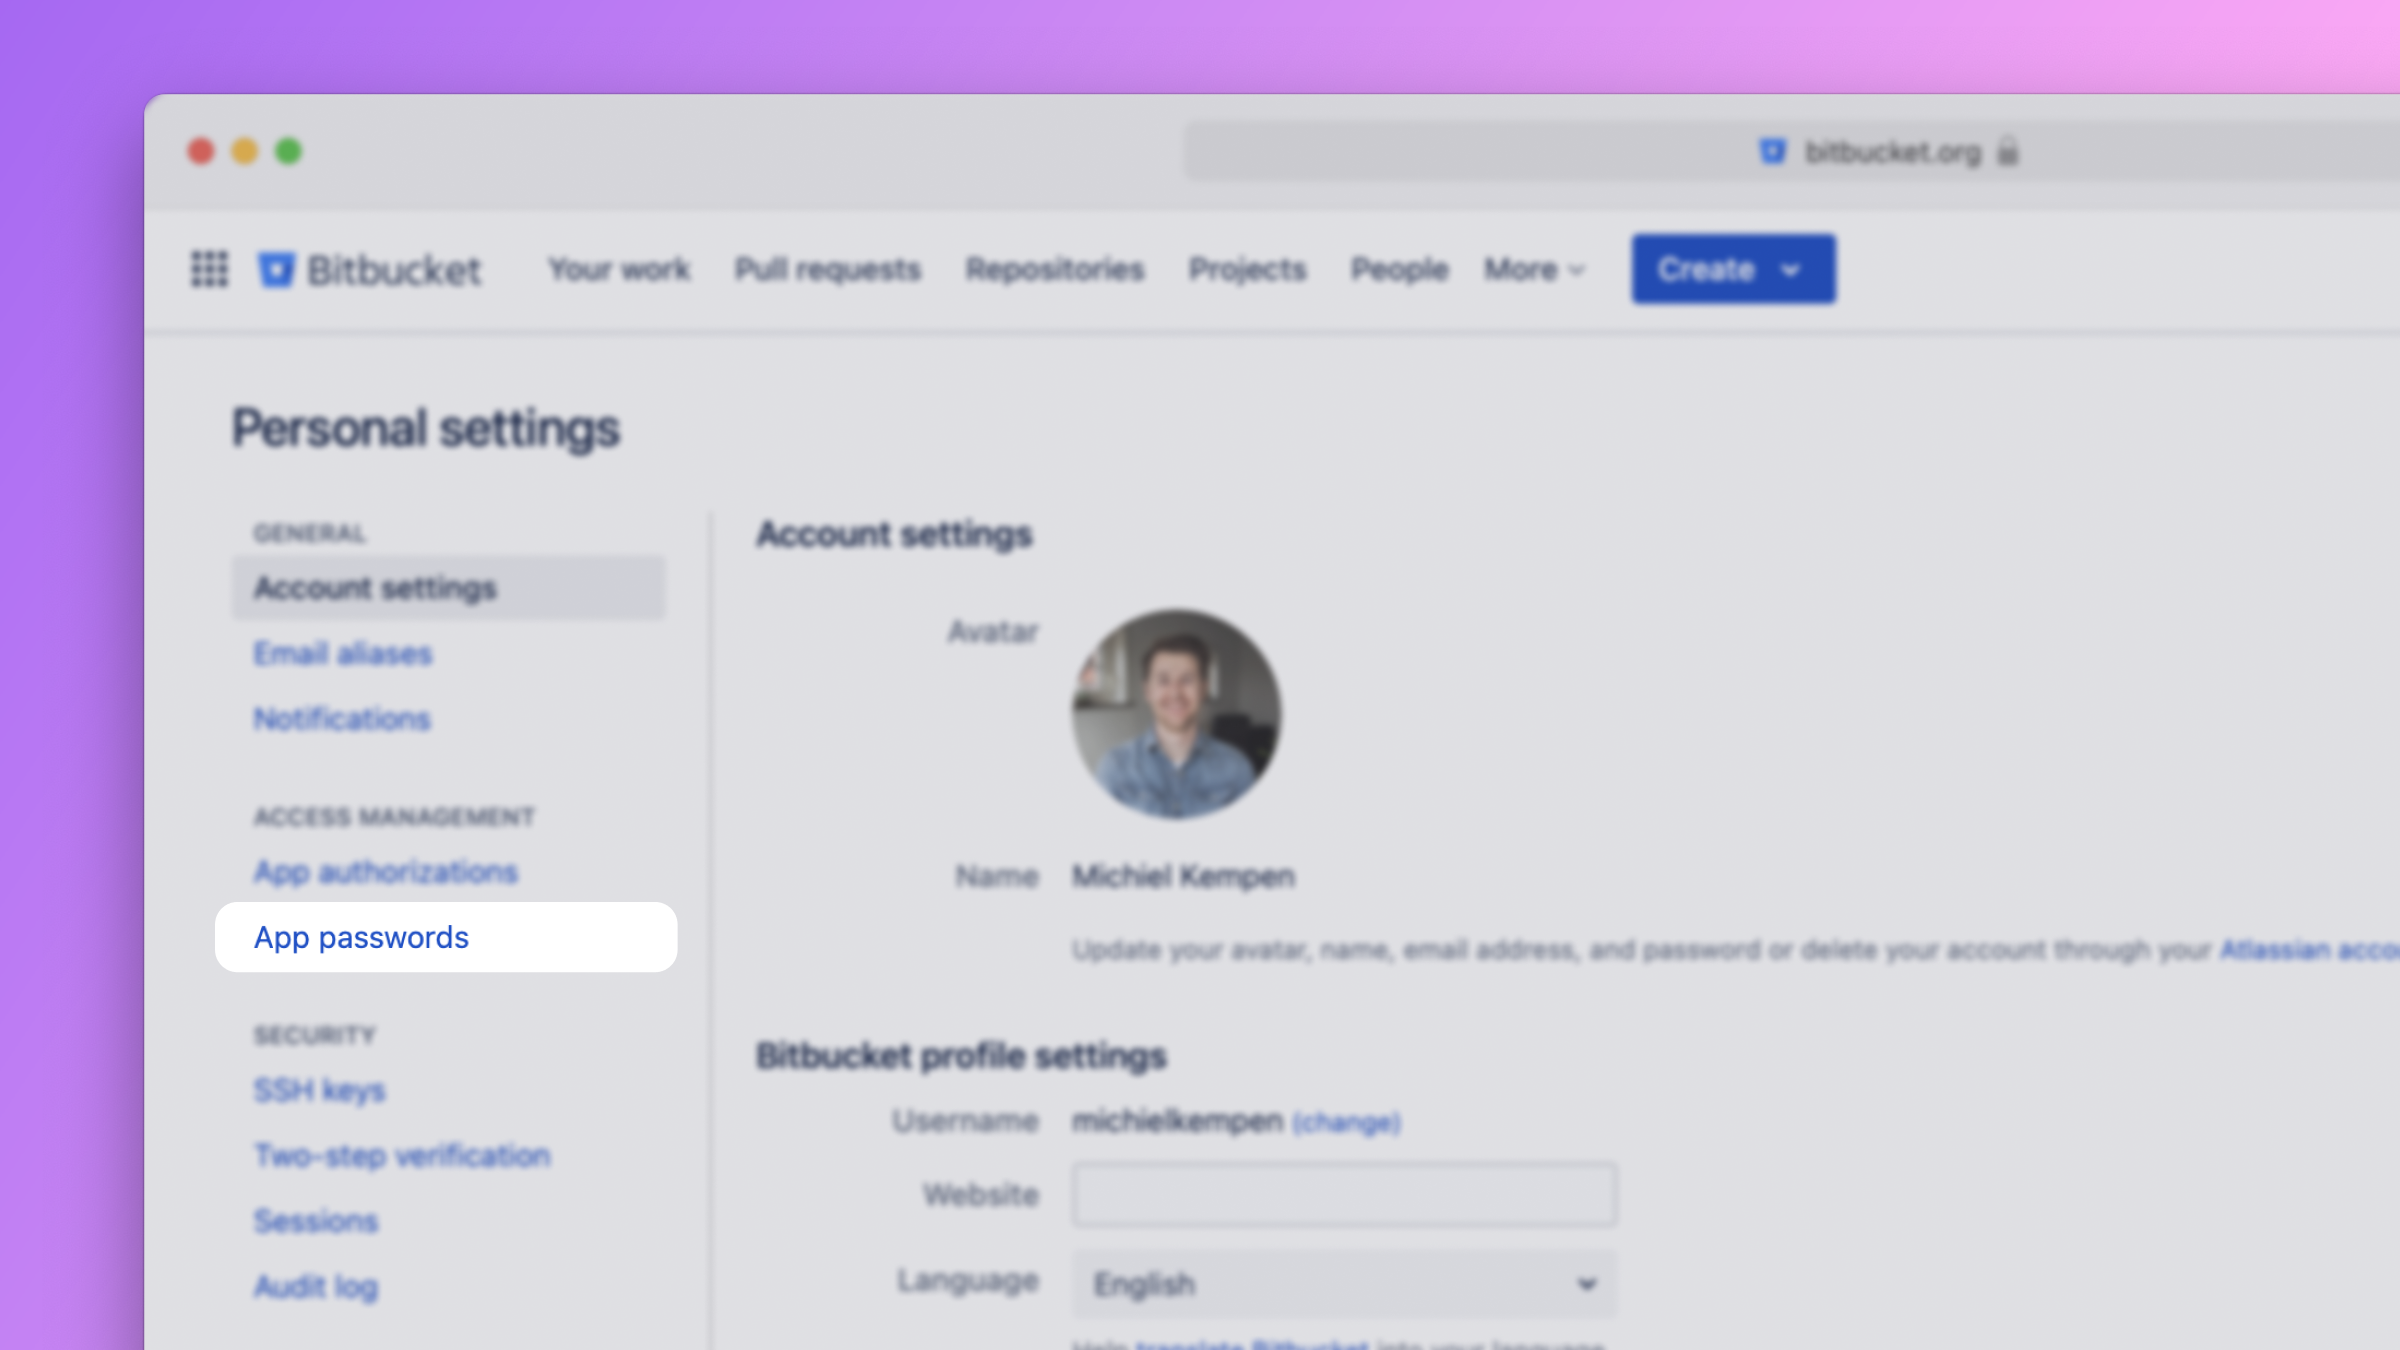
In the sidebar of the page, click on the item labeled App passwords.
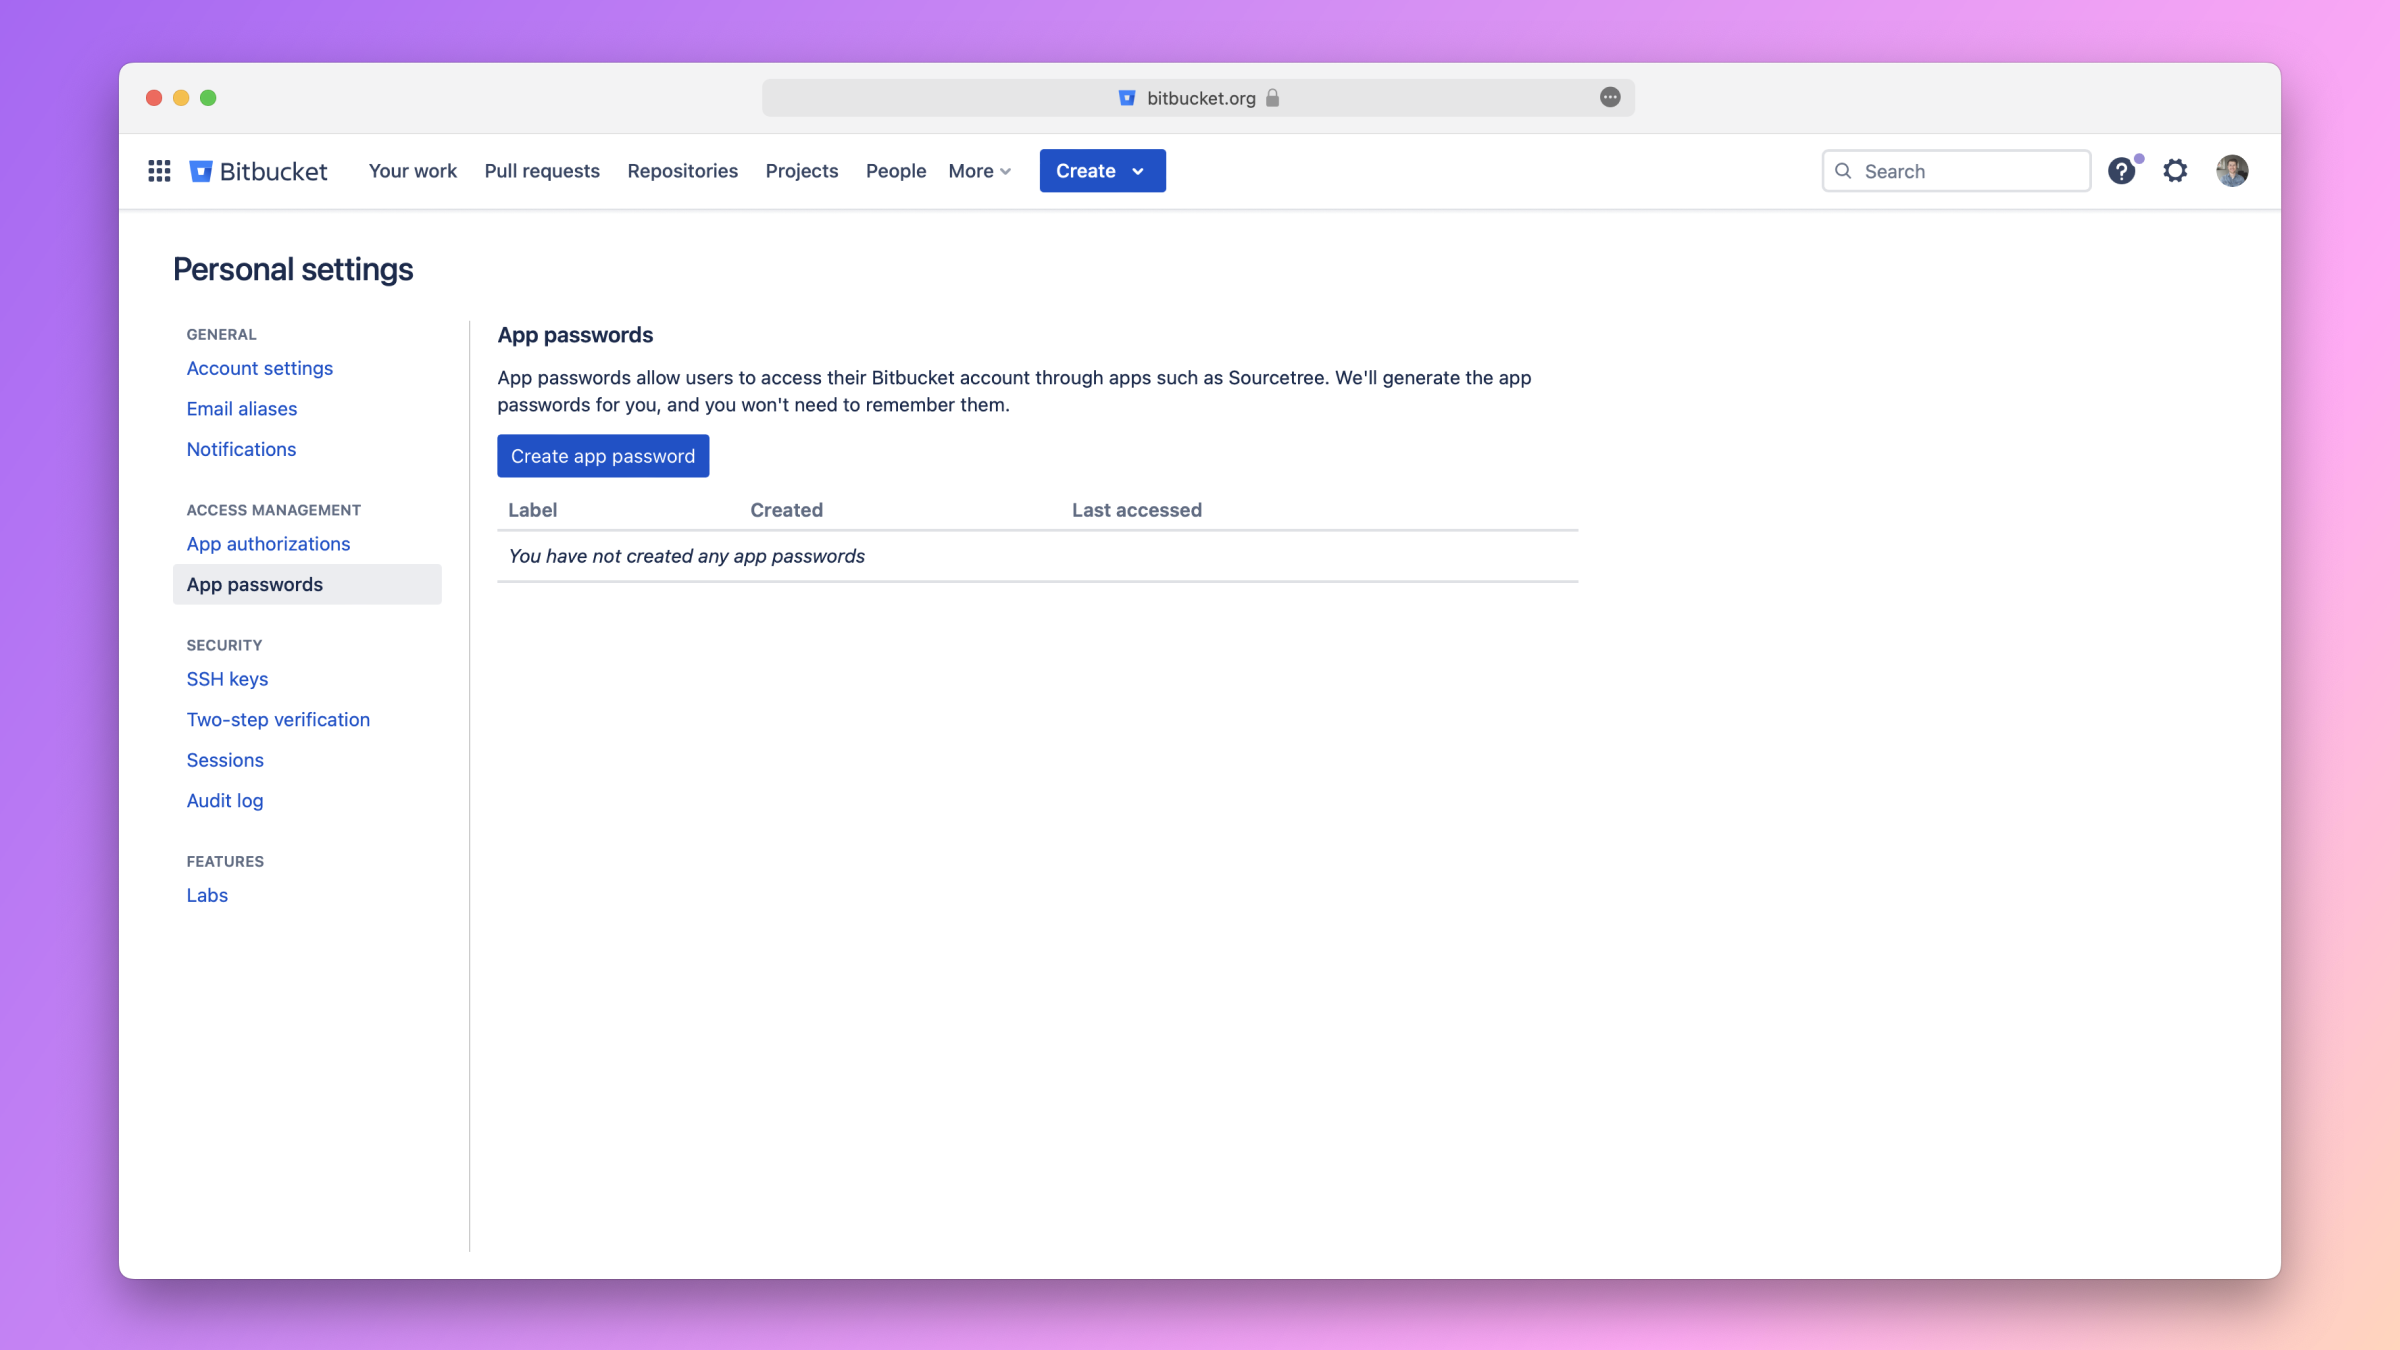
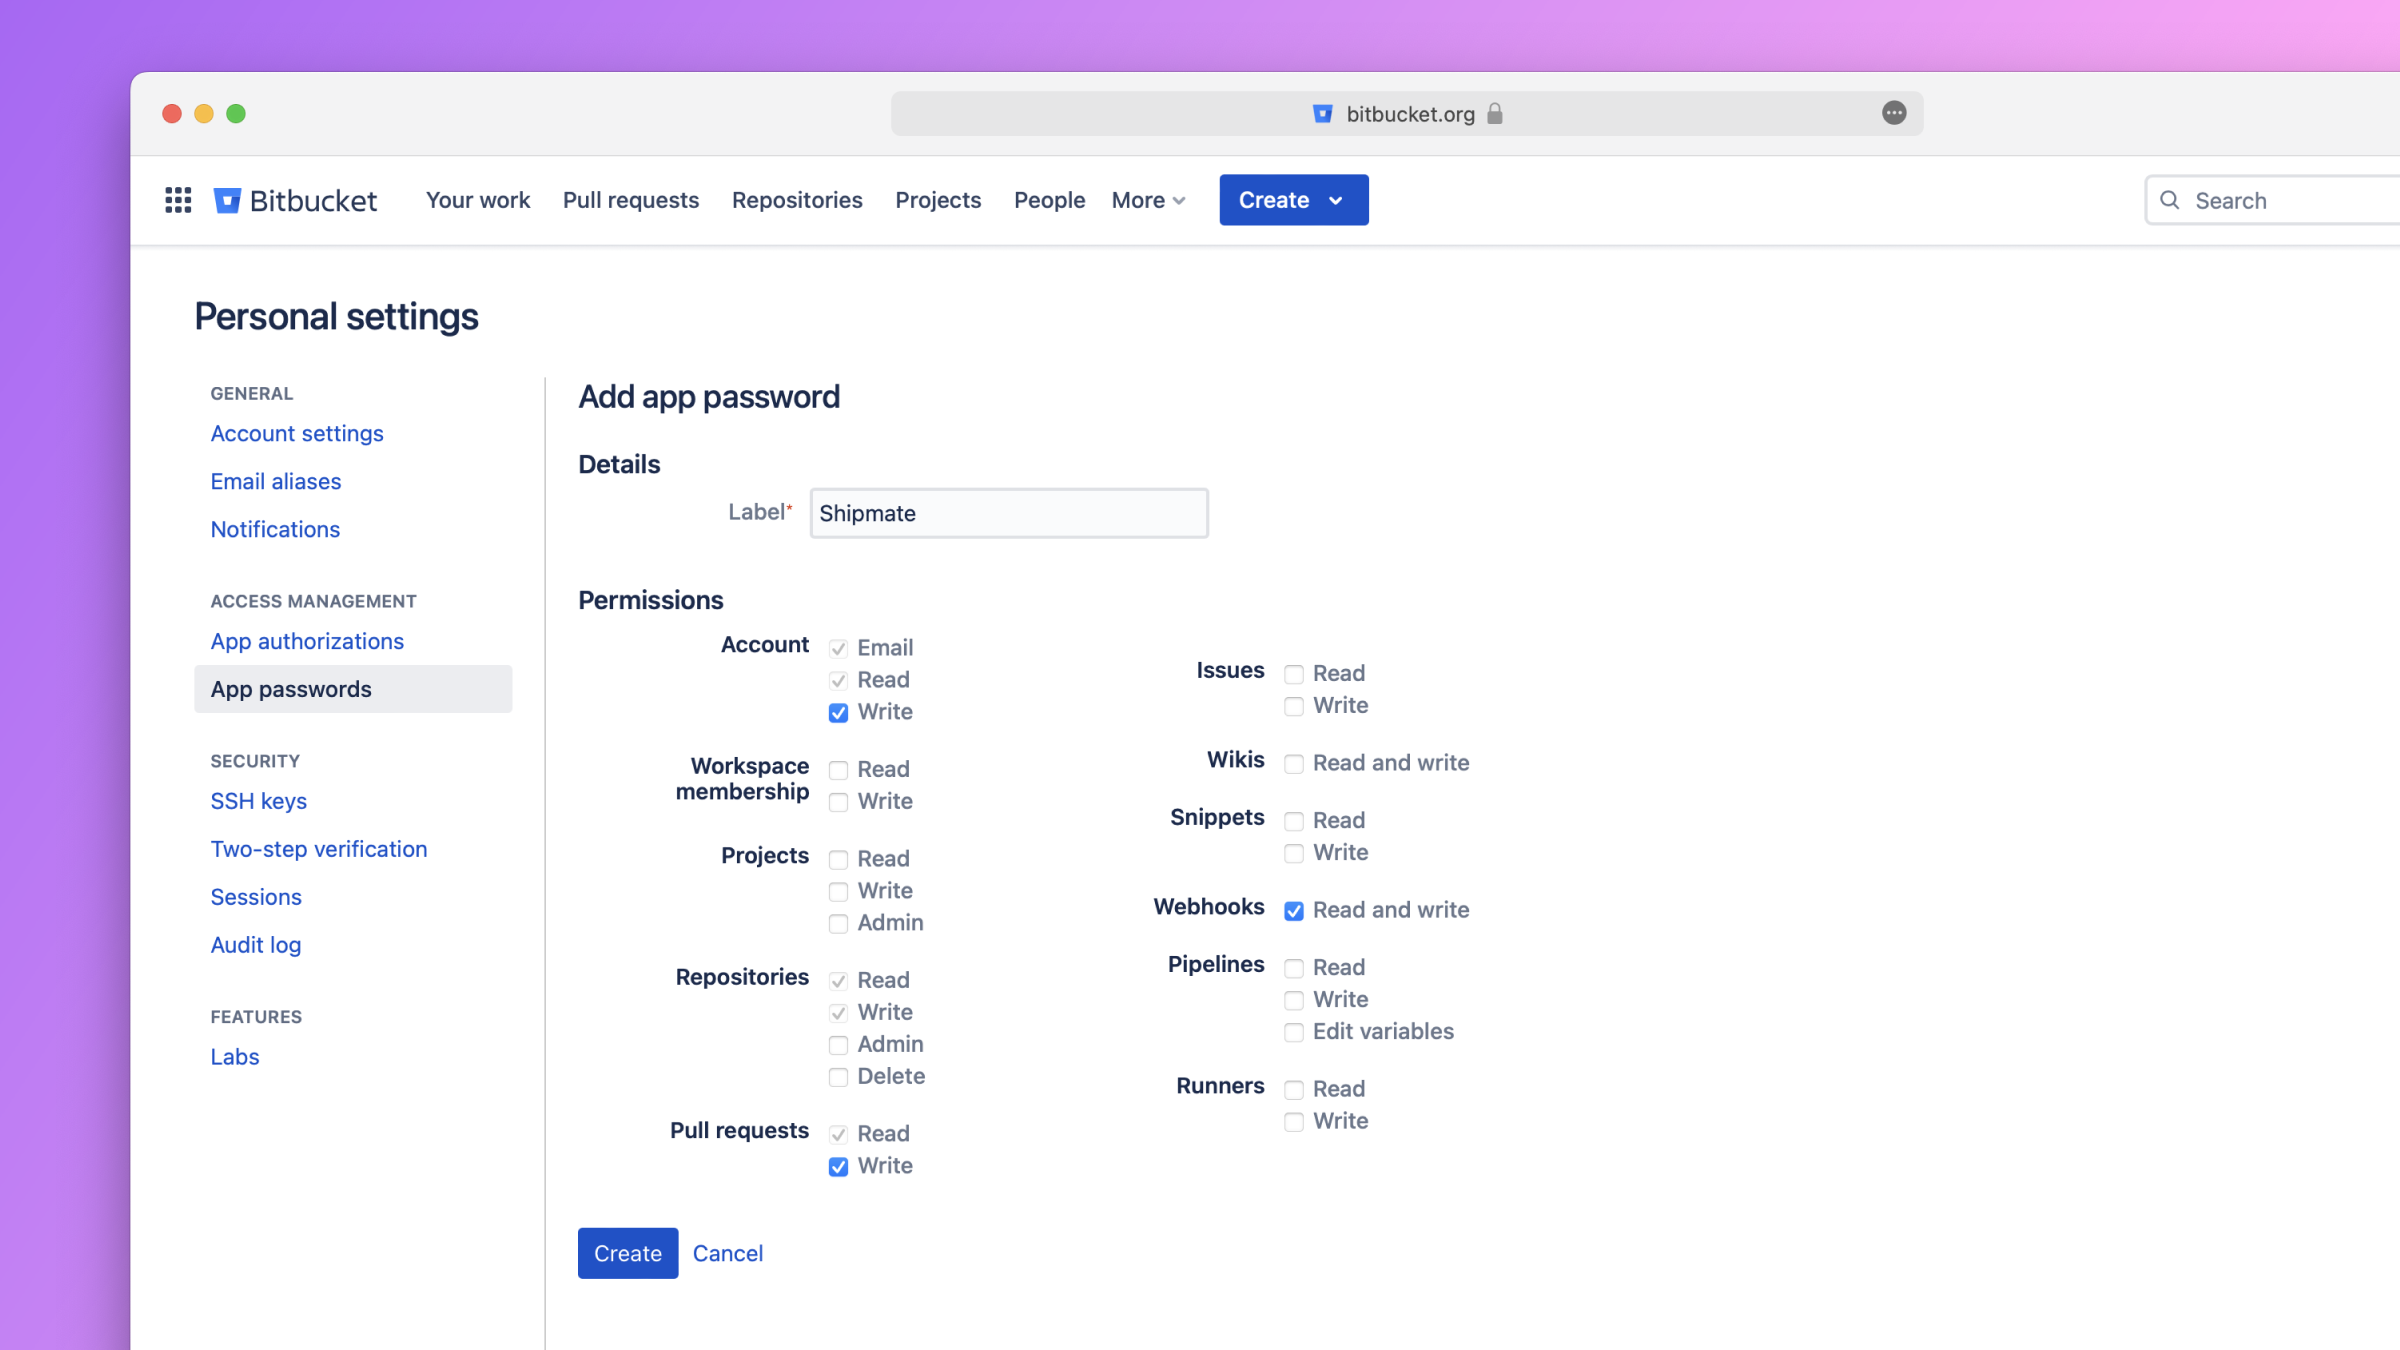
You should now see the App passwords page. Next, click the button labeled Create app password at the top of the page.
Fill out the form that appears.
- For the name, we recommend using Shipmate.
- For the permissions, select the following:
- Account -> Write
- Repositories -> Write
- Pull requests -> Write
- Webhooks -> Read and write
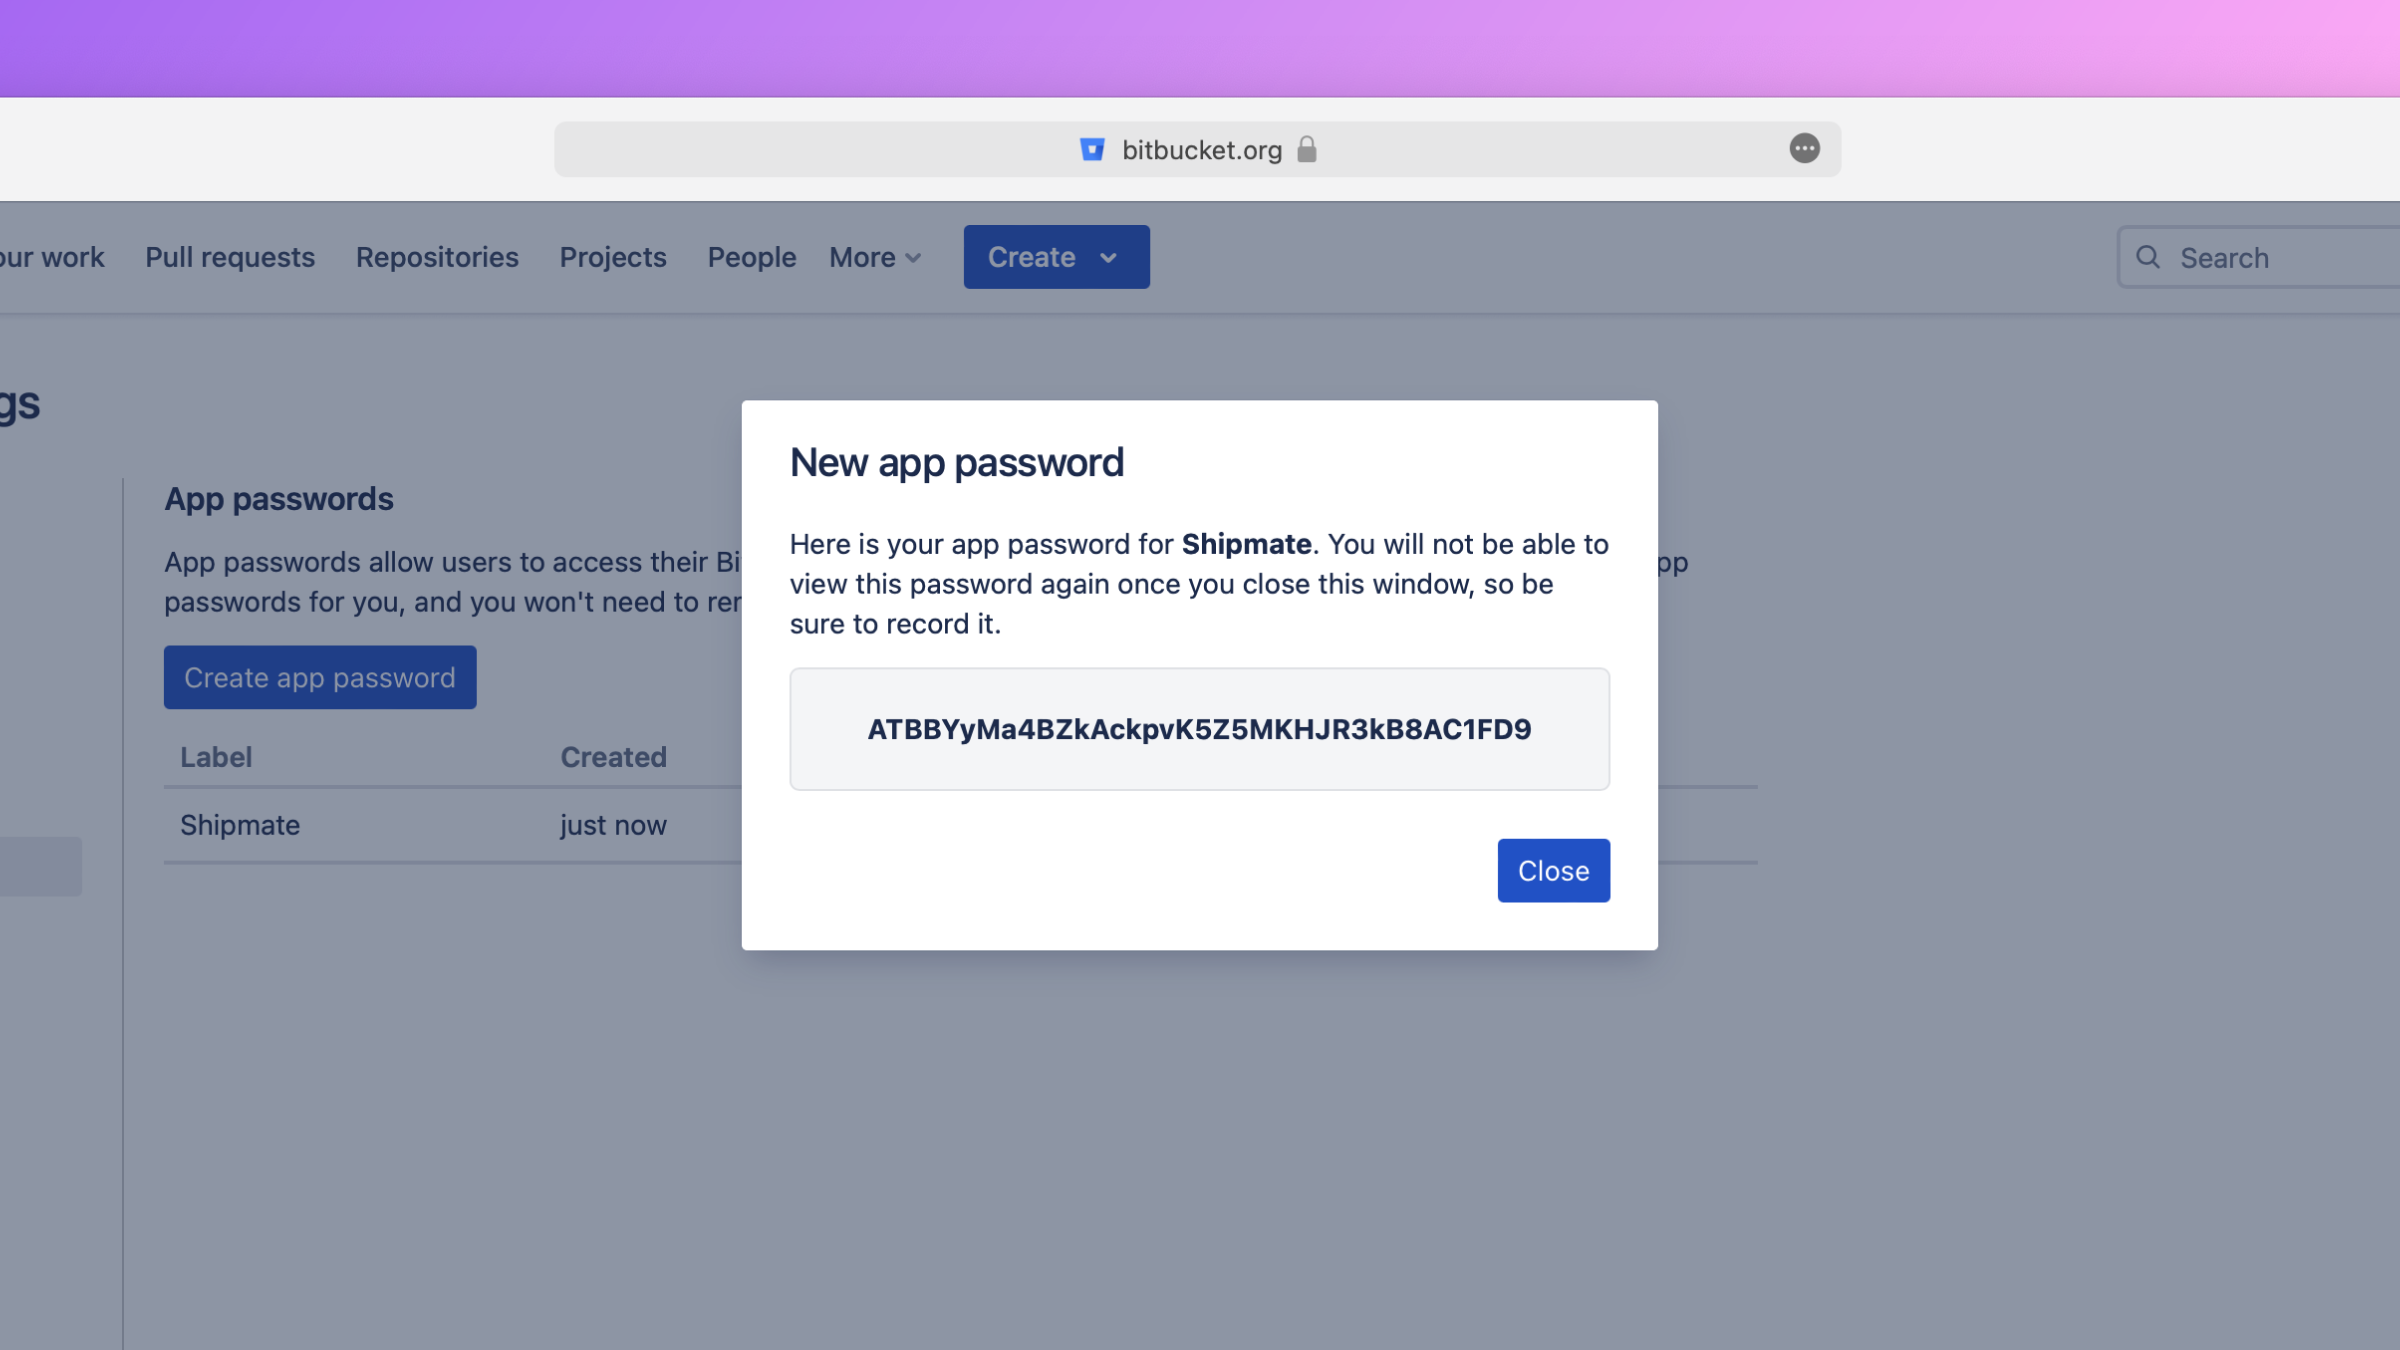
After creation, copy the app password, as you need to enter it in Shipmate.
Setting up an integration
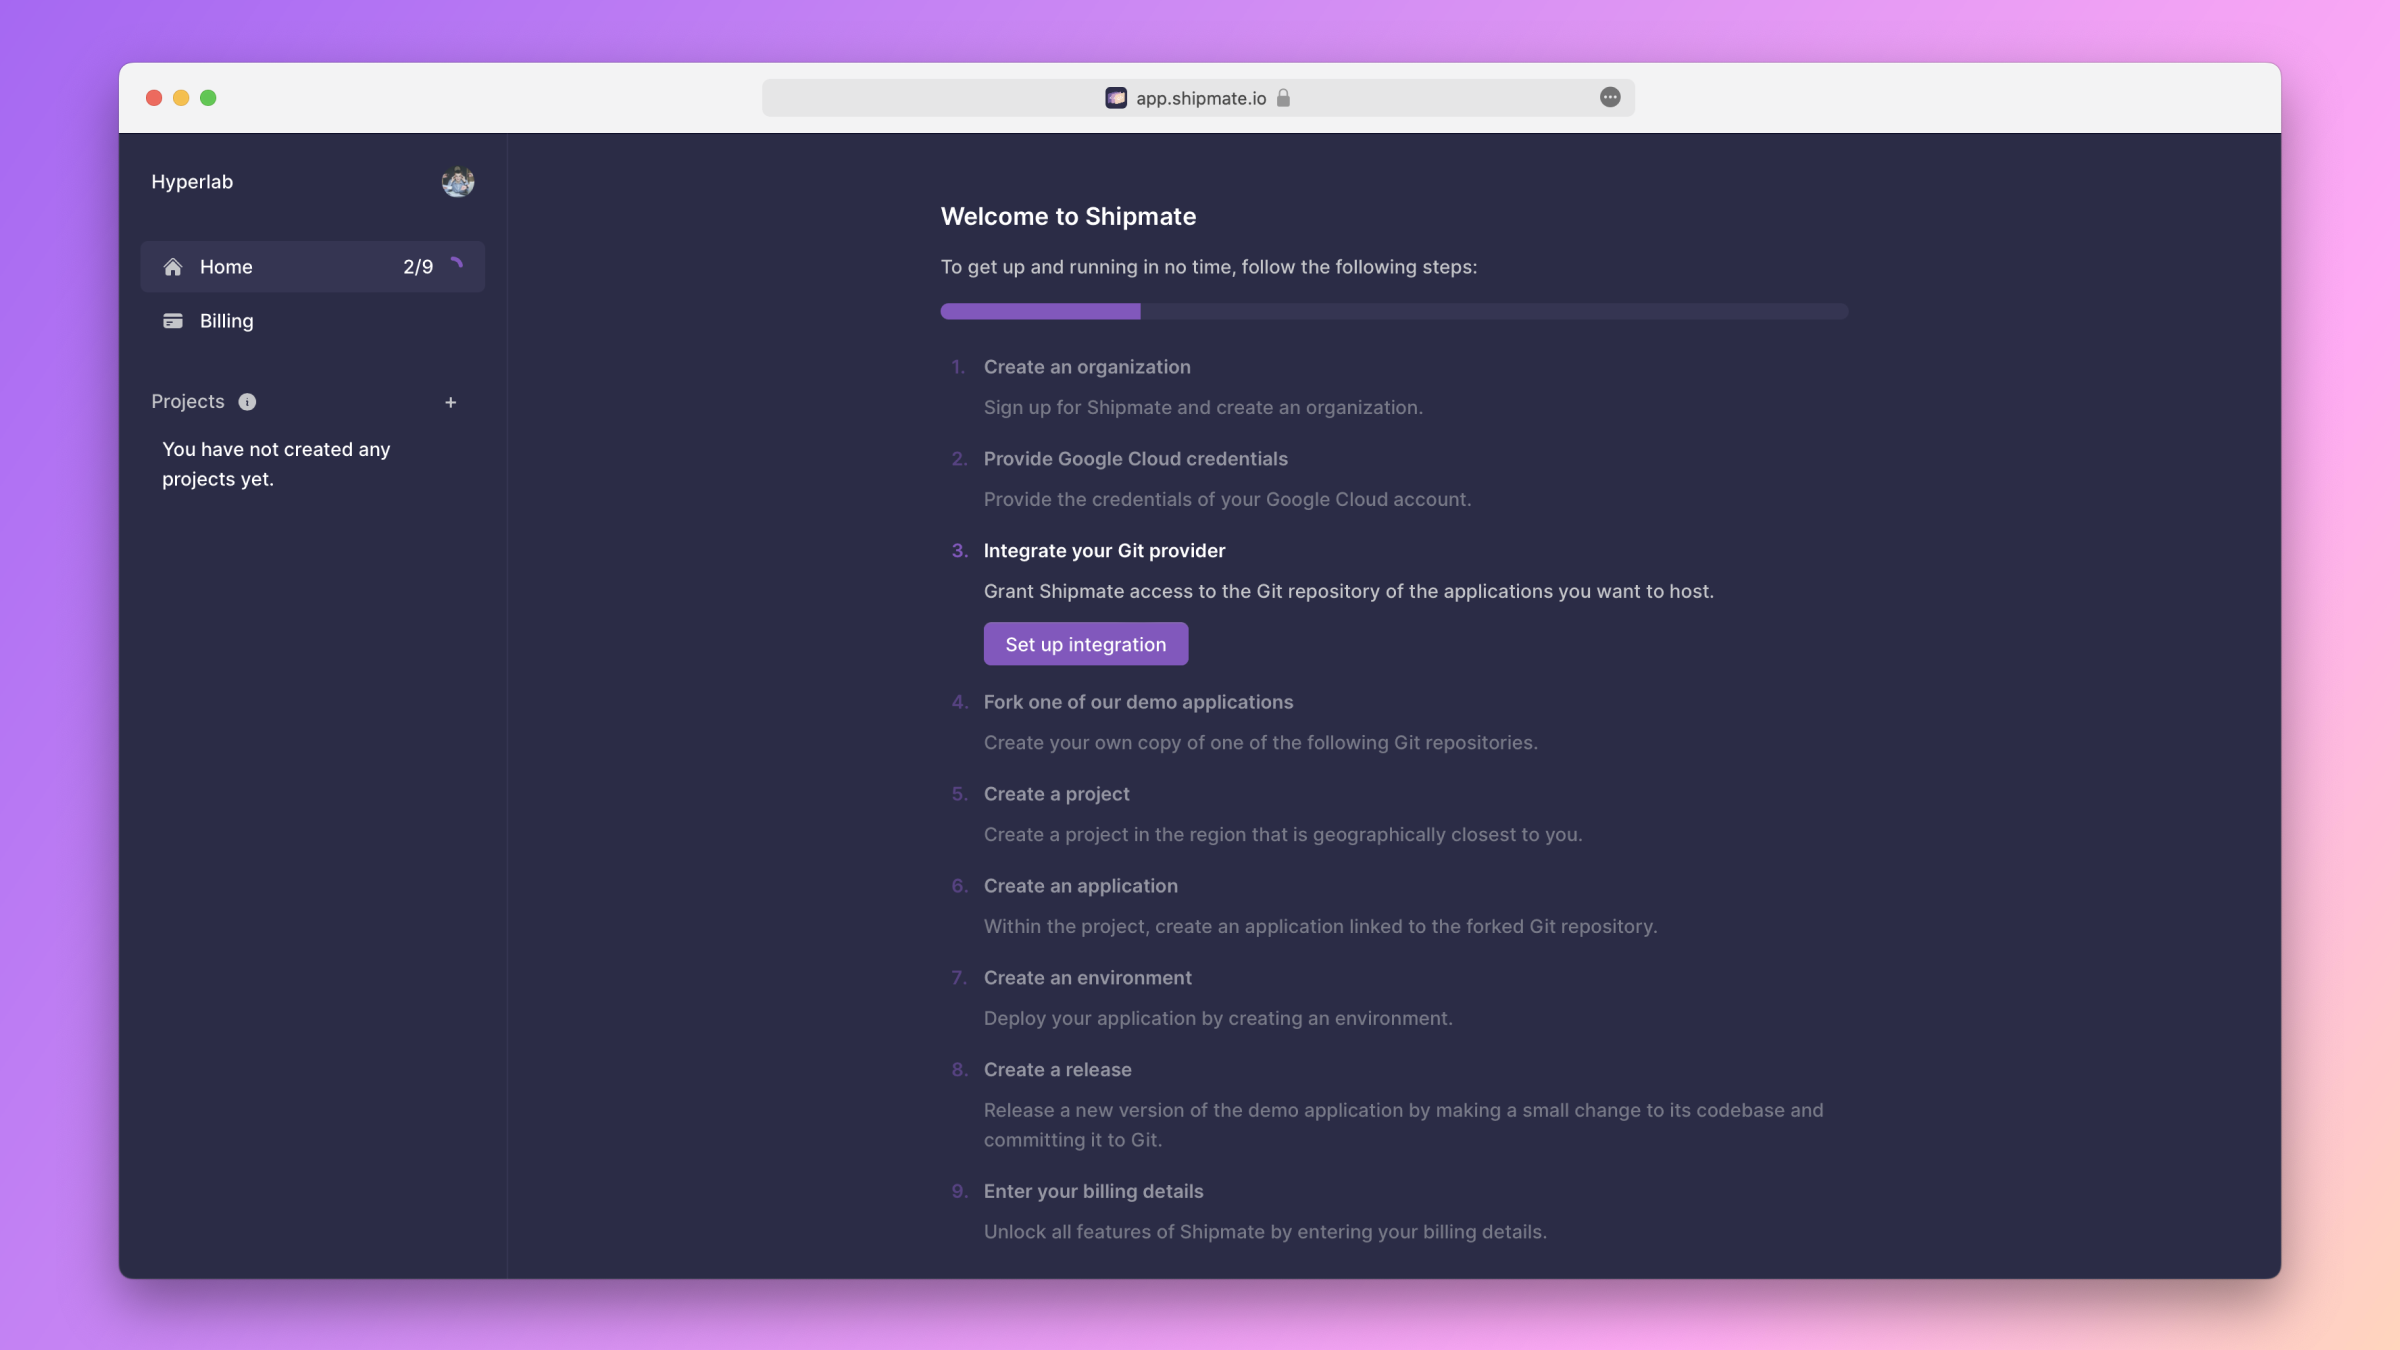
When you create a new organization, Shipmate guides you through the initial set up. One of the steps in this onboarding is integrating your Git provider. Click on the button labeled Set up integration.
If you've already completed the onboarding, click on the select field in the app's top-left corner. In the menu that appears, click on the item labeled Set up integrations.

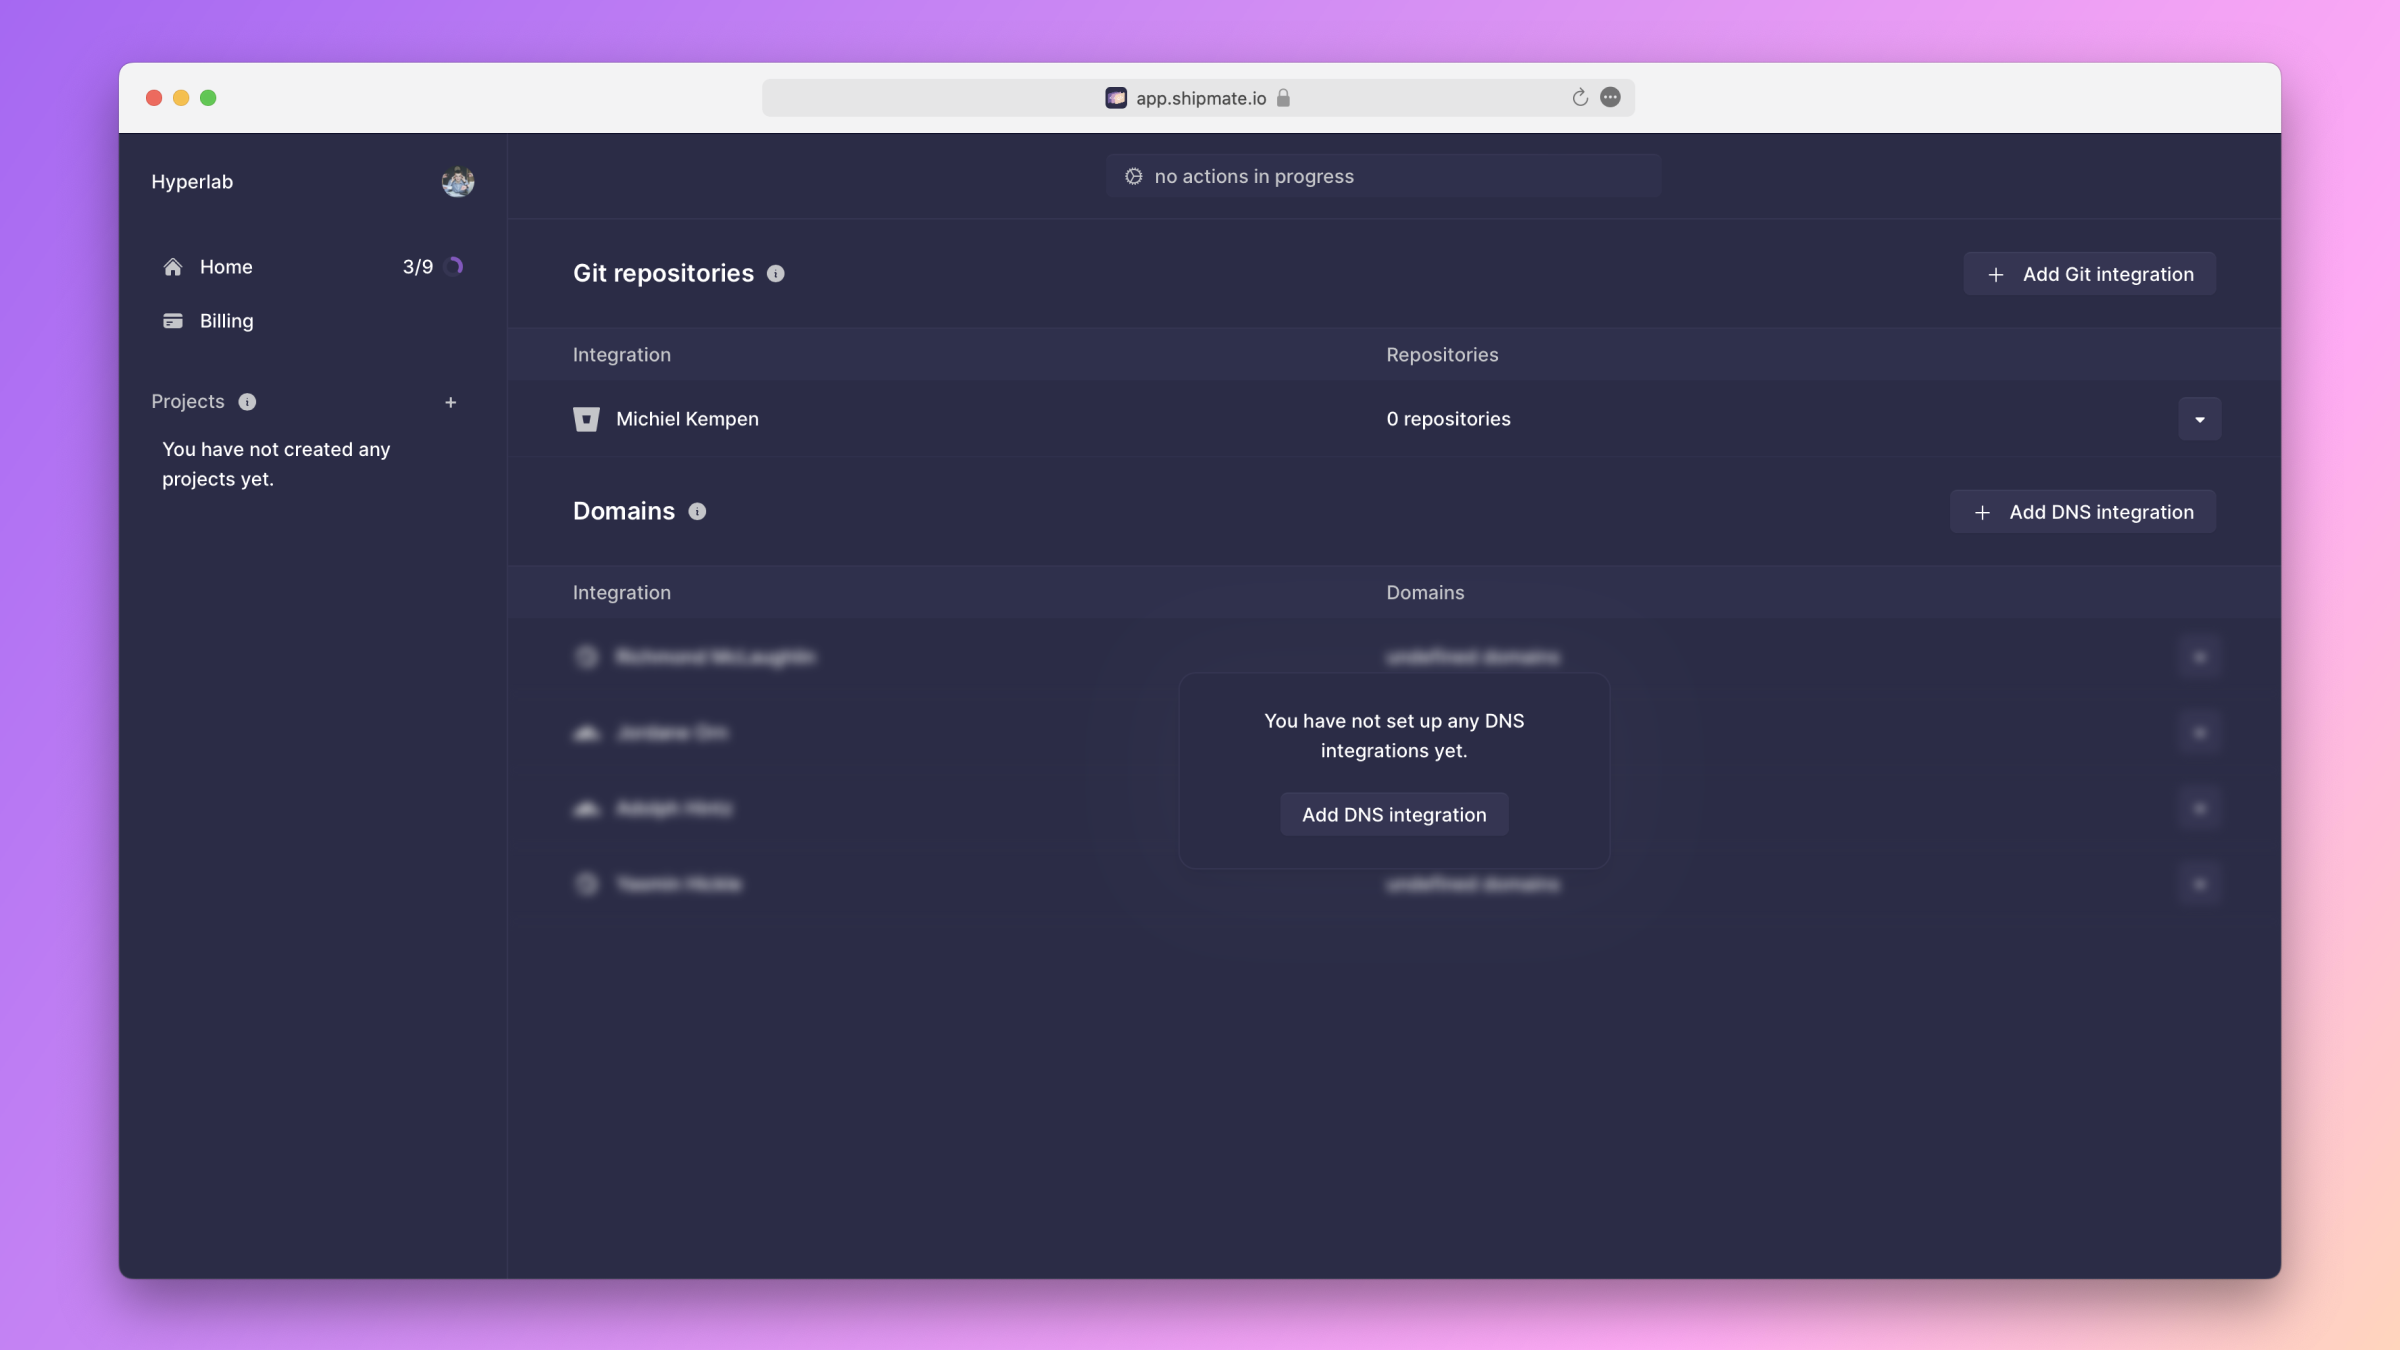
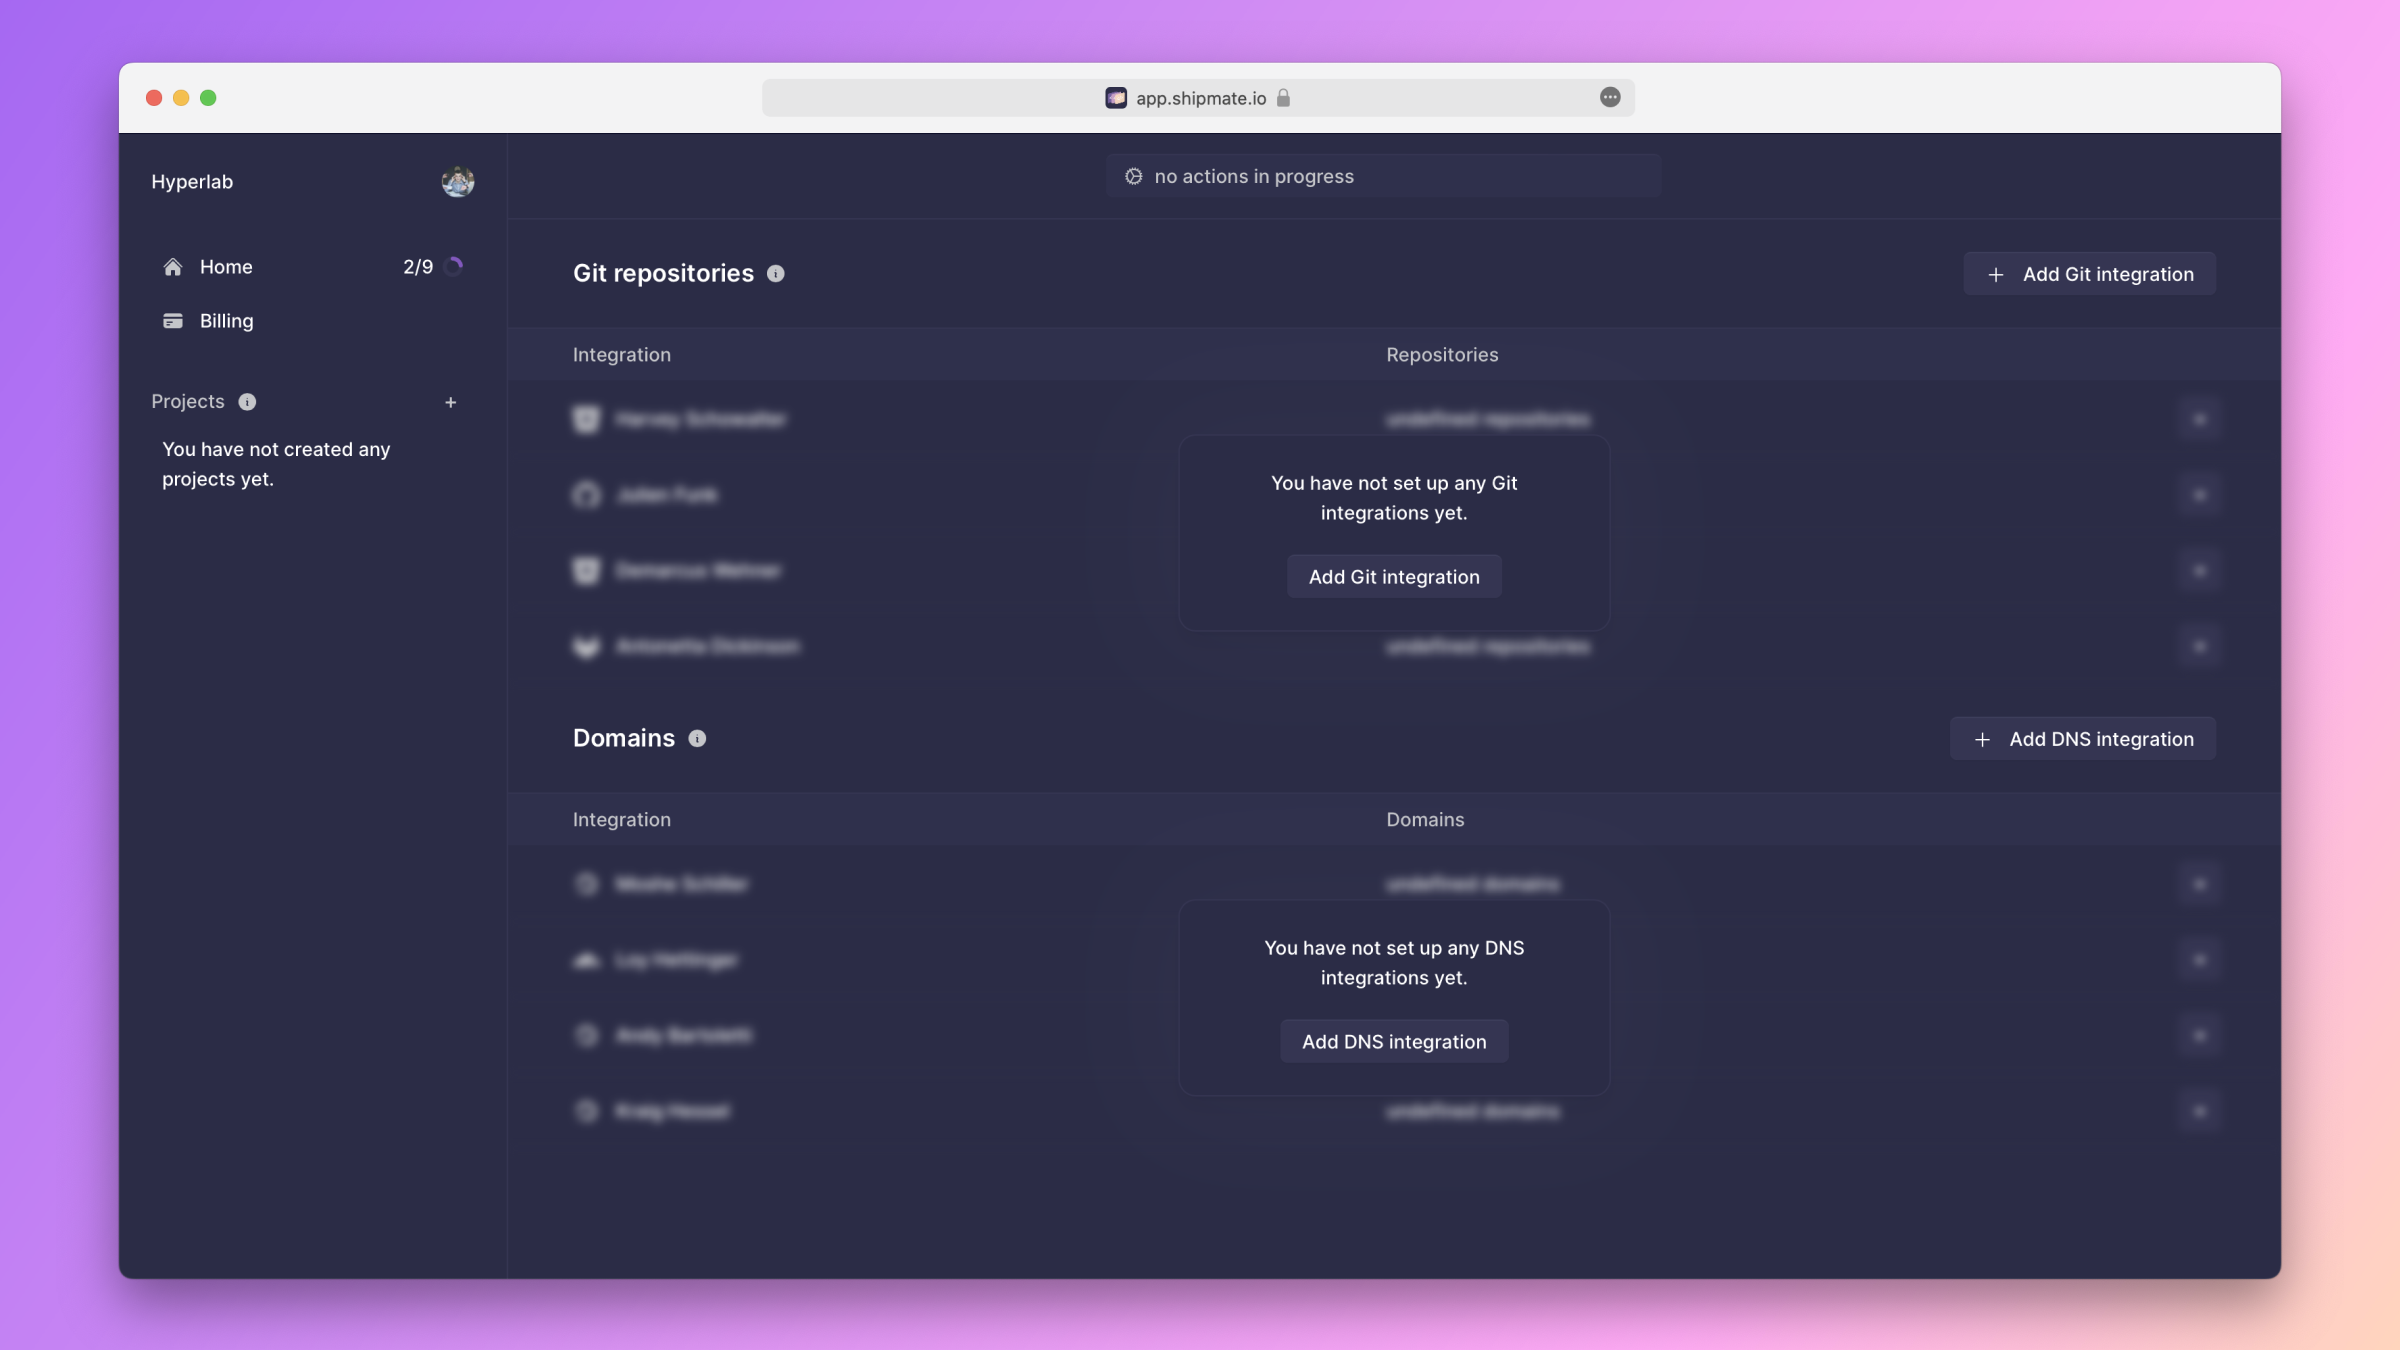
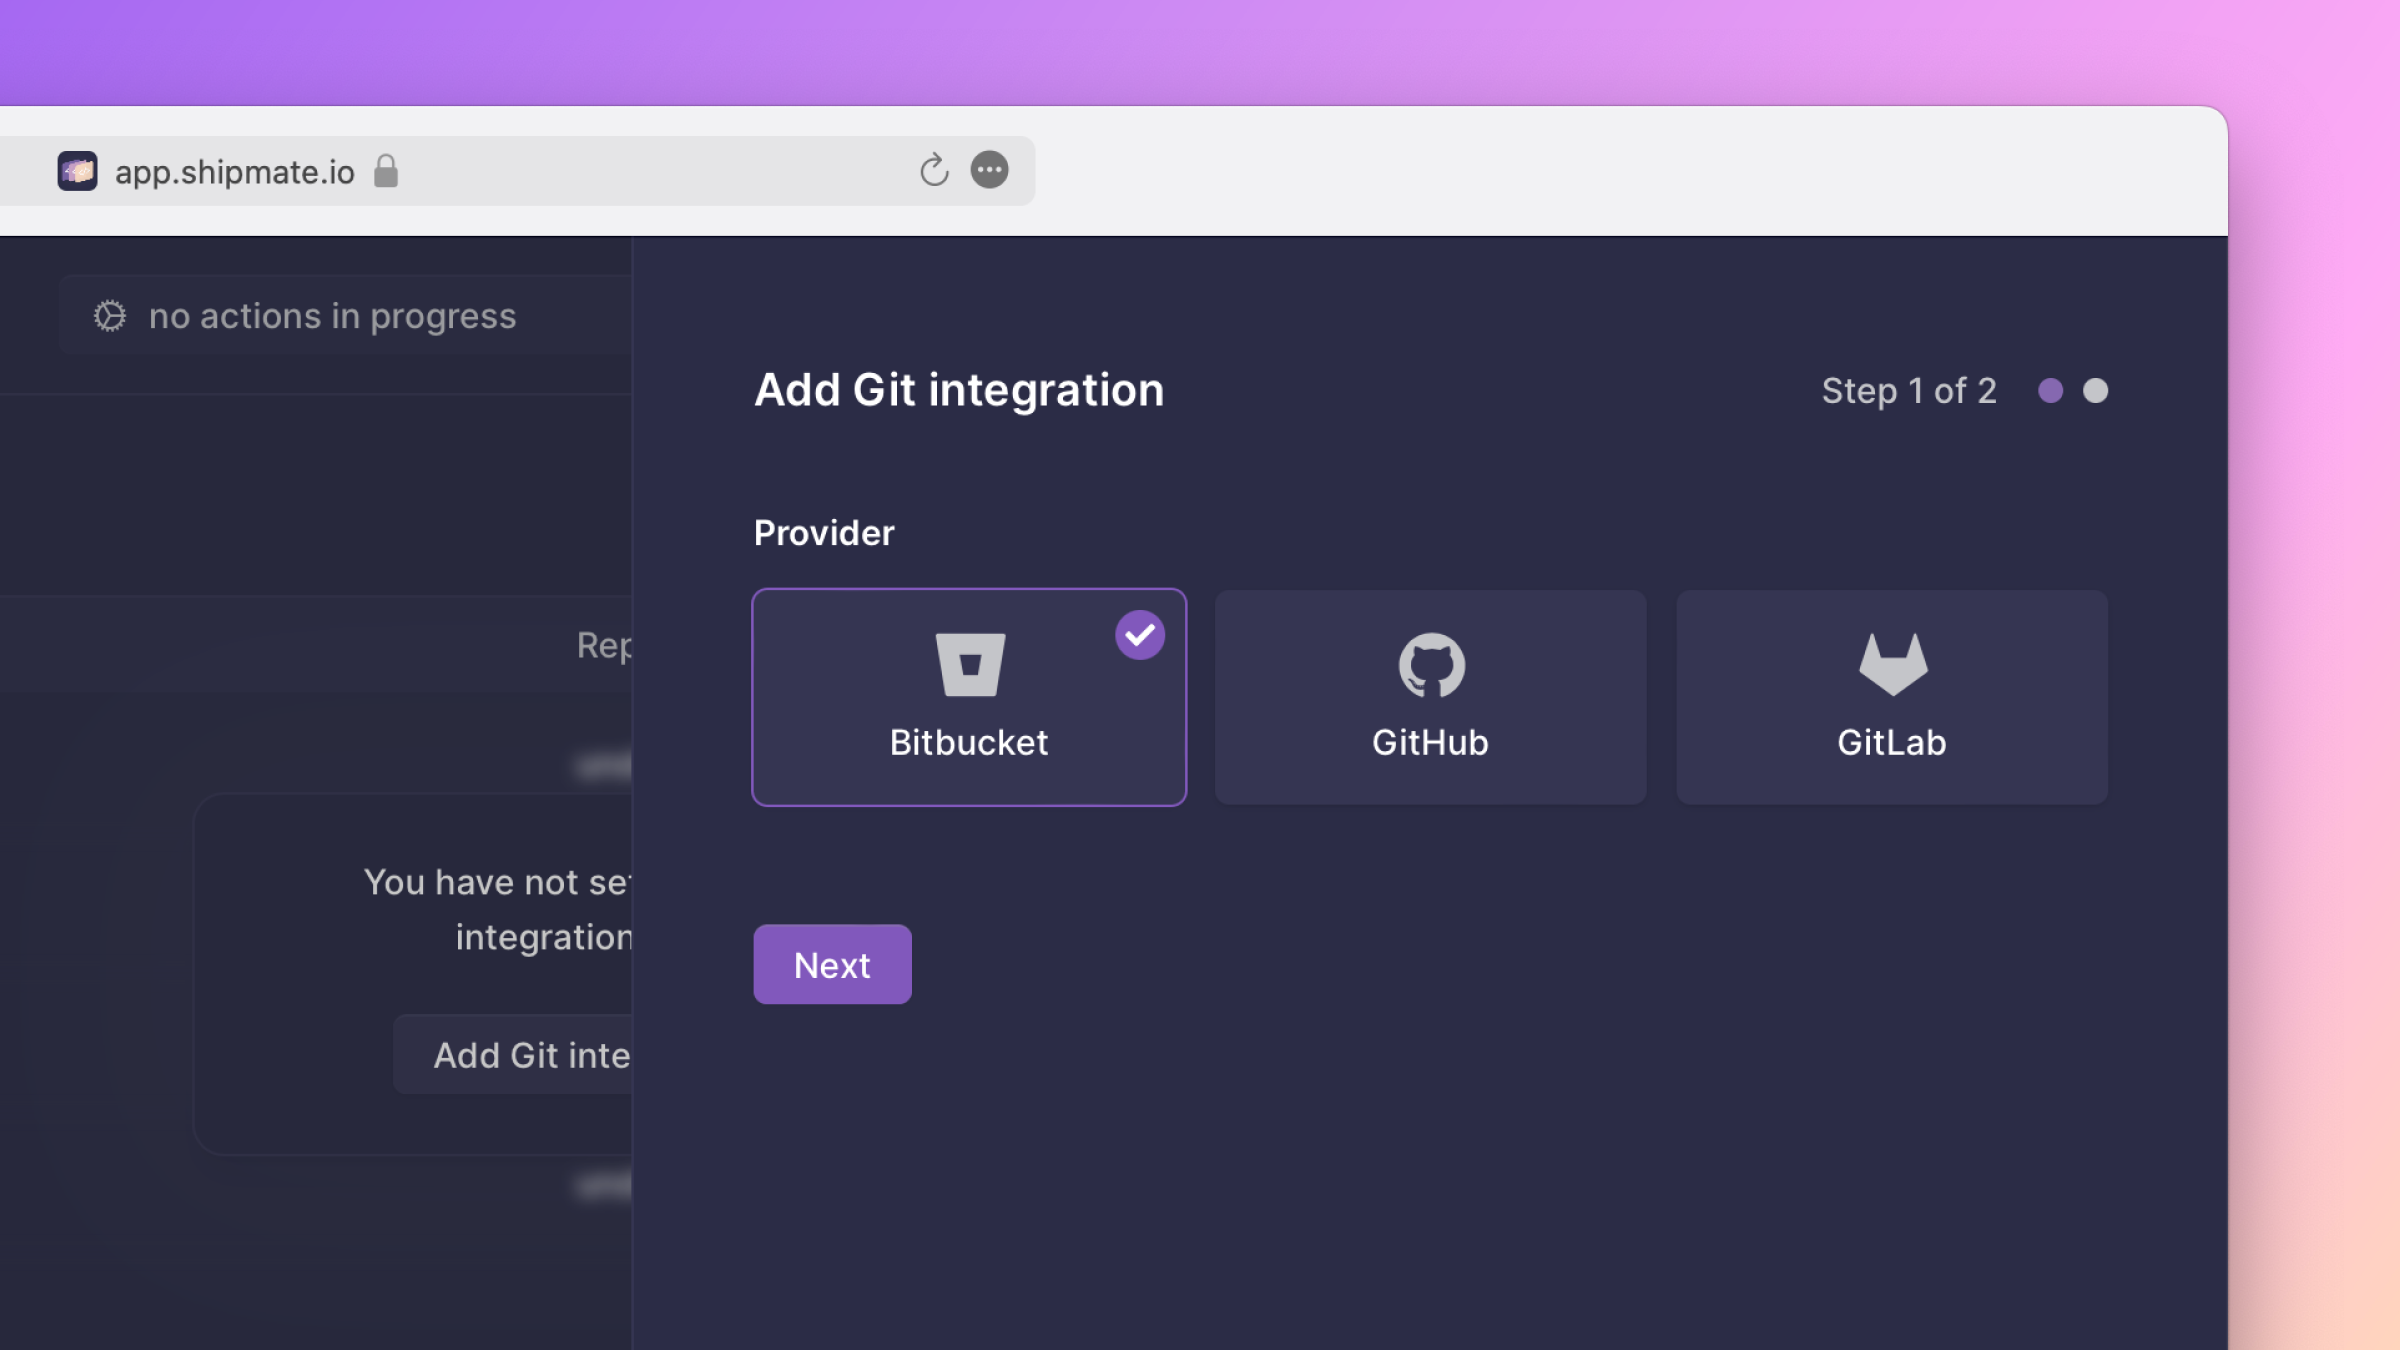
You should now see the Integrations page. Click the button labeled Add Git integration in the top-right corner of the Git repositories table.
In the form that appears, select Bitbucket as the provider.
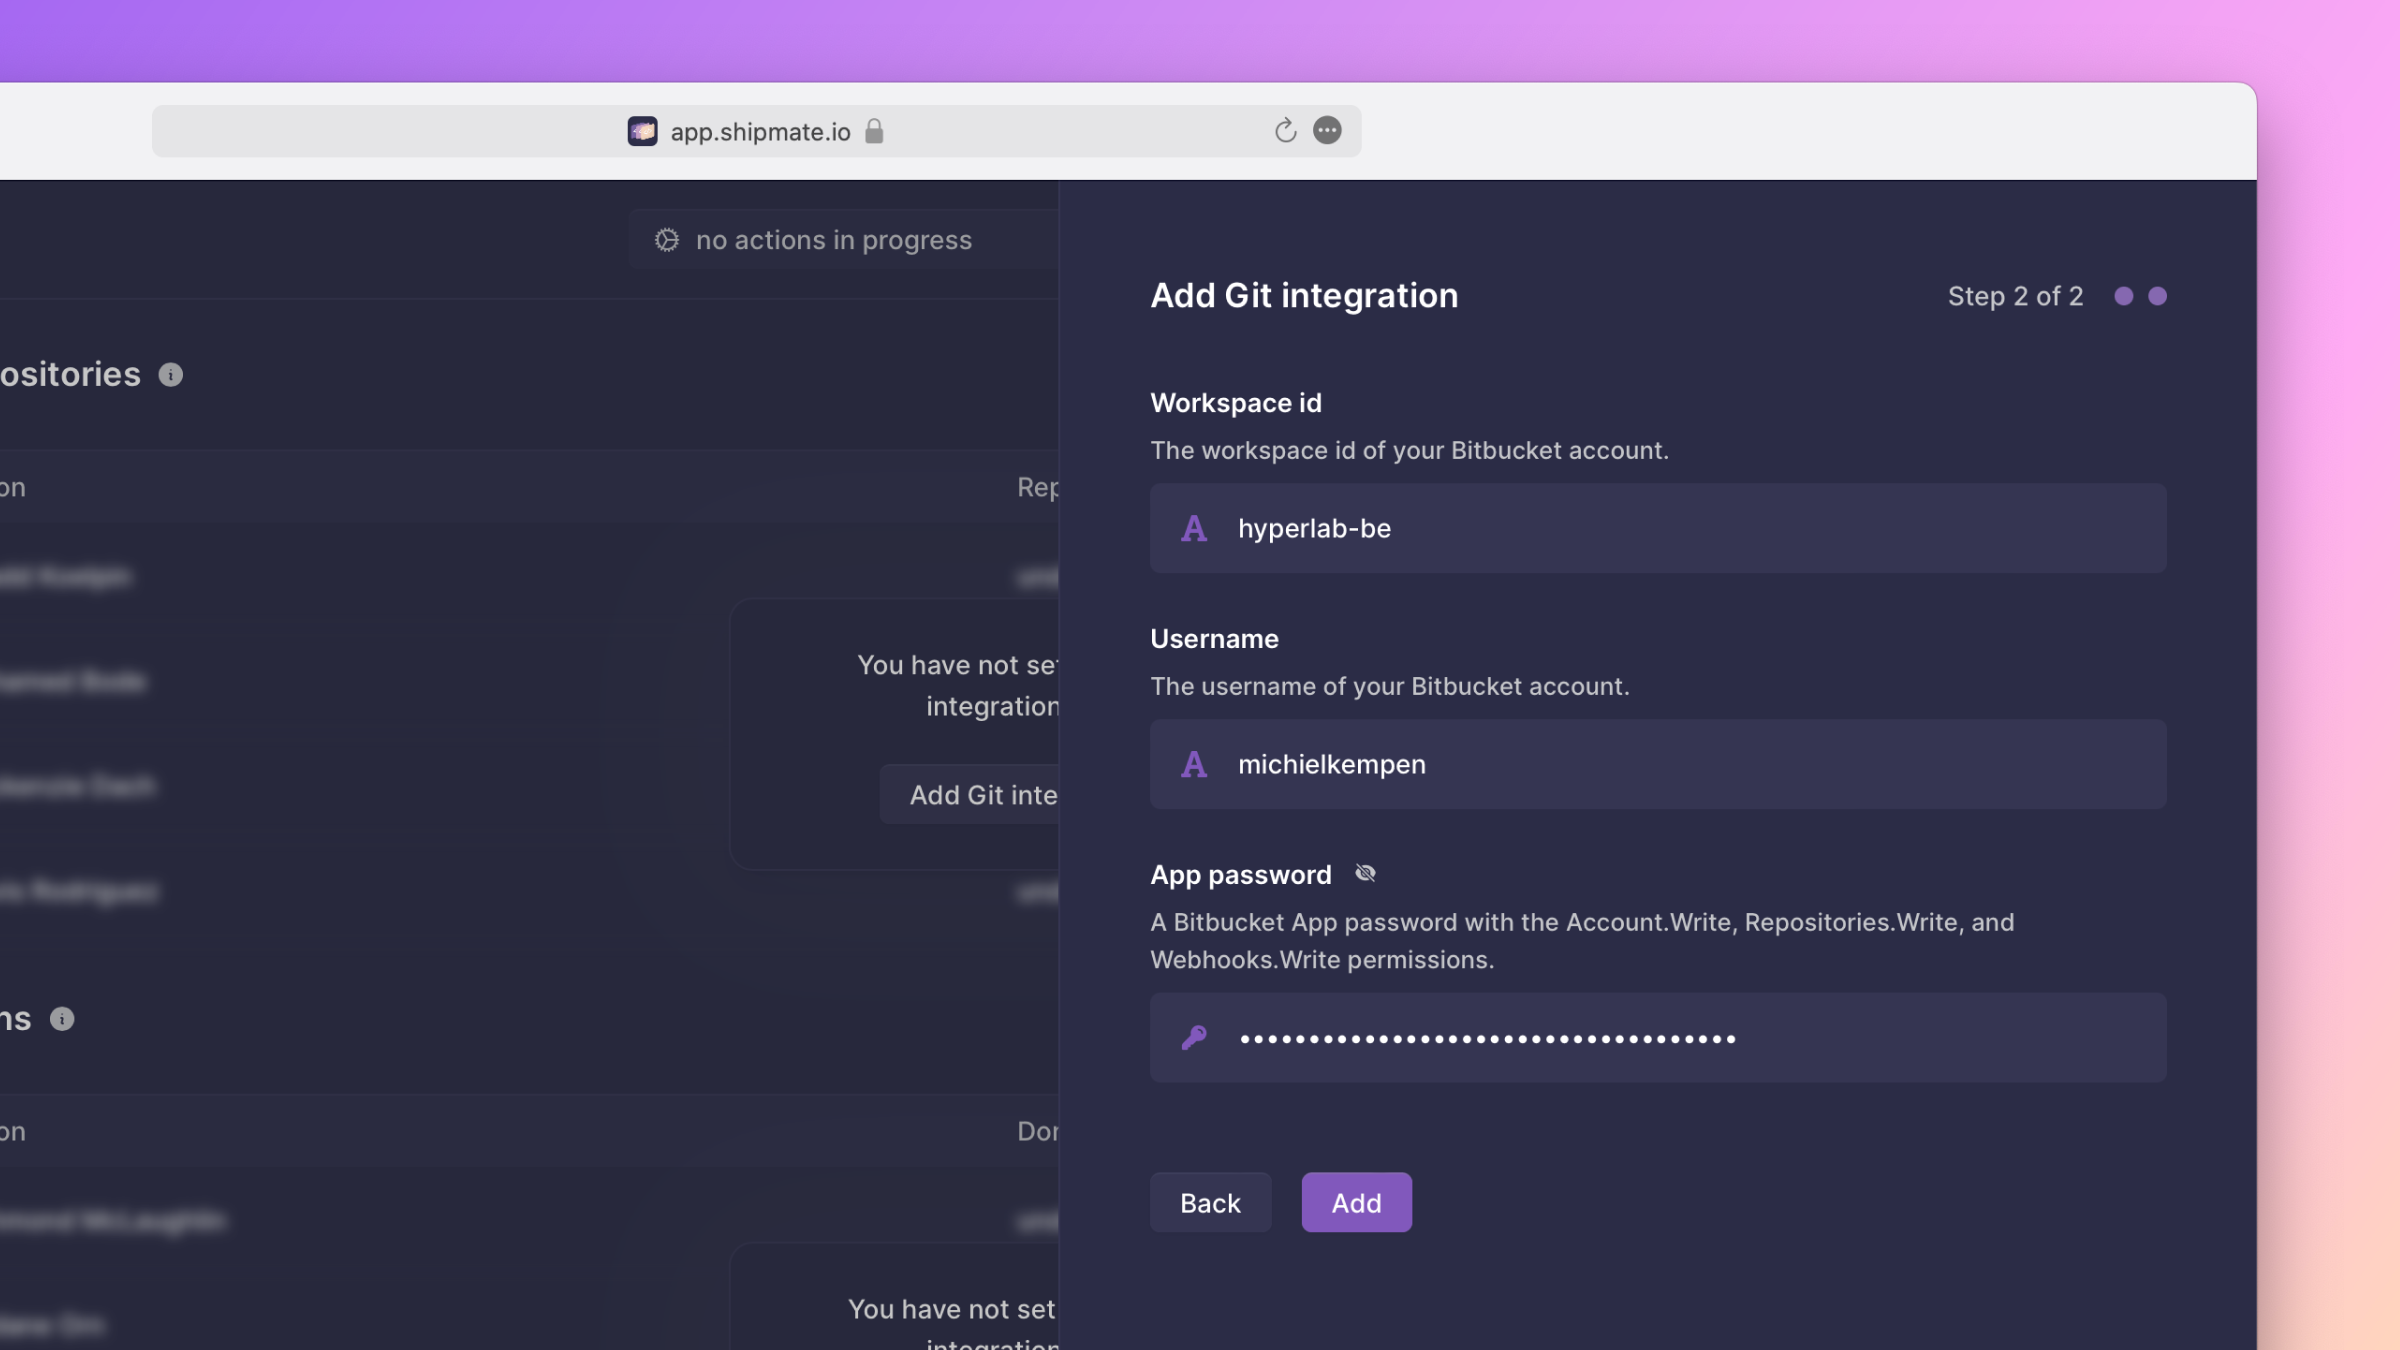
In the second step of the form, enter your Bitbucket workspace ID, your Bitbucket username, and the App password you just created.
After that, you should see your new integration show up in the Git repositories table.